
Introduction
The success of food photography relies on precise timing and impeccable organization. Every detail matters in capturing the perfect shot, from choosing the right lens to post-processing techniques. In this comprehensive guide, we will delve into every aspect of food photography, providing you with valuable tips and insights to elevate your skills. By following this detailed workflow, you can ensure that every stage of your food shoot and styling is carefully considered for outstanding results.
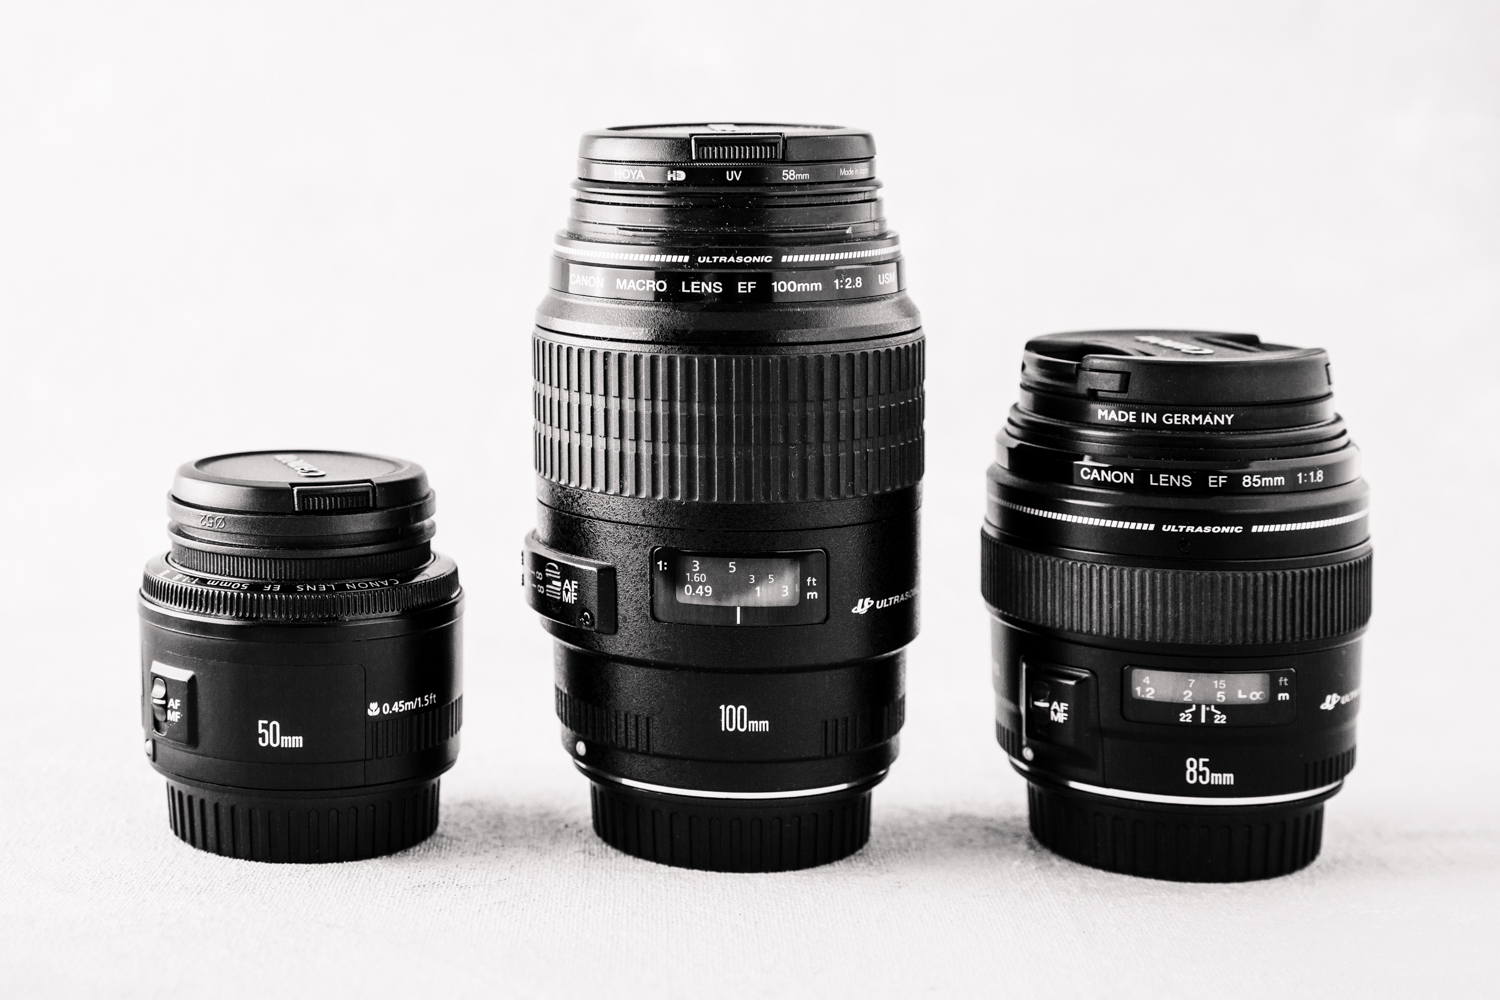
Choose the right lens
Like in any genre of photography, selecting the appropriate lens is crucial in food photography. It can significantly impact the outcome of your images. Here are some key lenses that can enhance the quality and versatility of your food photography:
- 100mm/110mm macro lens: If you’re using a camera with a full-frame sensor, this lens is invaluable. Its macro capabilities allow for tight shots of ingredients or dishes, while also providing the flexibility to step back and capture beautiful “food portraits.”
- 50mm lens: Ideal for overhead shots, this lens is also suitable for food portraits. It’s important to note that on a full-frame camera, a 50mm lens functions as a wide-angle lens for food photography. Thus, ensure that you have large backgrounds and be cautious of potential distortion when shooting at a 3/4 angle.
- 35mm lens: Best suited for overhead shots and capturing large spreads of food, this lens is also effective in lifestyle-oriented shots.
- 24-70mm lens: If your budget allows, investing in this lens is highly recommended. It offers excellent versatility and serves as an all-around lens for food photography.
Check your camera settings and exposure
Paying attention to camera settings and exposure is essential in achieving high-quality food photography. Here are some key considerations:
- Shoot in RAW: Opt for RAW image format over JPEG. RAW files retain more color information, allowing for greater flexibility during post-processing. Unlike JPEG, they don’t degrade in quality with retouching.
- Obtain the best exposure: Strive to achieve optimal exposure in-camera, as relying too heavily on post-processing can be time-consuming and may result in inferior results. Putting in the effort to get it right during the shoot saves valuable time later.
- White balance: When shooting in natural light, set your white balance to Auto and adjust it in post-processing if necessary. For flash photography, ensure the white balance is set to Daylight.
- ISO and shutter speed: When using artificial light, set your ISO to 100. Additionally, ensure that your shutter speed doesn’t exceed the sync speed of your camera, which is typically around 200. It’s crucial to balance these settings to capture the desired image without introducing unwanted noise.
- Natural light considerations: In situations with lower light, consider using a tripod and lowering your shutter speed instead of significantly increasing the ISO, as high ISO levels can introduce unwanted noise into your images.
Harness the light
Lighting plays a pivotal role in food photography, and understanding how to harness light is crucial for achieving desired results. Consider the following tips:
- Conduct lighting tests: Prior to placing the hero food on the table, conduct lighting tests using stand-ins that have a similar shape and size to the dish you’ll be shooting. This allows you to fine-tune your lighting setup without wasting precious time with the actual food.
- Soft light works best: For flattering food photography, utilize soft light. You can achieve this by using diffusers, scrims, or translucent fabric to diffuse the light source. In most cases, directional light (coming from one direction) produces the best results. Avoid using front light, as it can result in flat images and unwanted shadows.
- Creating shadows: Shadows can add dimension to your images. Use black cardboard or similar materials to create shadows, while white cardboard or reflectors can fill in shadows or add highlights as needed.
- Light placement: Depending on the desired effect, position the light source from the side, back, or somewhere in between. This enhances the visual appeal of the food. Avoid front light, as it tends to create unflattering shadows on your set.
Choose the right surfaces and backdrops
The selection of surfaces and backdrops significantly impacts the overall styling of your food photography. Consider the following guidelines:
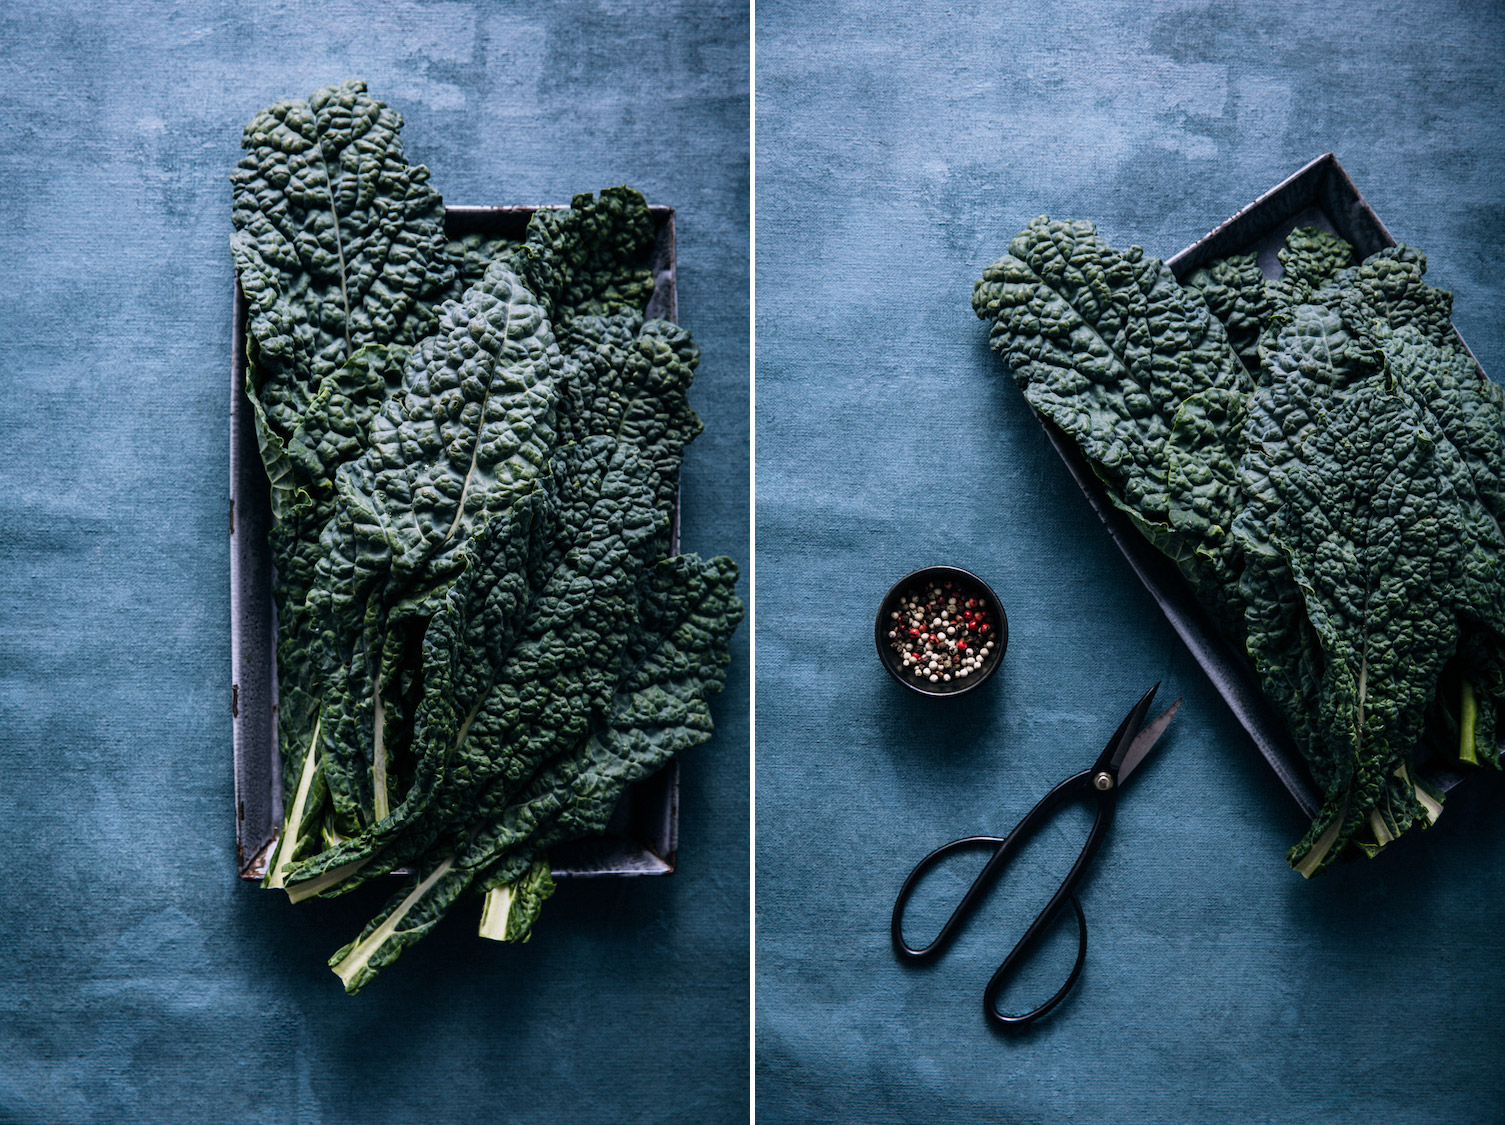
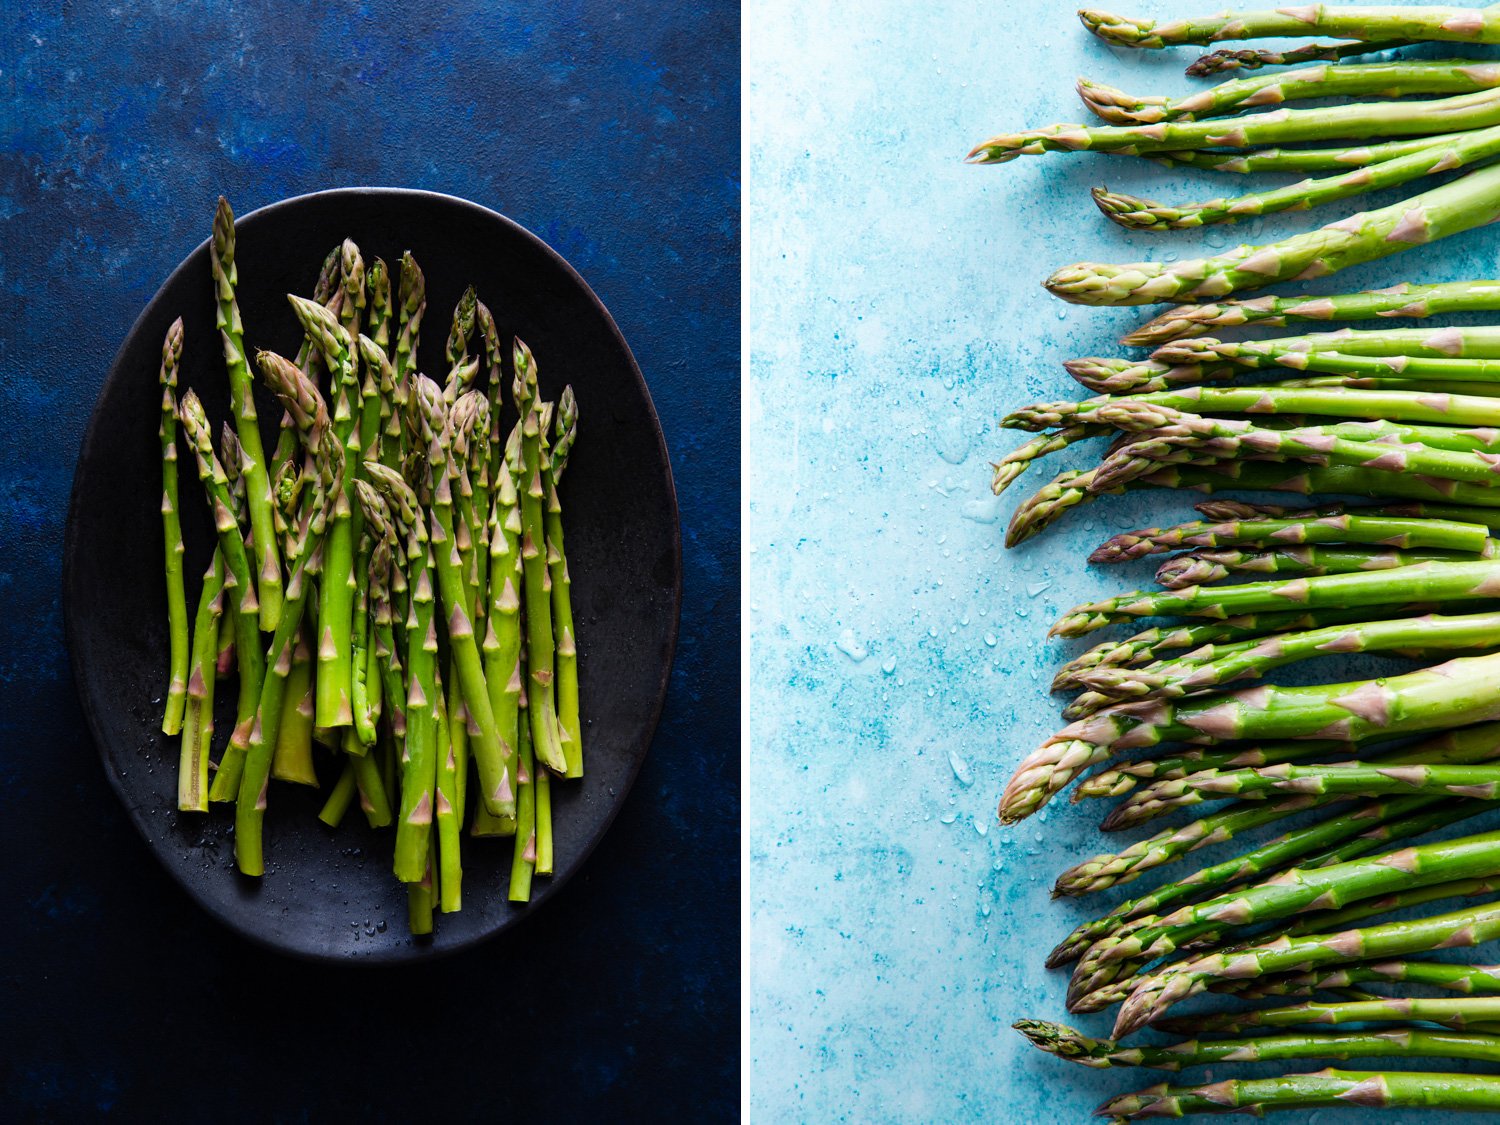
- Surface selection: The surface on which you place your food plays a crucial role in the overall composition. Opt for slightly textured backgrounds and surfaces, as they add dimension and visual interest. However, be mindful not to use excessive texture, as it can detract from the food itself.
- Backdrop choices: Backdrops provide the visual context for your food. Avoid wood surfaces or backgrounds that have an orange tone, as they typically clash with the warm-toned food. Instead, opt for cool or neutral backdrops that allow the food to stand out. Warm backdrops should be used with caution, as they can make the overall image look dated.
- Custom backdrop considerations: When using custom backdrops, avoid overly reflective or shiny surfaces, such as metallic paints or black marble. These can be challenging to work with and may introduce unwanted glare or reflections. Test your chosen surfaces beforehand to ensure they don’t adversely affect your images.
- Creative alternatives: Don’t hesitate to get creative with your backdrops and surfaces. Tablecloths, tissue paper, craft paper, canvas, linen, or cheesecloth are all cost-effective DIY options that can yield fantastic results.
Choose the right props and shoot them correctly
Props can significantly enhance the visual appeal of your food photography. However, it’s essential to use them thoughtfully and shoot them correctly. Consider the following tips:
- Prop selection: Choose props that enhance and complement the food rather than overshadowing it. One or two well-chosen props are often sufficient, unless you’re telling a broader food story, such as a tablescape. Avoid using too many props, as they can distract from the main focus of the image.
- Dish and flatware size: Be mindful of the size of the dishes and flatware you use. Props can appear larger in the image than they actually are, potentially dominating the composition. To mitigate this effect, opt for smaller-sized dishes and flatware.
- Mitigating reflections: Matte dishes are preferable because they minimize reflections. However, if you encounter reflections on glass or cutlery, consider using “Dulling Spray” by Krylon, which can reduce glare. Additionally, polarizing filters can be used to cut down on reflections, although they do reduce the amount of light entering the camera.
Food styling tips
Effective food styling is crucial in creating visually appealing food photography. Consider implementing the following tips:
- Adding interest with garnishes and seasonings: Utilize garnishes, herbs, seasonings, and crumbs to add texture and visual interest to your set. However, use them sparingly to avoid creating a cluttered or messy appearance.
- Keeping herbs fresh: Store herbs between sheets of wet paper towels or in a Mason jar filled with water to keep them fresh for longer periods.
- Dressing salads: Dress salads at the last minute to maintain their freshness. Additionally, have extra dressings and sauces available to brush onto the food subjects for a visually appealing gloss.
- Maintaining fresh-looking produce: To keep produce looking fresh, dissolve citric acid or a product like “Fruit Fresh” in water and soak fruits and vegetables in the solution for half an hour. For a misted look on produce, combine glycerine with water and spray it onto the items.
- Food styling kit: As a food photographer, it’s recommended to have a food styling kit that includes brushes, cotton swabs, water spritzers, squeeze bottles, drinking straws, tweezers, paper towels, and clean cloths. These tools help you achieve the desired presentation and manage any imperfections.
Be aware of composition
Composition is a critical aspect of food photography, affecting how viewers perceive and engage with your images. Consider the following composition principles:
- Avoid empty/passive space: Review your images to ensure there isn’t too much empty or passive space. Adjust your composition accordingly by cropping tighter or rearranging elements within the frame.
- Balance in odd numbers: Odd numbers of elements in your composition tend to create balance and visual harmony. Conversely, even numbers of elements may compete with one another and weaken the overall impact of the image.
- Utilize composition techniques: Explore additional composition techniques such as the Golden Mean, leading lines, patterns, repetition, and texture. These elements can add depth and visual interest to your food photography.
- Consider color combinations: Think carefully about how the colors of your props and backdrops complement the food. Complementary colors, those opposite from each other on the color wheel, often create visually pleasing combinations.
Shooting your image
When it comes to shooting your food photography, certain practices can enhance the overall outcome. Consider the following techniques:
- Shoot with a tripod: Using a tripod provides stability and allows for precise framing and composition. It also facilitates consistency when capturing a series of images.
- Tether your camera: Connecting your camera to a computer or laptop via tethering allows for a larger and more accurate representation of your image on the screen. This practice is especially beneficial when working with clients who expect immediate image review and approval.
- Optimal aperture: For overhead shots, it’s recommended to shoot at a minimum aperture of f/5.6. Additionally, a default aperture setting of f/5.6 or f/8 generally yields pleasing results with a balance between background bokeh and food sharpness.
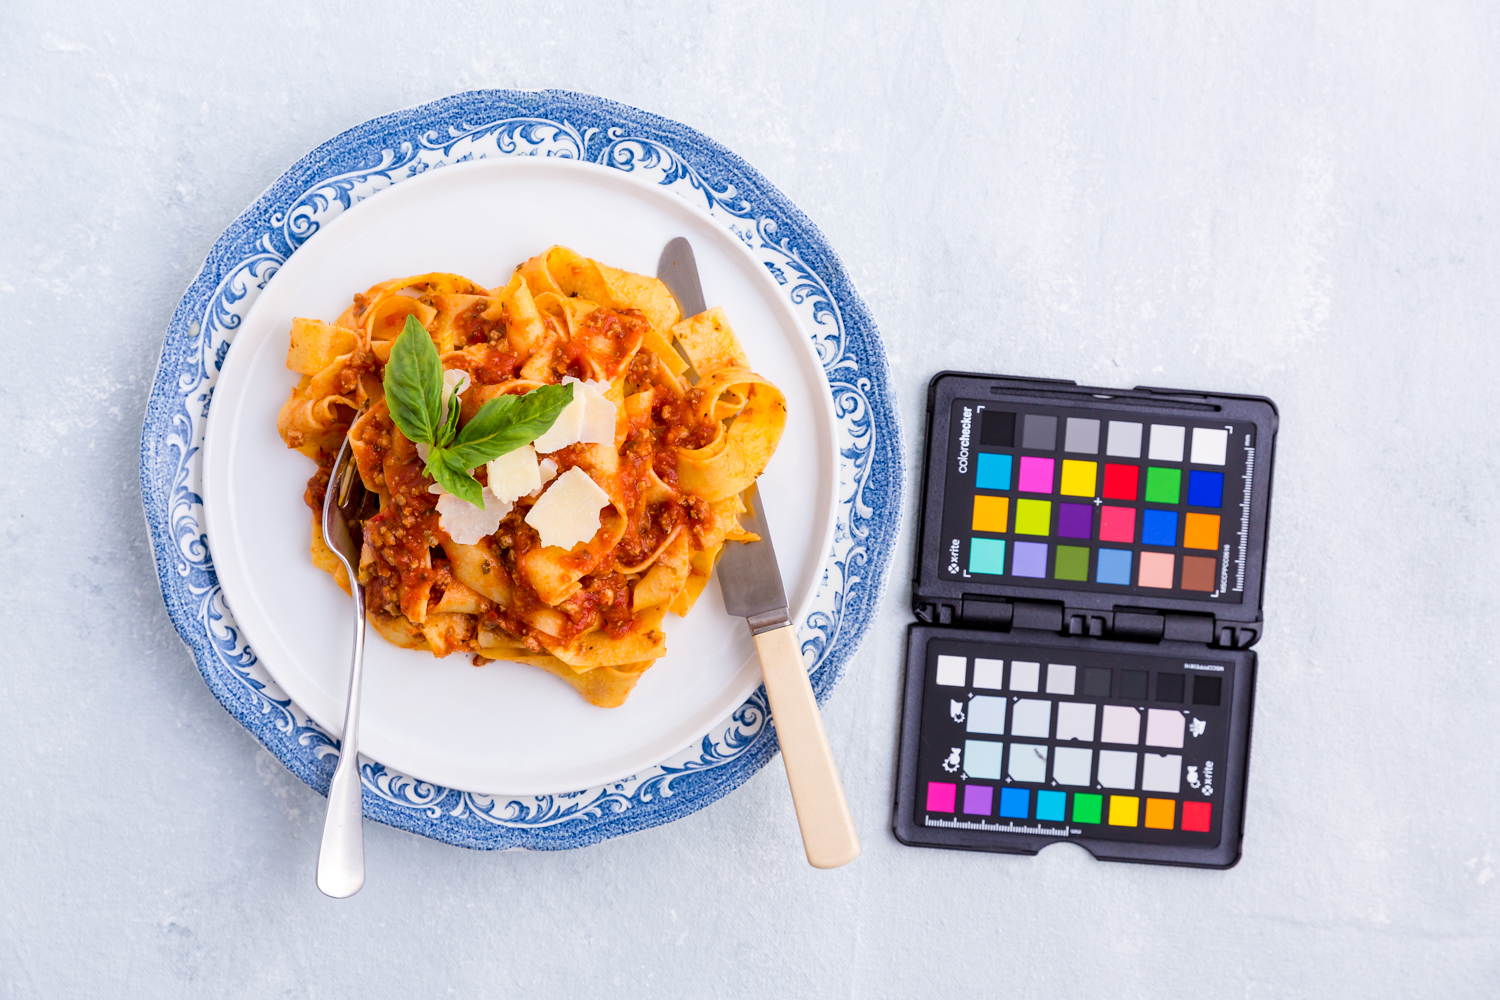
- Grey card or Color Checker: Remember to take an image with a grey card or Color Checker to capture accurate color values for proper white balancing during post-processing.
Focus and angle
Choosing the right focus and angle can significantly enhance the visual presentation of your food. Consider the following tips:
- Overhead shots: Overhead shots are visually striking and work well for many flat foods, such as pizzas. They also allow for the inclusion of multiple elements, as depth becomes less prominent.
- Lower angles and straight-on angles: For tall foods like burgers or stacks of pancakes, lower angles or straight-on angles work best. These angles highlight the verticality and surface shine of the food.
- Focus on the front of the food: In general, it’s recommended to focus on the front of the food to accentuate its details and textures. This ensures that the main subject remains crisp and sharp.
Post-Processing
After capturing your food images, post-processing gives you the opportunity to refine and enhance the final result. Consider the following post-processing tips:
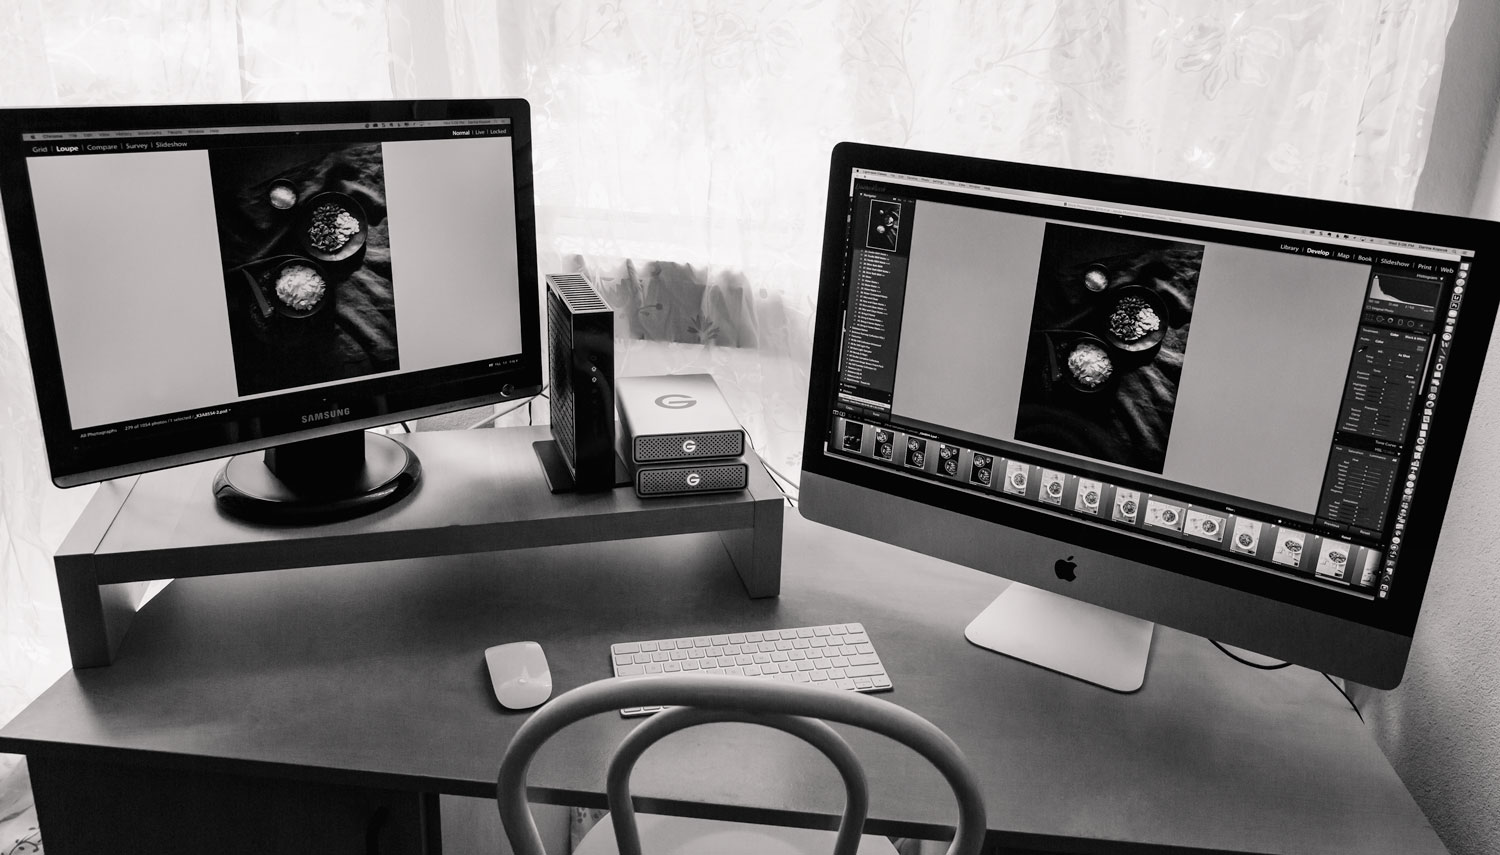
- Using Lightroom: If you use Lightroom, work on virtual copies of your files to preserve the original untouched images. Organize your images into collections and input relevant metadata to facilitate easy image retrieval based on keywords and attributes.
- Working with Photoshop: For Photoshop users, it’s advisable to save working copies of your file as you retouch to prevent losing any previous edits. Ensure that you work within the appropriate color space for your intended output.
- Backup your work: Always back up your RAW files and edited images in multiple locations, preferably at least three. It’s vital to have a reliable backup system, including cloud storage, to safeguard your valuable work.
Your workflow for styling food photography: conclusion
By following this detailed workflow for food photography, you can have better control over the outcome of your images. Every stage—from lens selection to post-processing—has been carefully considered to ensure optimal results. Remember, practice and experimentation are key to developing your unique style and achieving extraordinary food photography. We hope you find these tips helpful in taking your food photography skills to the next level. Share your own food styling tips in the comments below and keep learning and improving!
The article is compiled and compiled by tipcamera.com