
Introduction
Editor’s note: This article was updated in October 2020. Originally written in 2009, the author shares their early experiences in food photography for their wife’s baking blog and local magazines. Over the years, they have acquired expertise and refined their food photography techniques. In this article, they share valuable insights to help readers improve their food photography skills.
Food Styling
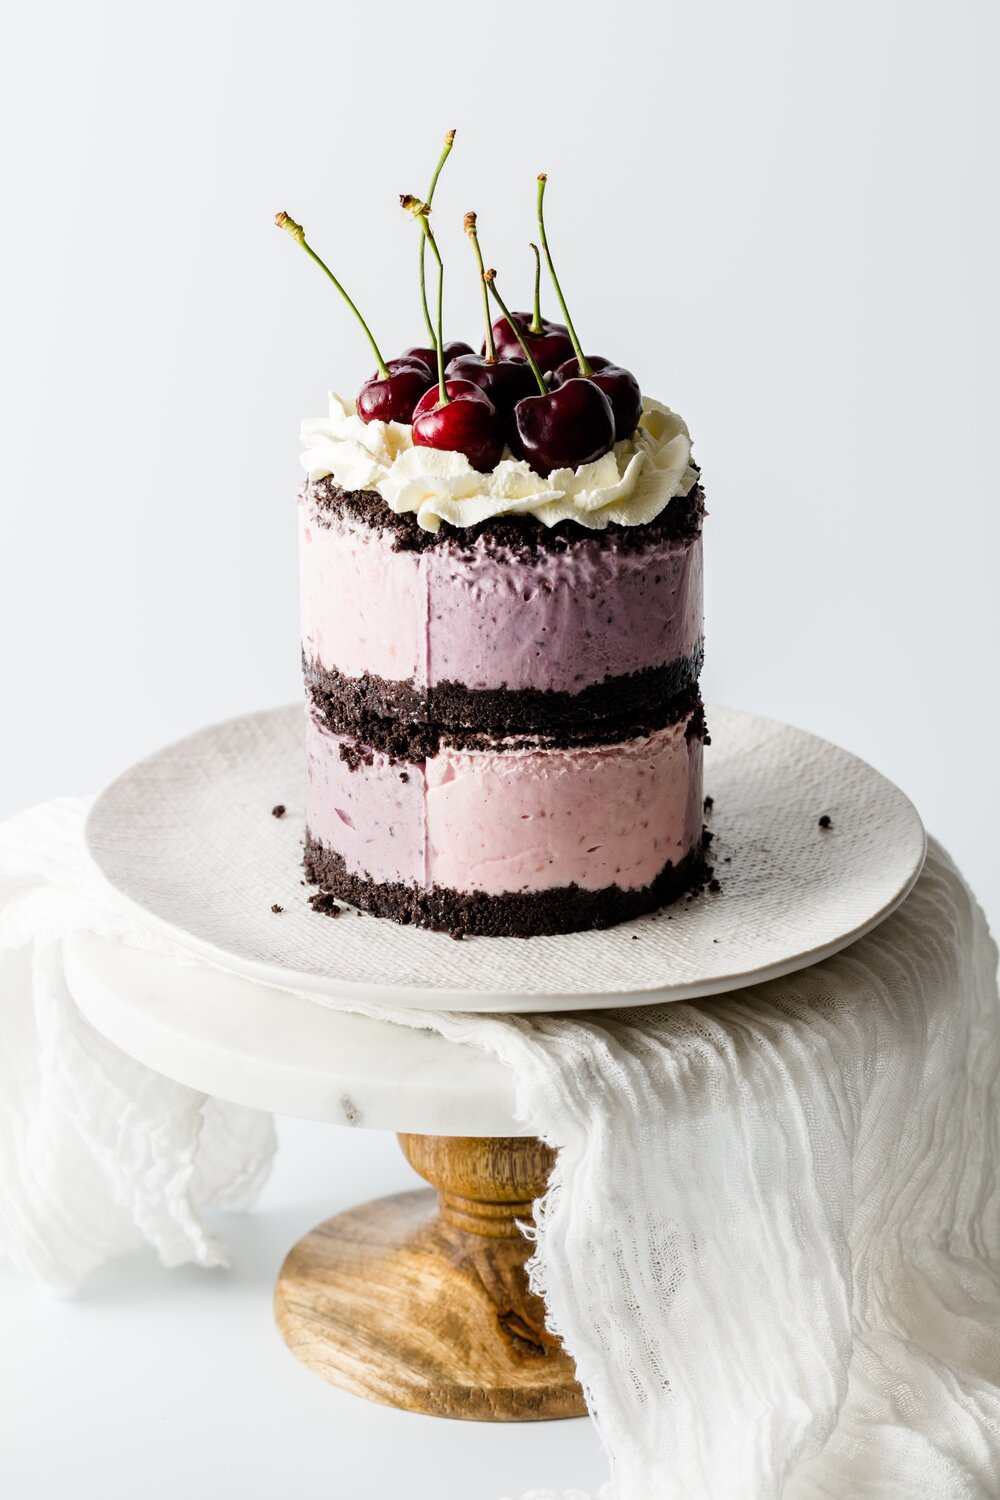
When it comes to food photography, the visual appeal of the subject is crucial, just as much as its taste. Hiring a professional food stylist may not always be affordable, but learning basic styling techniques can go a long way in making food look its absolute best.
Making more food than necessary will allow you to select the most appealing examples for photography. It’s important to note that burnt or soggy dishes rarely look appetizing, no matter how well photographed.
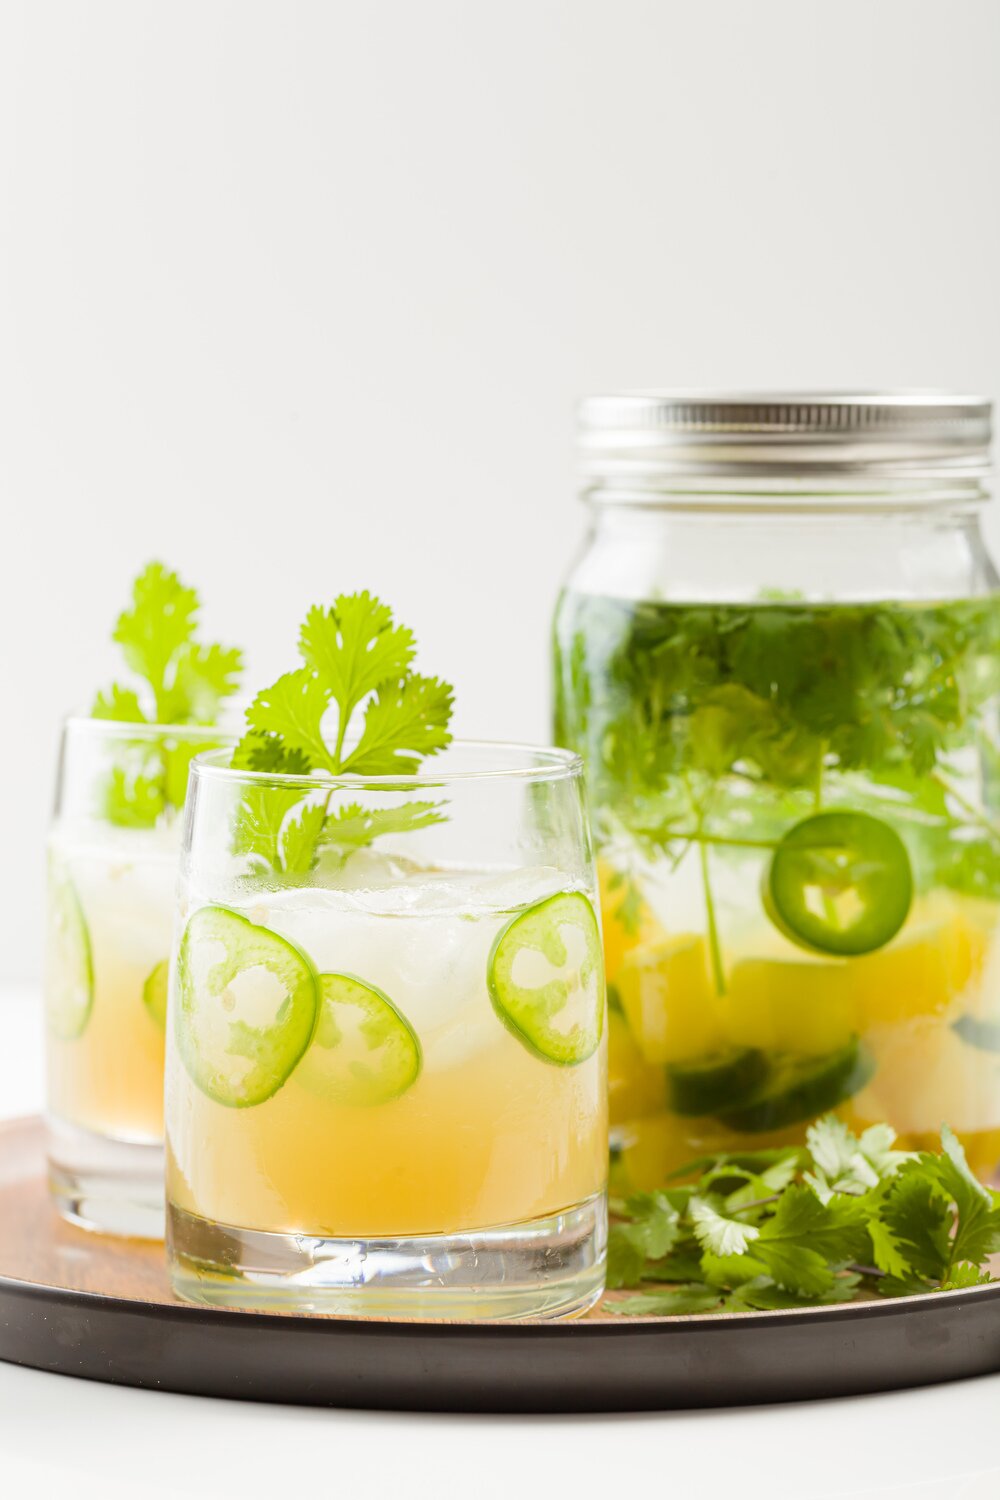
Props play a significant role in setting the mood for food photos. By having a variety of plates, platters, chargers, glassware, utensils, and other items, you can create different table settings that suit different themes or styles. While an extensive collection of props is not necessary, it is recommended to have a few place settings, utensils, and a suitable surface for photography.
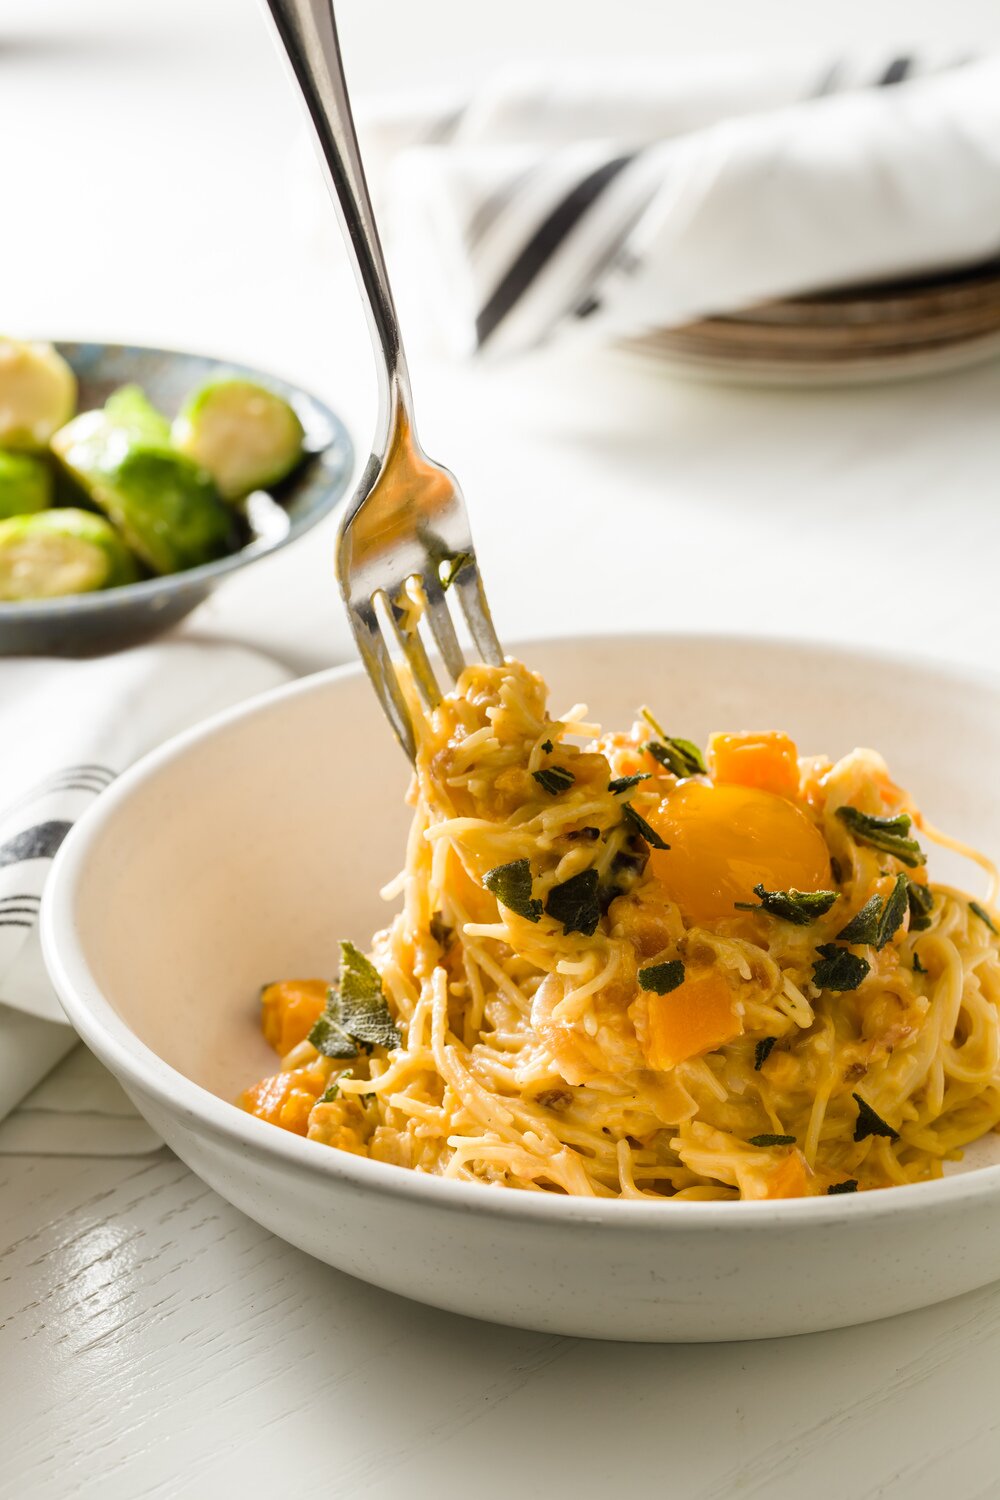
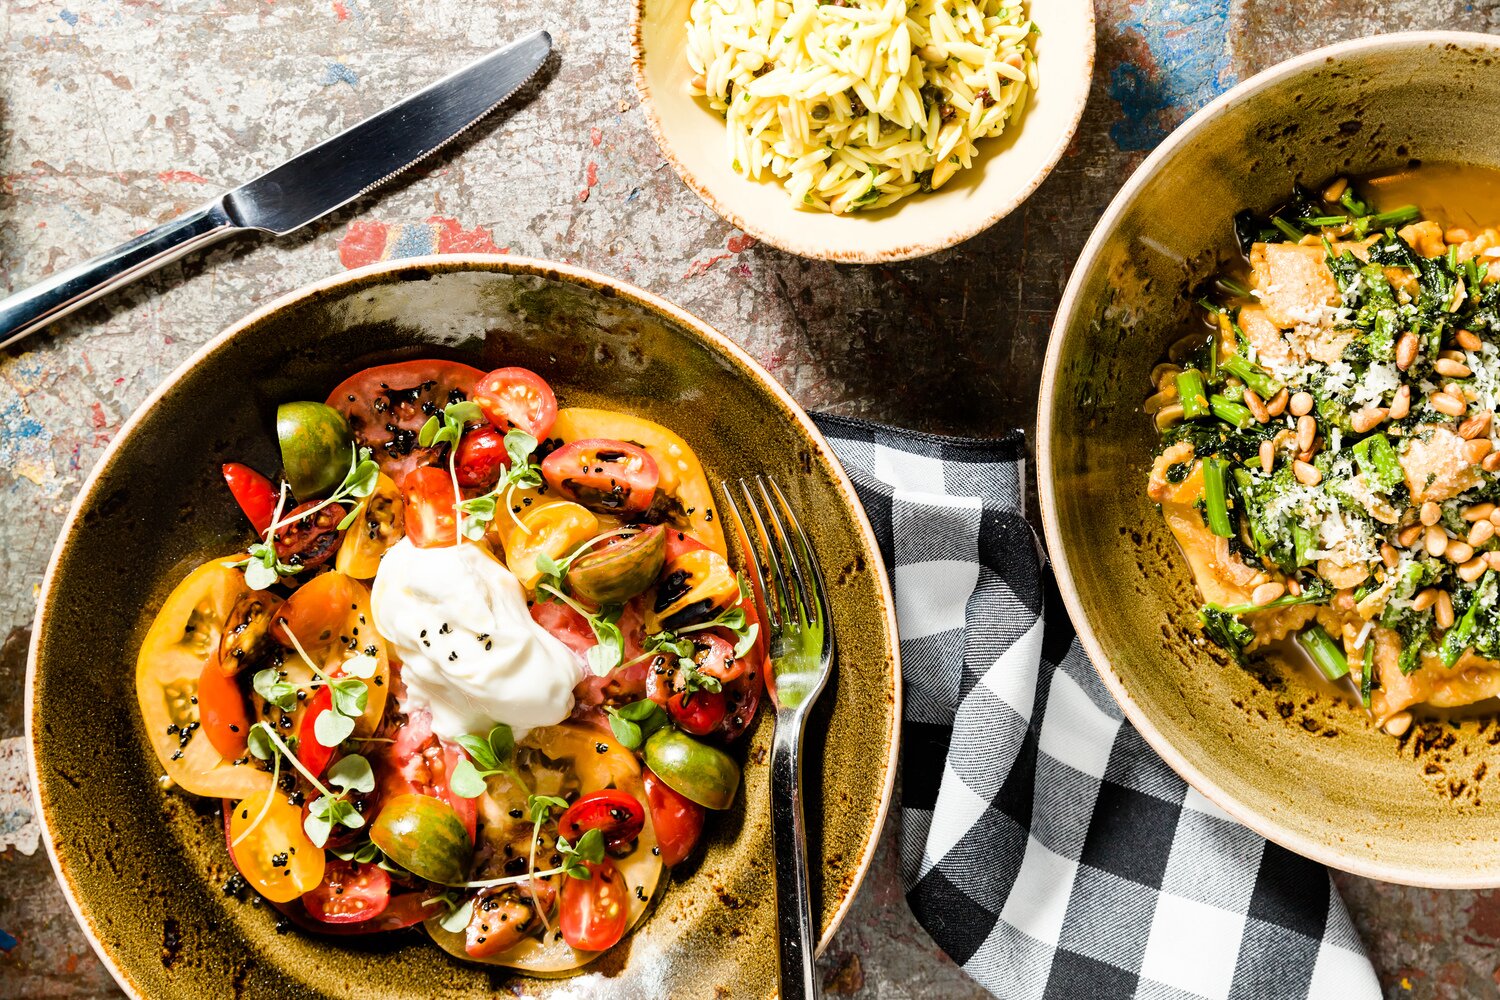
Properly plating your dishes can transform them from mundane to extraordinary. For those who aren’t working with a professional chef or food stylist, it is advisable to read articles and watch video tutorials on plating techniques as a starting point. Consider factors such as ingredient placement, creating height or depth, adding contrasting colors, and increasing contrast. Here are a few essential tips for plating:
- Plate an odd number of the item you’re photographing. This adds visual interest and balance to the composition.
- Add garnish where appropriate, particularly with soups or other dishes that benefit from a pop of color or added texture.
- Lean longer flat items against those with some height to create a sense of depth and dimension.
- Use edible flowers or fresh herbs as vibrant accents that contrast with the colors of the dish.
Food Photography Composition
One of the advantages of food photography is having complete control over the camera’s position, angle, and proximity to the subject. This control allows photographers to create visually appealing compositions. Here are some techniques to enhance composition:
- Use the traditional rule of thirds. Mentally dividing the frame into a 3×3 grid and placing key elements at the gridlines or intersections can produce strong compositions, especially for beginners. Once familiar with the rule of thirds, consider experimenting and deviating from it.
- Guide the viewer’s eyes. Showing only part of the plate, incorporating utensils or napkins, and using contrasting elements can help direct the viewer’s attention to the focal point of the photograph.
- Utilize negative space. Clutter in the scene can be distracting, so removing unnecessary elements allows the viewer to focus on the subject. A minimalist approach often yields powerful images.
- Consider the optimal viewing angle. While there are no hard rules, head-on views, overhead shots, or angles looking slightly down into the dish tend to be more visually appealing than a 45-degree angle. Experimenting with different angles can bring fresh perspectives to your compositions.
- Keep the camera level. While angles can add excitement, it’s important to ensure that the food doesn’t appear to be sliding off the plate. Maintaining a level camera position creates stronger and more visually pleasing photographs.
- Zoom and adjust focal length. Macro shots work well for certain foods, while wider shots can capture the ambiance of the surroundings. Background compression can help remove distractions. Explore different options with your food to determine what works best for a particular shot.

Food Photography Lighting and Exposure
While expensive equipment is not necessary for great food photography, understanding how lighting, exposure, and camera equipment choices affect the final image is crucial. Here are some considerations for lighting and exposure:
Placing dishes in natural light, preferably from the side and slightly behind, often produces pleasing results. However, natural light can be inconsistent and subject to sudden changes due to weather conditions. To achieve consistent lighting throughout a series of photos, it is recommended to use artificial light. Indoors, flashes with diffusion can be positioned behind or to the side of the food, while reflectors can help bounce additional light onto the dish if needed.
For photographers on a budget, inexpensive work lights can be used in combination with white linens to soften and diffuse the light. It’s essential to understand and master the exposure triangle, whether using natural or artificial lighting. Manually adjusting camera settings allows for better control over the final image. Balancing the right amount of background blur while keeping the foreground sharp is desirable. Lighting plays a vital role in achieving the desired effect.
Equipment for Food Photography
While having the best camera equipment can enhance your photography, it’s important to first understand how to effectively use the tools at your disposal. Here are some equipment recommendations:
Starting with a tripod, a camera body that supports detachable lenses, and a medium zoom lens is ideal for beginners. Shooting and editing RAW photos provide more flexibility in post-production compared to JPEG images. Renting equipment or purchasing used gear is a cost-effective way to get started and learn.
As photographers gain more experience and confidence, investing in color calibration equipment and additional lighting options can further improve the quality of food photography. Upgrading to a full-frame camera system and professional lenses can be considered once current gear limitations are identified.
Food Photography Techniques: Conclusion
Improving in food photography requires practice, experimentation, and continuously refining techniques. Every photographer has different approaches that work for them. Feel free to share your own successful techniques and discuss any challenges you’ve encountered in the comments section below. By learning from each other, we can elevate our food photography skills to new heights.
The article is compiled and compiled by tipcamera.com