
Introduction
Nothing gets me more excited creatively than coming up with different scenarios or ideas to further develop and hone my photography skills. For me, this is what makes photography so interesting and never dull. Yes, it can be frustrating and challenging. However, there are so many ways and endless possibilities for capturing images.
Discovery of Felix Hernandez Rodriguez’s Work
A picture is worth a thousand words, as the phrase goes. But I also like the story behind the photograph or image. Recently, I came across online the work of Mexican photographer, Felix Hernandez Rodriguez, who has a wonderful behind the scenes (BTS) video of his “The Love Car | The Making Of”. I won’t spoil it for you by describing it in words. Instead, I feel It is best that you watch it for yourself at your leisure.

The Idea: Taking Photos Inside a Fridge
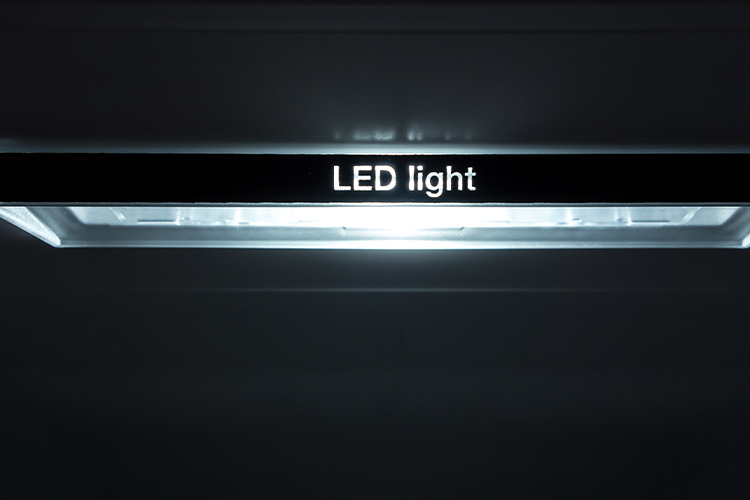
Got lemons – make lemonade. Anyway, I had the misfortune back in July during a hot spell, of my refrigerator (or fridge is the term I use for this apparatus), deciding to just quit. I got a replacement and the first thing I noticed was the LED light inside. So it got me thinking, could I possibly use that one light source and produce decent enough shots with it? Taking photos inside a fridge sounds a bit daft, I hear you say. However, for this article I will show you that even a daft idea can be cool. (Pun intended)
Approaching the Project in Five Ways
1. Taking photos of the food or items just using the LED light source inside the fridge.
2. Try to create decent food shots while working with two major constraints, time and size. Time: I couldn’t leave the fridge door open for long periods of time, which meant I had to set up my scenes and shoot fast.
3. Size was another factor, especially in trying to get different POV shots.
4. Get imaginative and create a shot that the viewer doesn’t realise it was taken in a fridge.
5. Just go with the flow.
Preparation
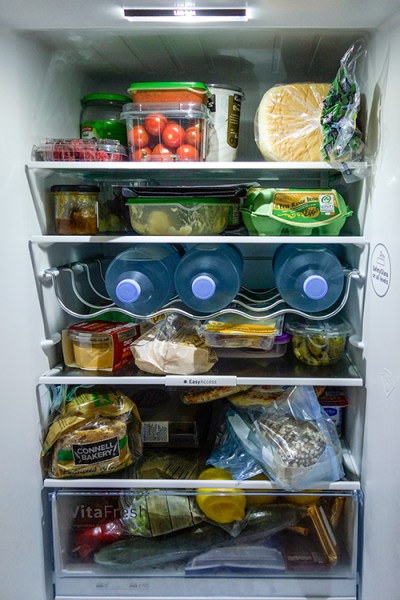
My fridge is relatively small in comparison to refrigerators in the US or Canada, so taking the food items out and storing them in a cooler bag for an hour or so wasn’t an arduous task. However, if you have a huge refrigerator, the next time you do a clean out of your refrigerator may be the time to try out this project. The space I was working with was really small, 19” x 19” x 33”, so I decided I would use my Sony RX100 which has a 35mm focal range equivalent of 28-100mm.
Initial Shots
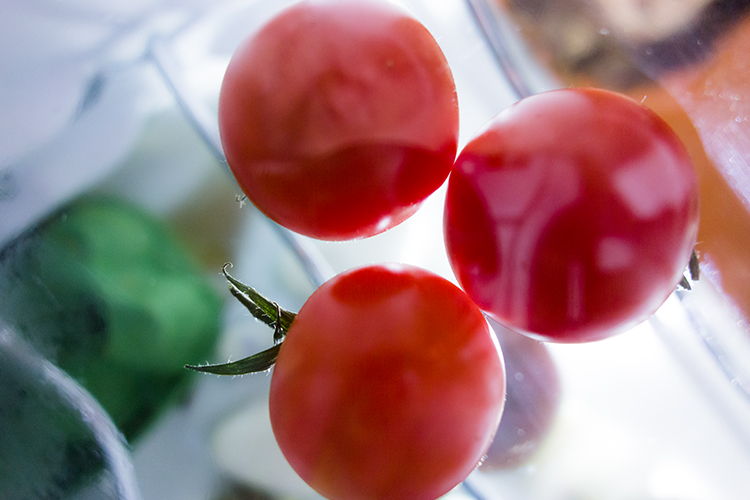
My initial test shots were random, in order to test the lighting and to determine what camera settings I would end up using. Shooting in RAW, I settled on an aperture of f/2.8, ISO 400 and a shutter speed of 1/50 – 1/60 and handheld the camera. I didn’t want to go higher with the ISO, as to keep noise down to a minimum. A wide open aperture allowed for the background to remain out of focus. I left everything in the fridge and took some random shots of food items. Cherry tomatoes taken from underneath a glass shelf in the refrigerator.
The Shots
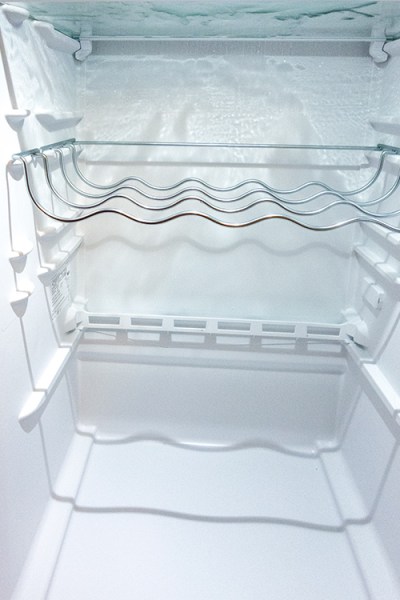
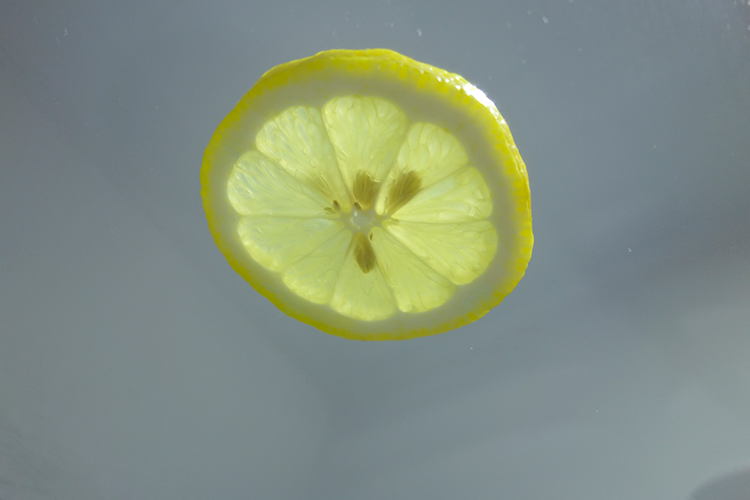
Next was to take everything out of the fridge and start with just the top shelf left. It was nearest the light source and I wanted to see what type of shots I would get. From taking many shots at different angles, an idea sprung to mind. I wanted a slice of lemon shot from underneath the glass shelf. Later in post-production, I added in the frosted glass along with the broken glass effect to give it more zest! (Sorry pun intended).
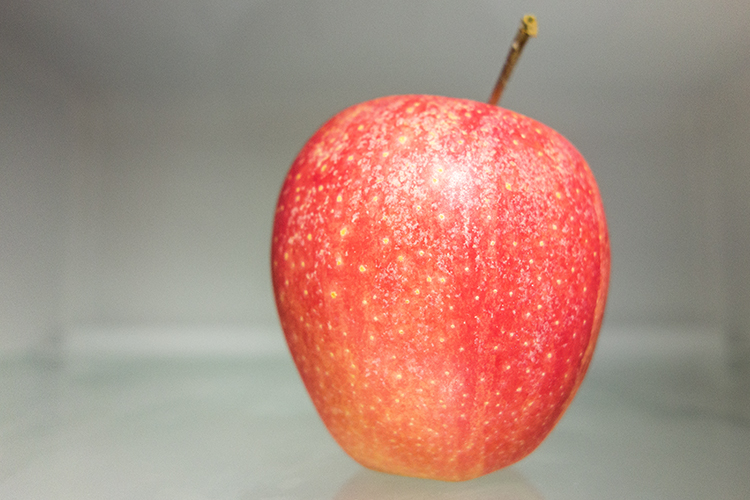
A red apple taken sitting on a shelf inside a refrigerator.
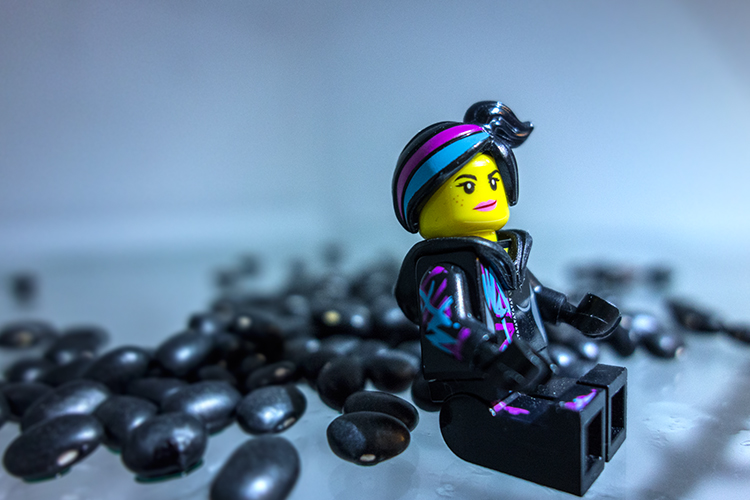
A test shot with Lucy and some turtle black beans.
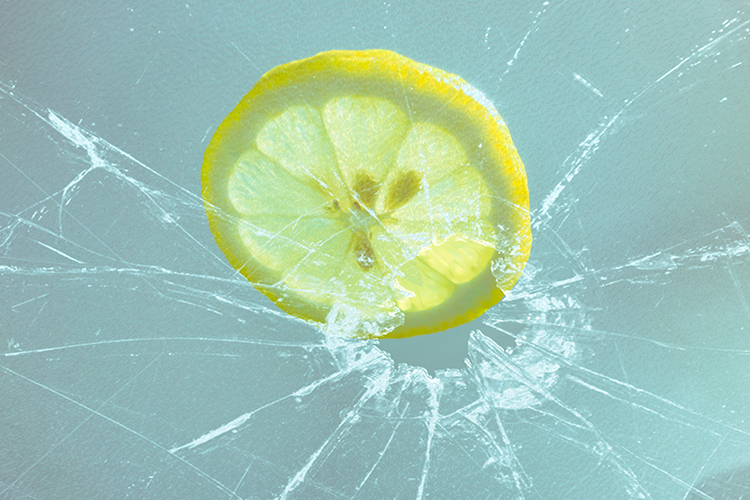
A slice of lemon taken from underneath a glass shelf. This is straight out of the camera.
This is the same shot as above but I added a frosted glass and broken glass effect for impact in the editing process.
I also took a slice of cucumber. Notice how it appears to have a sad face?
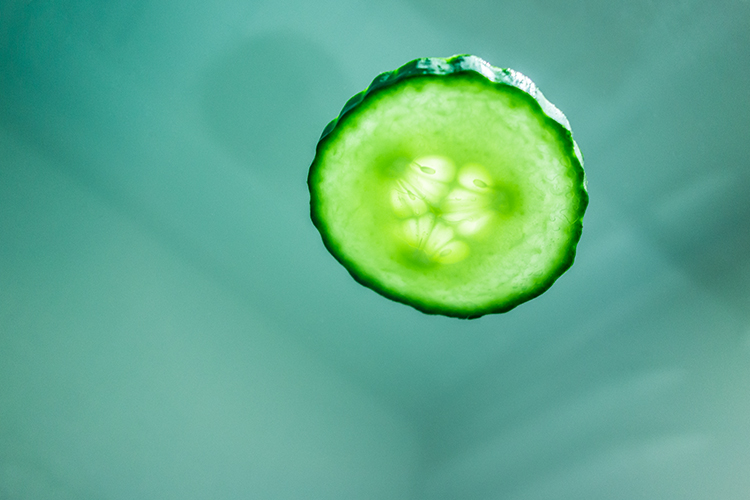
A poor sad looking cucumber!
Second Setup
The next plan of attack was placing items on the bottom part of the fridge, as in the furthest point away from the light source. I wasn’t really expecting to get any decent shots. But I was pleasantly surprised. I felt the shots had an almost ethereal feeling to them.
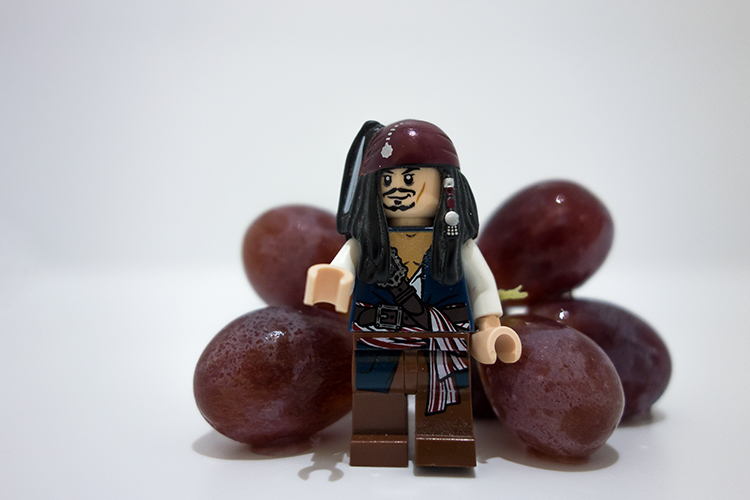
A Jack Sparrow Lego figure with a bunch of red grapes.
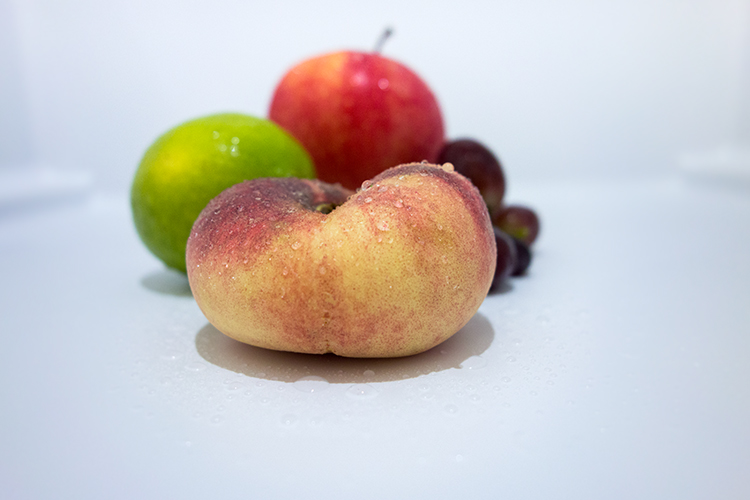
A fruit composition sprayed with a little water inside the refrigerator.
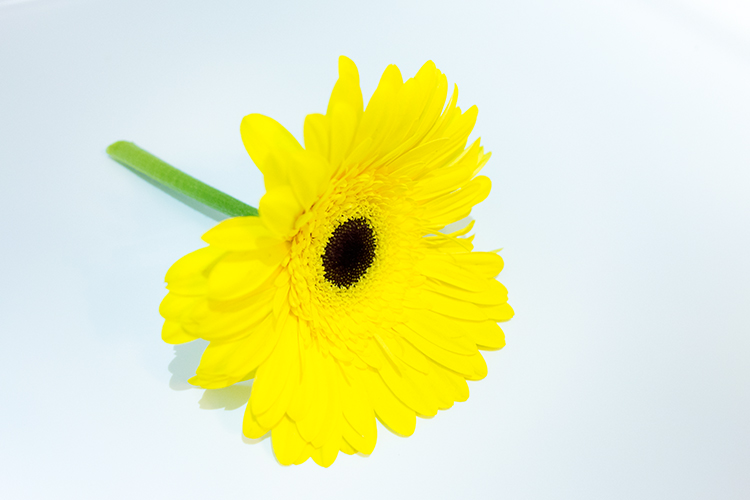
A yellow flower taken inside the refrigerator.
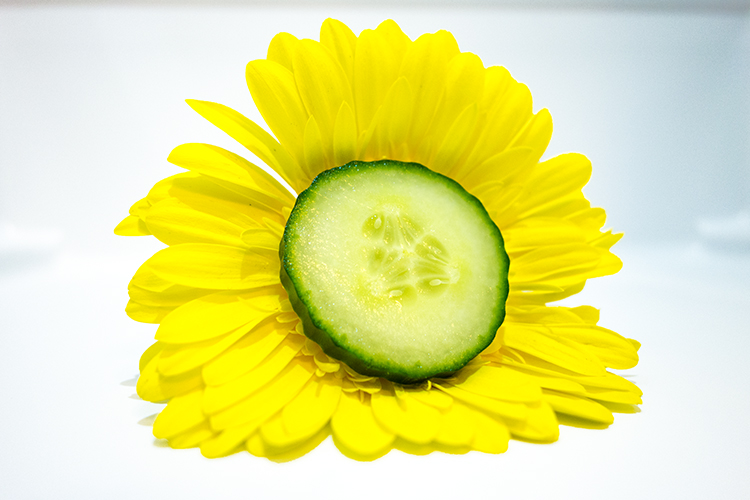
The sad-looking slice of cucumber looked happier against the flower!
Key Takeaway Points
– Unless you have a moderately small refrigerator, this project is most likely not for you.
– Was it worth doing? In my opinion, any excuse to take photographs is well worth doing.
– I found it was better to take the shots over a few days. This allows for planning what type of shot and what food or other items to use. Plus, you need the least amount of time to have the fridge door opened.
– Spray water on the food so that the light catches the water droplets to add depth to the shot.
Conclusion
Have you had a crazy idea for a personal project? If so please leave a comment or share your images and story below.
The article is compiled and compiled by tipcamera.com