
Introduction
Have you ever tried taking a picture of food and it just didn’t look as good as the dish tasted? Don’t worry, you aren’t alone. Taking pictures of food requires a different mindset and approach than what you would use in your portrait or landscape photography. In this article, we will discuss 8 detailed steps that will help you create mouthwatering food images. From choosing the right light source to varying your background, we will cover all the important aspects of food photography.

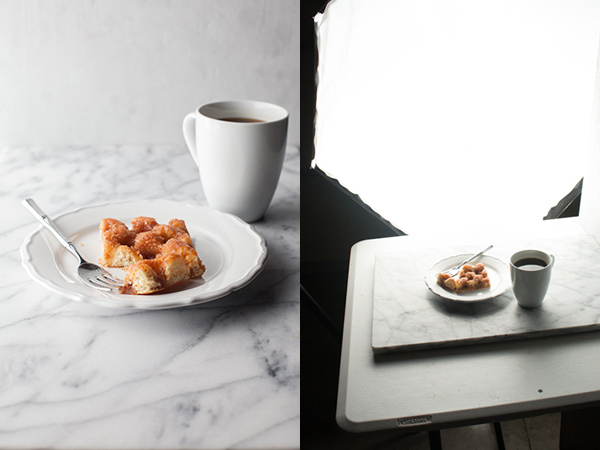
Step 1. Choose one light source
When it comes to food photography, using just one large diffused light source can yield amazing results. While you may be tempted to add multiple lights like in portrait photography, it is important to focus on using a single light to shape and highlight the food in a beautiful way. Investing in expensive lighting equipment is not necessary; all you need is a window. Whether you are shooting at home or on location, utilizing a large restaurant window or a window in your living space can provide you with ample natural light for your food photography needs.
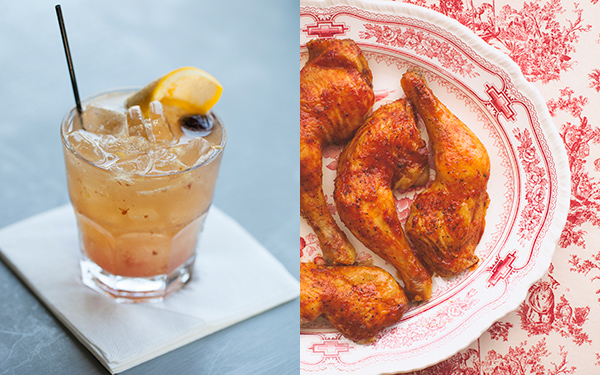
Step 2. Embrace food’s color
Food comes in a wide range of colors and textures, and it is important to embrace this diversity in your food photography. From dark leafy greens to vibrant orange carrots and pale purple shallots, meals can offer a rainbow of colors to work with. To enhance the visual appeal of your food images, consider incorporating props and food styling choices that complement the colors of the dish. If you are unsure where to start, take inspiration from an artist’s color wheel. Experiment with color combinations, such as matching blue accessories with yellow or orange foods, to create visually striking compositions.
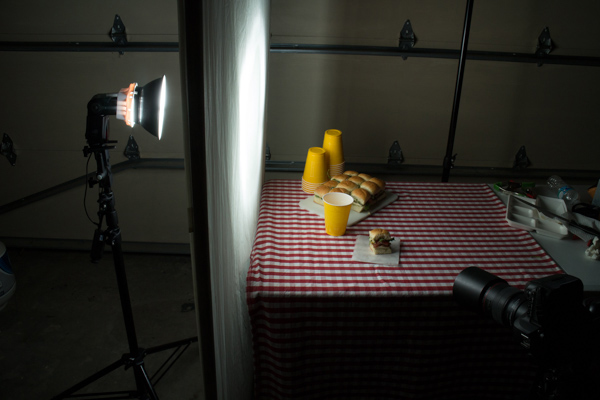
Step 3. Know when to use artificial light
While natural daylight is ideal for food photography, there may be situations where artificial light is necessary. For instance, when shooting food at night or in low-light conditions, you will need an artificial lighting solution. Tungsten lamps or small compact flash units are great options for such scenarios. The key to achieving pleasing results with artificial light is to use a large diffusion source. This can be achieved by modifying your light with umbrellas, soft boxes, or a large diffusion scrim. These accessories help create a beautiful, soft light that will enhance the appearance of your food.
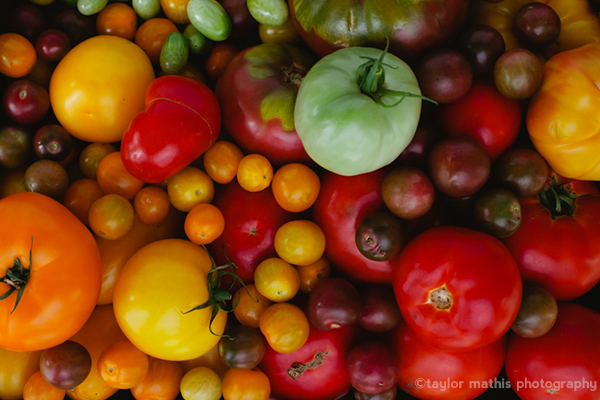
Step 4. Get creative with the ingredients
In food photography, it is important to capture the essence of the dish, and sometimes that can be achieved by focusing on the ingredients themselves. Rather than immediately photographing the final plated meal, consider creating interesting stories by capturing shots of the ingredients. This approach adds depth and engages viewers in the culinary journey from raw ingredients to the finished dish. Experiment with visually appealing arrangements of fruits and vegetables, especially when shooting from an overhead angle. Even a simple cell phone camera can be used for these shots, but if you have a macro lens, take advantage of its close-up capabilities to capture the intricate details and textures of spices and ingredients.
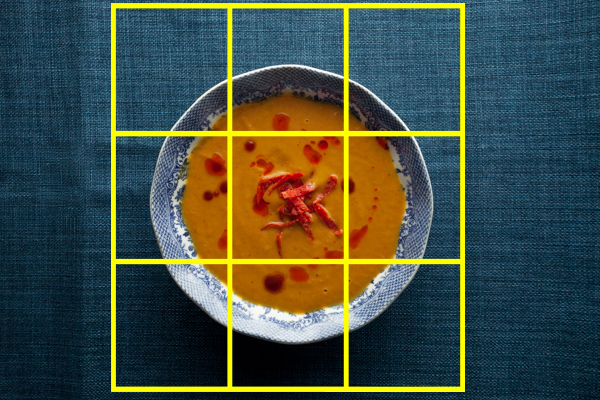
Step 5. Think about final use
When taking food photographs, it is important to consider the intended final use of the image. Depending on the purpose, the image may need to be cropped to a specific size or shape. For instance, if the photo will be used in a restaurant menu, it might need to be cropped into a square shape, whereas packaging may require a narrow rectangular image. It is crucial to be mindful of these considerations during the shooting process. By visualizing the planned crop, you can ensure that all the essential elements of the dish are included in the composition, avoiding the disappointment of having important details cut off in the final image.
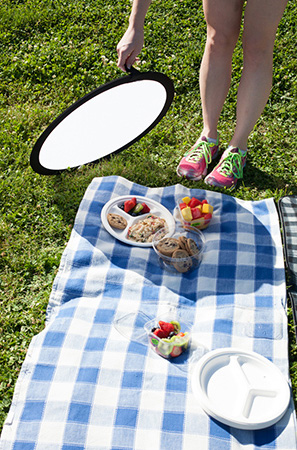
Step 6. Taking your food on location
Taking food photographs outside of the kitchen allows you to create visually appealing images against beautiful outdoor scenic backgrounds. Whether you plan a trip to a farm to capture freshly harvest fruits and vegetables or organize an outdoor entertaining event, shooting on location adds a unique touch to your food photography. However, it is important to consider weather conditions in outdoor shoots. While you cannot control rain ruining a shoot, you can control the impact of harsh sunlight on your set. Always carry a collapsible diffuser to place between your subject and the sun, diffusing any harsh light and providing soft, evenly lit conditions for your food photography.
Step 7. Vary your background
The background against which you photograph your food can significantly impact the final image. With countless options to choose from, ranging from painted wood and cloth to stone, selecting the right background is crucial. A great place to find unique backgrounds is at your local hardware store. Explore the wide array of materials available, and if you feel adventurous, you can even stain and paint wooden boards to create a custom shooting surface. Another option is painted ceramic or stone tiles, commonly used on bathroom floors, which offer sturdy surfaces with a plethora of visual variety. By switching up your background, you can instantly transform the atmosphere and make your food images more visually interesting.
Step 8. Modify Your Light
While a large soft diffused light is often the go-to choice for food photography, there are times when you may need to modify the lighting setup further to achieve the desired mood and scene. This can be accomplished through various techniques such as blocking with black foam boards, reflecting with white foam boards, bouncing the light source, or adjusting its height and placement. By fine-tuning your lighting, you can create images that evoke specific emotions and enhance the overall visual impact. If you find yourself consistently using the same lighting setup, consider experimenting with different equipment, such as a different sized softbox or a large white bedsheet, to achieve fresh and captivating results in your food photography.
Conclusion
Food photography can be a challenging genre, but by following these detailed steps, you can elevate your skills and create stunning images that truly capture the essence of the dish. From mastering the use of light to exploring creative ingredient shots and considering the final use of the images, each aspect of food photography plays a crucial role in creating compelling visuals. Embrace the diversity of colors, textures, and backgrounds that food offers, and never hesitate to experiment and push your creative boundaries. With practice and dedication, you will be able to create mouthwatering food images that leave viewers hungry for more.
The article is compiled and compiled by tipcamera.com