
Introduction
Selling products online requires compelling visuals, and great photos play a key role in captivating potential customers. Whether you are considering selling products on Amazon or any other online platform, learning how to photograph them effectively is essential. In this tutorial, we will delve into the intricacies of Amazon product photography and guide you on how to create stunning product images that set you apart from the competition.
List of Requirements for Amazon Product Photography
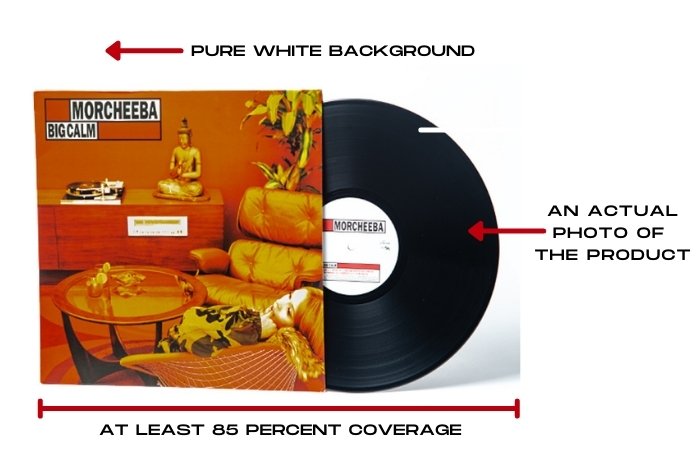
When it comes to creating Amazon product photography, following the platform’s image requirements is of utmost importance. These requirements encompass various aspects, ranging from formatting guidelines to recommendations on shooting and presenting your products. It is crucial to comply with these requirements to ensure that your images load properly and do not get flagged by Amazon.
One of the key formatting guidelines to keep in mind is that your image should be at least 1000 pixels in height or width. Additionally, Amazon specifies that the product should be positioned against a pure white background, covering a minimum of 85% of the frame.
Gather the Right Equipment
To achieve professional-looking product photography, it is essential to invest in the right equipment. While there are numerous do-it-yourself hacks available, they may not yield the best results, especially when dealing with a large number of products.
For Amazon product photography, you need equipment that consistently delivers high-quality results. The good news is that you don’t have to spend a fortune on professional gear. Understanding what to look for is the key. Here are some essential items you will need for your Amazon product photography setup:
White Background
Using a white background is crucial for Amazon product photography. There are various options available, but we recommend a white seamless paper roll. This type of backdrop offers a smooth surface and is easy to store. For smaller to medium-sized products, a 4 ft (1.22 m) roll is typically sufficient.
Background Stand
An appropriate background stand is necessary for supporting your white backdrop. Opt for an extendable version that can accommodate both four and eight-foot rolls.
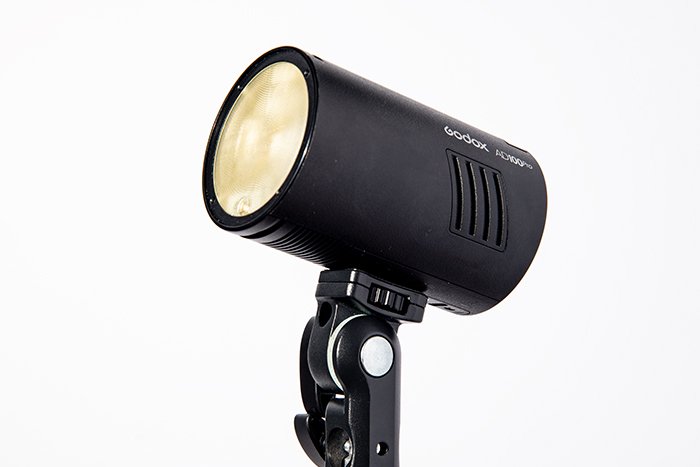
Artificial Light
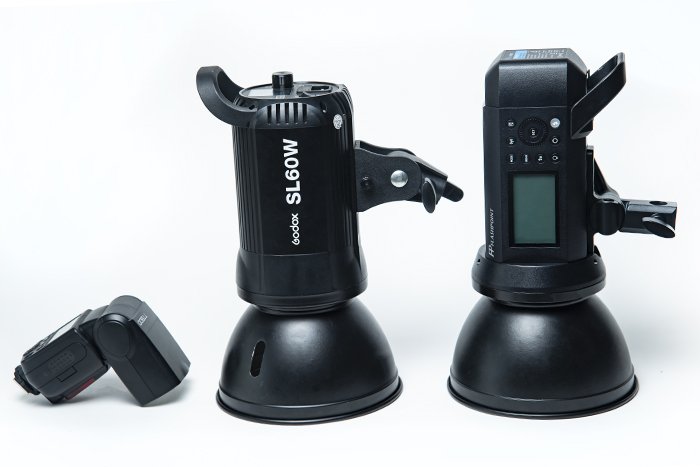
While natural light may seem tempting, it is not ideal for product photography due to its inconsistency. To ensure consistent lighting, artificial lights are the way to go. The most common types of artificial lights used are continuous lights, which come in the form of incandescent lamps and LEDs, and flash, available as flashguns and monolights.
For beginners in product photography, investing in a flashgun with a wireless trigger is recommended. It is relatively more affordable than monolights and provides brighter illumination. Simply connect the wireless trigger to your camera’s hot shoe, and you can activate the flash remotely.
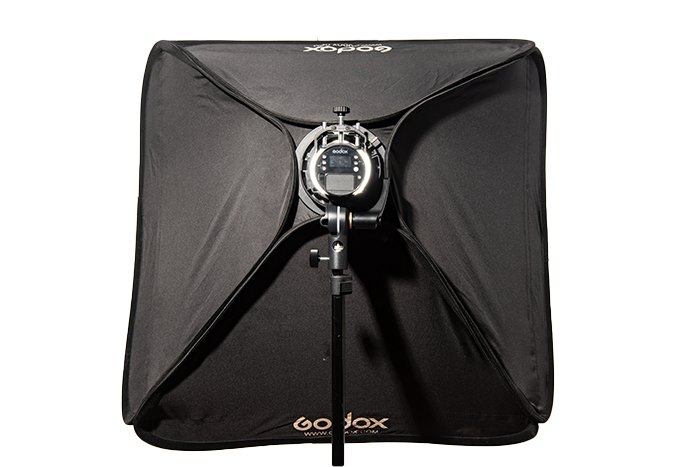
Softbox
A light source alone is not sufficient for achieving high-quality images. To diffuse the light evenly and create pleasing lighting, a softbox is essential. Square softboxes are versatile options that replicate window lighting and spread light uniformly.
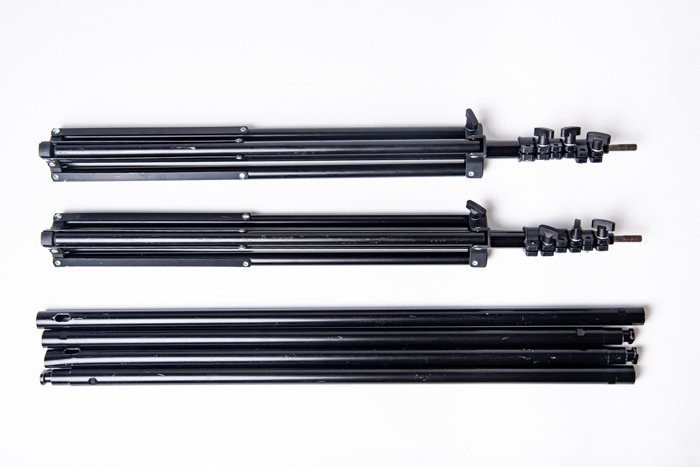
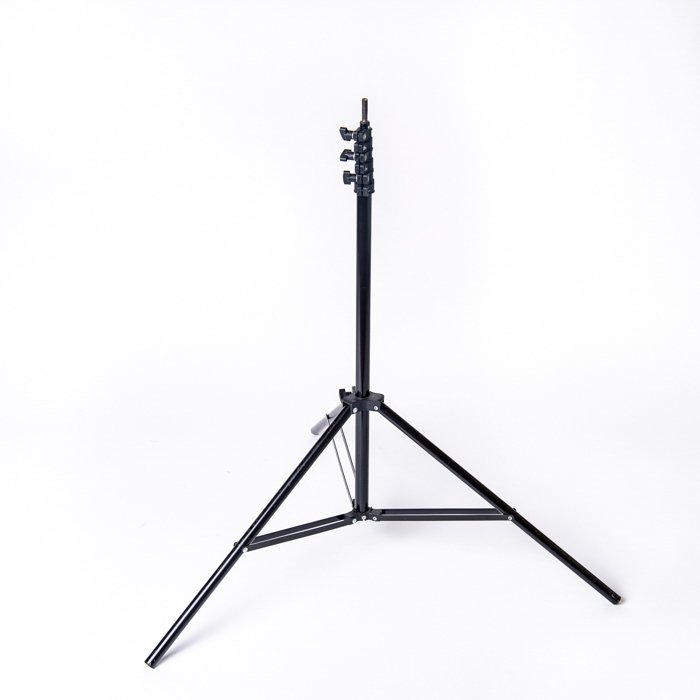
Light Stand
To support your light source while capturing product images, at least one sturdy light stand is needed. Ensure that the stand can handle the weight of both the light and the light modifier. While a regular light stand is suitable for flash guns and small light bulbs, larger light sources such as monolights require a heavy-duty C-stand made of aluminum alloy.
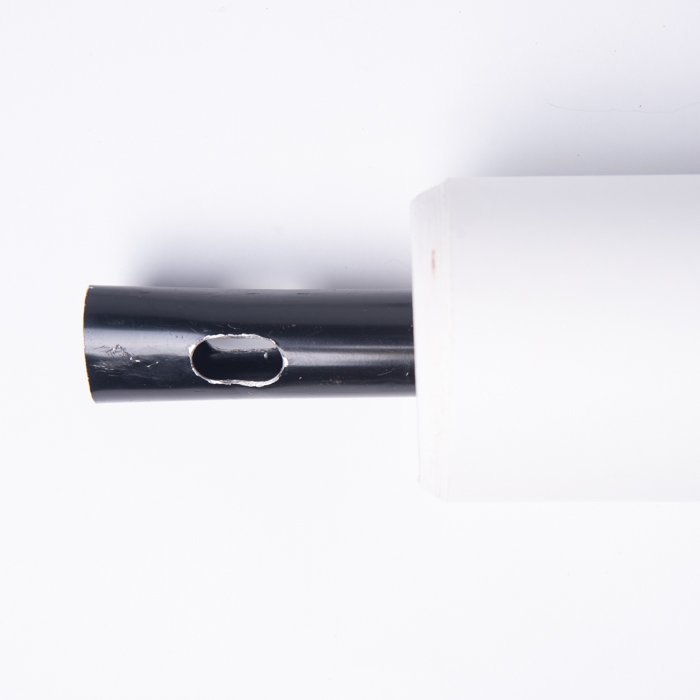
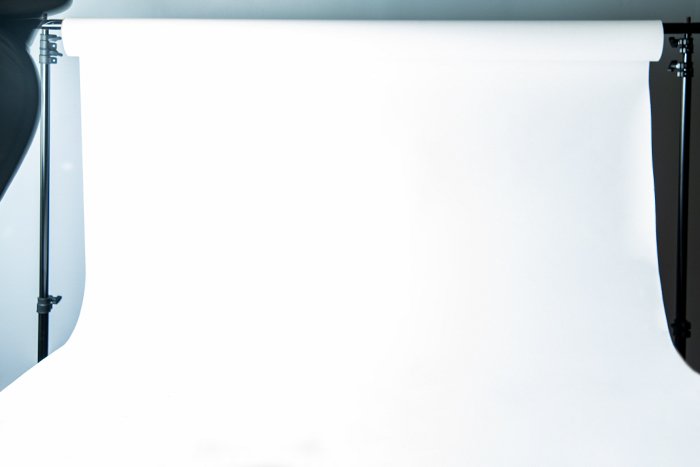
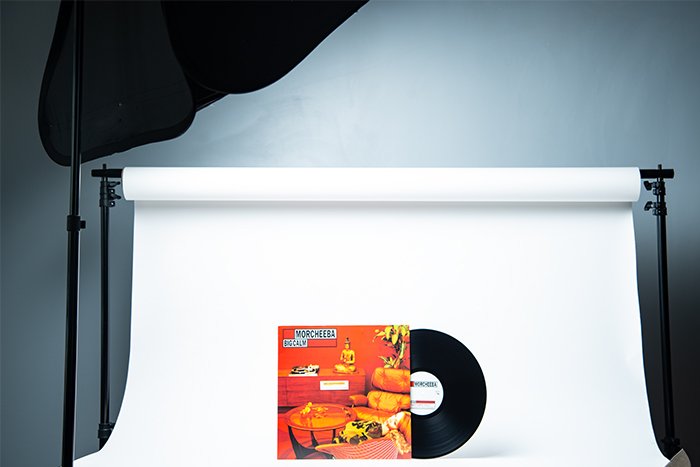
Set Up a Shooting Table
A shooting table, also known as a still-life table, is an essential platform for product photography. It provides a seamless background for your products. Setting up a shooting table for Amazon product photography is relatively simple. Here’s what you need to do:
1. Obtain a table that is at least 4 ft (1.22 m) long.
2. Set up a background stand behind the table.
3. Roll down the white seamless paper until it covers the entire surface of the table.
By following these steps, you can create an ideal setup for capturing professional product images.
Clean Up Your Product
Before photographing your product, it is crucial to ensure that it is clean and free from any dust or dirt. Cleaning the product before shooting will save you valuable time and effort in post-production. Here’s a step-by-step approach to cleaning your product effectively:
1. Use a microfiber cloth to wipe the surface of your product gently. This will help remove any fingerprints or smudges.
2. To eliminate dust, consider using a clean makeup brush or an air blaster. The air blaster releases a precise jet of air when you squeeze the rubber bulb, helping to remove dust particles.
By taking the time to clean your product thoroughly, you can ensure that your images appear polished and professional.
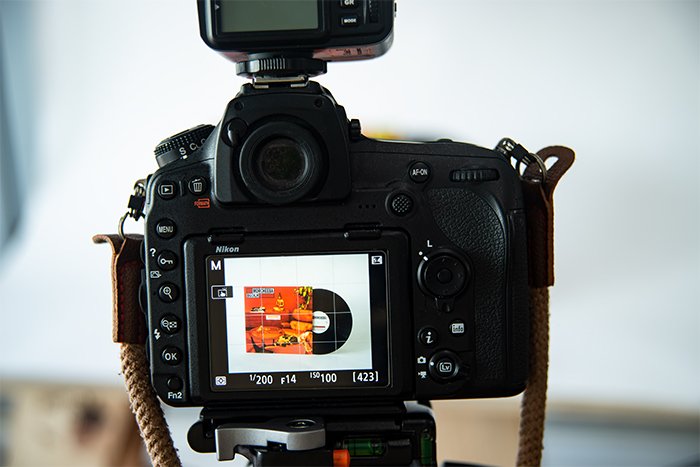
Set Camera to Correct Settings
To achieve consistent results in your Amazon product photography, it is essential to configure your camera settings appropriately. Since you will be using a consistent light source, you can use the same camera settings for most of your product photo projects. Here’s what you need to do:
1. Switch your camera to Manual mode to have full control over exposure settings.

2. Set your ISO to a low value like 100 to minimize image noise. However, you can increase the ISO if necessary, but be aware that higher settings may introduce more visible grain.
3. Choose an aperture between f/8 to f/16. Higher aperture values (smaller lens openings) result in a larger depth of field, making your product appear sharper.
4. Set your shutter speed to the maximum flash sync speed of your camera, typically 1/200th of a second. This ensures proper synchronization with your flash unit and prevents dark bands from appearing in your images.

5. Adjust your flash power to 1/16 or experiment until you achieve the desired lighting.
While occasional adjustments may be necessary, these settings serve as a starting point for most product photography projects.
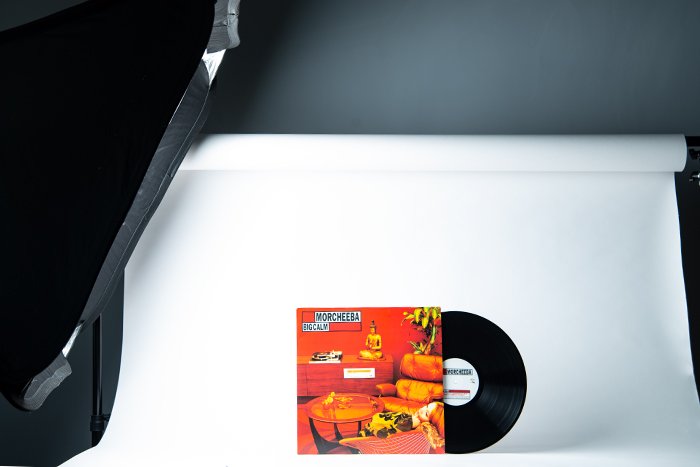
Illuminate Your Product Evenly
One of the most critical aspects of Amazon product photography is achieving even and flattering lighting. Proper lighting showcases the colors and dimensions of the product accurately, giving potential customers a realistic representation.
To achieve optimal lighting, consider the following guidelines:
– Position the light to the left of your product and angle it down at approximately 45 degrees. This helps in illuminating your subject evenly and reducing distracting shadows.
Keep in mind that the optimal lighting position may vary depending on the specific product you are photographing. Feel free to experiment with different angles and positions of your lighting source to achieve the desired effect.
Pick a Good Editing Program
To ensure the final touch of professionalism in your Amazon product images, you may need to retouch and refine them using an image editing program. Two popular options for post-production editing are GIMP and Photoshop.
GIMP is a free software that provides a wide range of tools for retouching and enhancing your images. It offers features comparable to those found in professional software. On the other hand, Photoshop is the industry-standard software widely used by photographers, including for product photography. Its extensive editing capabilities and tools make it a powerful choice for refining your product images.
Depending on your preference, you can choose either GIMP or Photoshop (or any other suitable image editing program) to add the finishing touches to your Amazon product photos.
Isolate The Subject
Achieving a pure white background while maintaining proper exposure of the subject can be challenging. To overcome this, you need to isolate the subject from the background, and this can be done effectively in post-production using Photoshop.
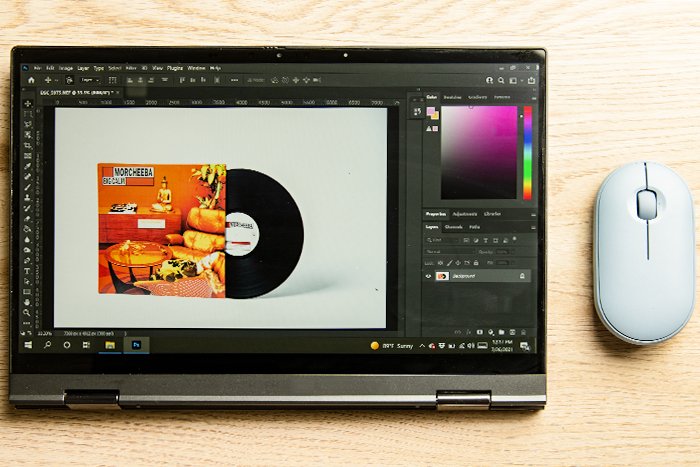
There are multiple methods to achieve this, but we will focus on two commonly used techniques:
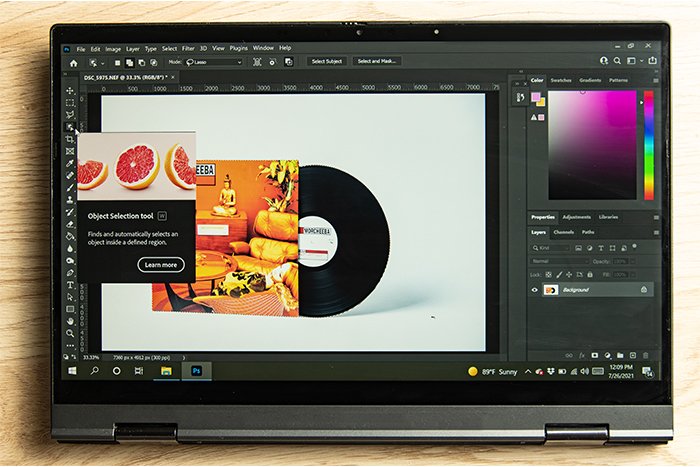
1. Object Selection Tool: This tool in Photoshop allows you to drag and select your subject, and it automatically creates a selection around it.
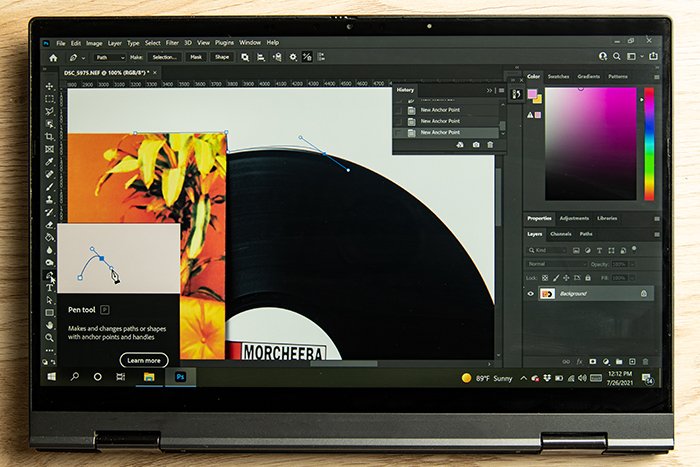
2. Pen Tool: The Pen tool provides precise control over creating selections. By placing anchor points around the subject’s edges and adjusting them for curved objects, you can create an accurate selection.
Once you have isolated the subject, you can separate it from the background and place it against a pure white background, as required for Amazon product photography.
Clean Your Image
Even after thorough cleaning of the product, minor imperfections such as dust specks or scratches may still be present in the photos. Fortunately, you can easily remove them during post-processing using tools available in Photoshop.
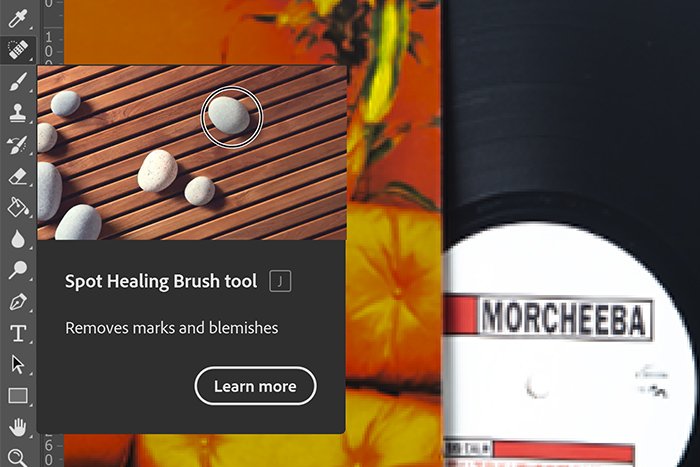
Two commonly used tools for cleaning product images are the Spot Healing Brush tool and the Patch tool:
1. Spot Healing Brush tool: This tool automatically samples the surrounding area and blends it seamlessly to remove specks of dust or other small imperfections with a single click.
2. Patch tool: The Patch tool allows you to select a specific area to be patched with another area, enabling you to remove larger imperfections or distractions.
By utilizing these tools, you can achieve clean and polished product images, eliminating any distractions or blemishes.
Do Not Color Grade
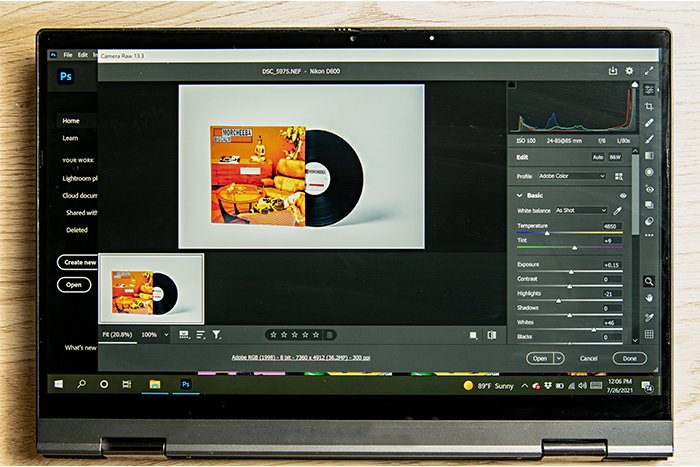
When it comes to product photography, maintaining the true colors of the product is essential to represent it accurately to potential customers. Therefore, it is advisable not to attempt altering or enhancing the colors of your product images during post-processing.
While you should refrain from color grading, you can adjust exposure values such as brightness and other parameters to optimize the visibility and overall appearance of the product image.
Conclusion
Mastering the art of Amazon product photography requires attention to detail and adherence to specific guidelines. By following the outlined steps, you can create stunning product images that showcase your products effectively and help drive sales.
Keep in mind that following Amazon’s image requirements is of utmost importance to ensure your images are uploaded seamlessly and that you don’t encounter any issues with your product listings.
Remember, practice makes perfect. With time and experience, you will become more proficient and creative in your Amazon product photography. Capture attention-grabbing product photos that stand out and sell with our specialized course, “Products in Focus!
The article is compiled and compiled by tipcamera.com