
Introduction
Photography is a powerful artistic medium that allows us to capture the beauty of the world around us. While daylight photography is a popular choice, there is something truly magical about capturing moments in low-light conditions. In this article, we will explore the intricacies of shooting in low light, discussing various techniques, equipment, and planning strategies that can help you create stunning images. So, if you’re ready to embark on a creative journey into the world of low-light photography, let’s dive in!
Choosing a camera and lens
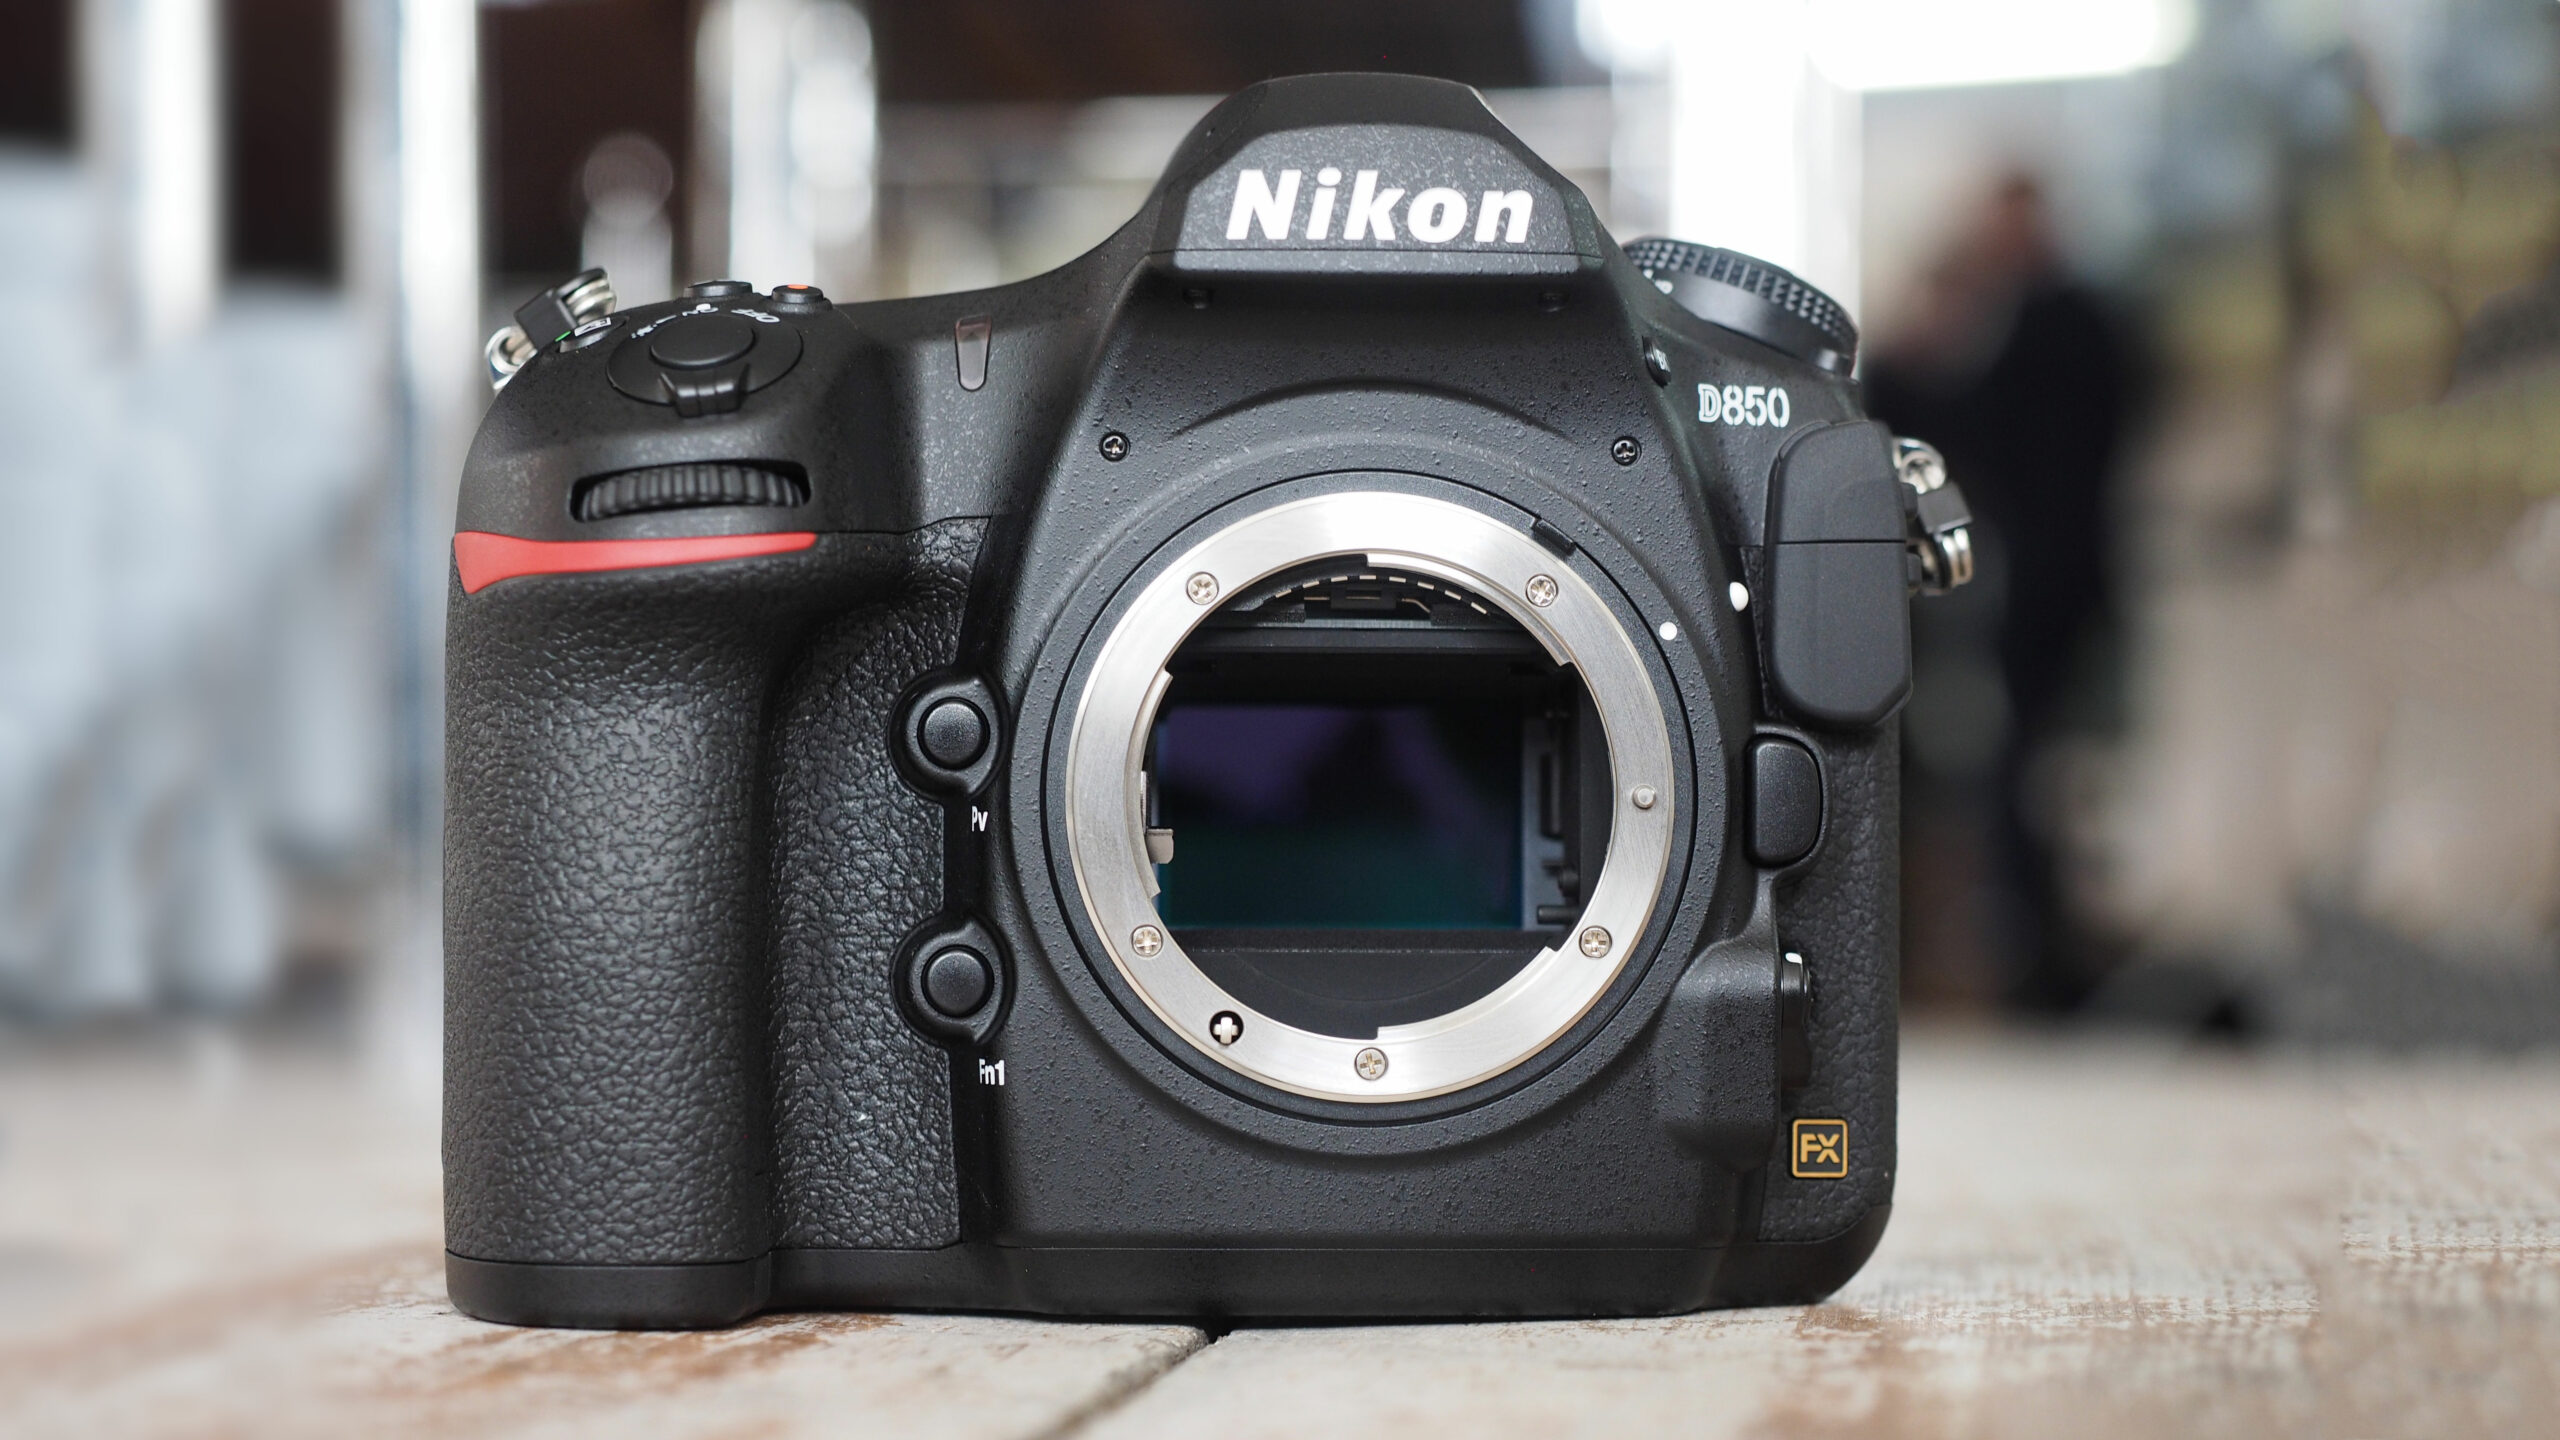
When it comes to low-light photography, two factors play a crucial role in capturing remarkable shots: aperture and ISO. The aperture, expressed as an ‘f’ stop, controls the amount of light that enters the camera’s image sensor. Opting for a lower aperture number allows more light to reach the sensor, resulting in brighter images. Therefore, selecting a lens that offers a wide aperture, such as f/2.8, can significantly improve your ability to shoot in low-light conditions.
Additionally, understanding ISO, which denotes the camera’s light sensitivity, is essential. Higher ISO settings enable the camera to capture more light, but it can also introduce noise in the final image. To minimize noise, opting for a camera with good high ISO performance is recommended. Full-frame DSLR cameras are often a popular choice due to their larger image sensors, which collect more light, allowing for cleaner images even at high ISO settings.
Best low-light cameras
When it comes to choosing the perfect low-light camera, it is essential to consider various factors such as image quality, low-light performance, and budget. Here are some highly recommended options:
- Camera 1: XYZ Model – This camera excels in low-light conditions and offers outstanding image quality.
- Camera 2: ABC Model – Known for its exceptional performance in low-light situations, this camera is a favorite among professional photographers.
- Camera 3: UVW Model – Offering versatility and excellent low-light capabilities, this camera is perfect for both amateurs and enthusiasts.
Equipment and accessories you’ll need
Preparing for a low-light photography shoot requires some essential equipment and accessories to ensure both your safety and the stability of your shots. Here are some must-have items:
Torch
A torch or flashlight is indispensable during a low-light or night photography shoot. It not only helps you find your way in the darkness but also assists with autofocus by illuminating the subject. Consider investing in a reliable head torch to keep your hands free for capturing those perfect shots.
Tripod
Stability is crucial when shooting in low-light conditions, as longer exposure times are often necessary for capturing enough light. Investing in a sturdy tripod is essential to eliminate camera shake and ensure sharp images. Consider the height, weight, and stability of the tripod when making your selection.
Best travel tripod
Finding the ideal travel tripod can be a challenge, especially when weight is a concern. Here are some exceptional travel tripods worth considering:
- Tripod 1: UVW Model – This travel tripod offers a perfect balance between weight and stability, making it an excellent choice for on-the-go photographers.
- Tripod 2: XYZ Model – Designed with lightweight materials, this travel tripod allows for easy portability without compromising stability.
- Tripod 3: ABC Model – Combining durability with a compact design, this travel tripod offers excellent stability for your low-light photography adventures.
Bag or backpack
Carrying and protecting your equipment during low-light shoots is vital. Opt for a reliable bag or backpack that offers ample storage, organization, and comfort. Look for options with weather-resistant materials to keep your gear safe from external elements.
Cable release or wireless remote
Using a cable release or wireless remote is beneficial in preventing camera shake when capturing long exposures or time-lapse sequences. These accessories allow you to trigger the shutter without touching the camera, resulting in sharper shots. Consider choosing one that is compatible with your camera model.
SD cards and spare batteries
Low-light photography often involves shooting in high ISO settings, which can lead to increased picture noise. To ensure you have sufficient storage for your RAW files, pack high-capacity SD cards. Additionally, carrying spare batteries is crucial, especially in cold weather where battery life tends to reduce. Be prepared for longer shoots by having extra power on hand.
Planning a low-light shoot
Proper planning is crucial for a successful low-light photography shoot. Knowing where and when to shoot will maximize the potential for capturing stunning images. Here are some essential tips:
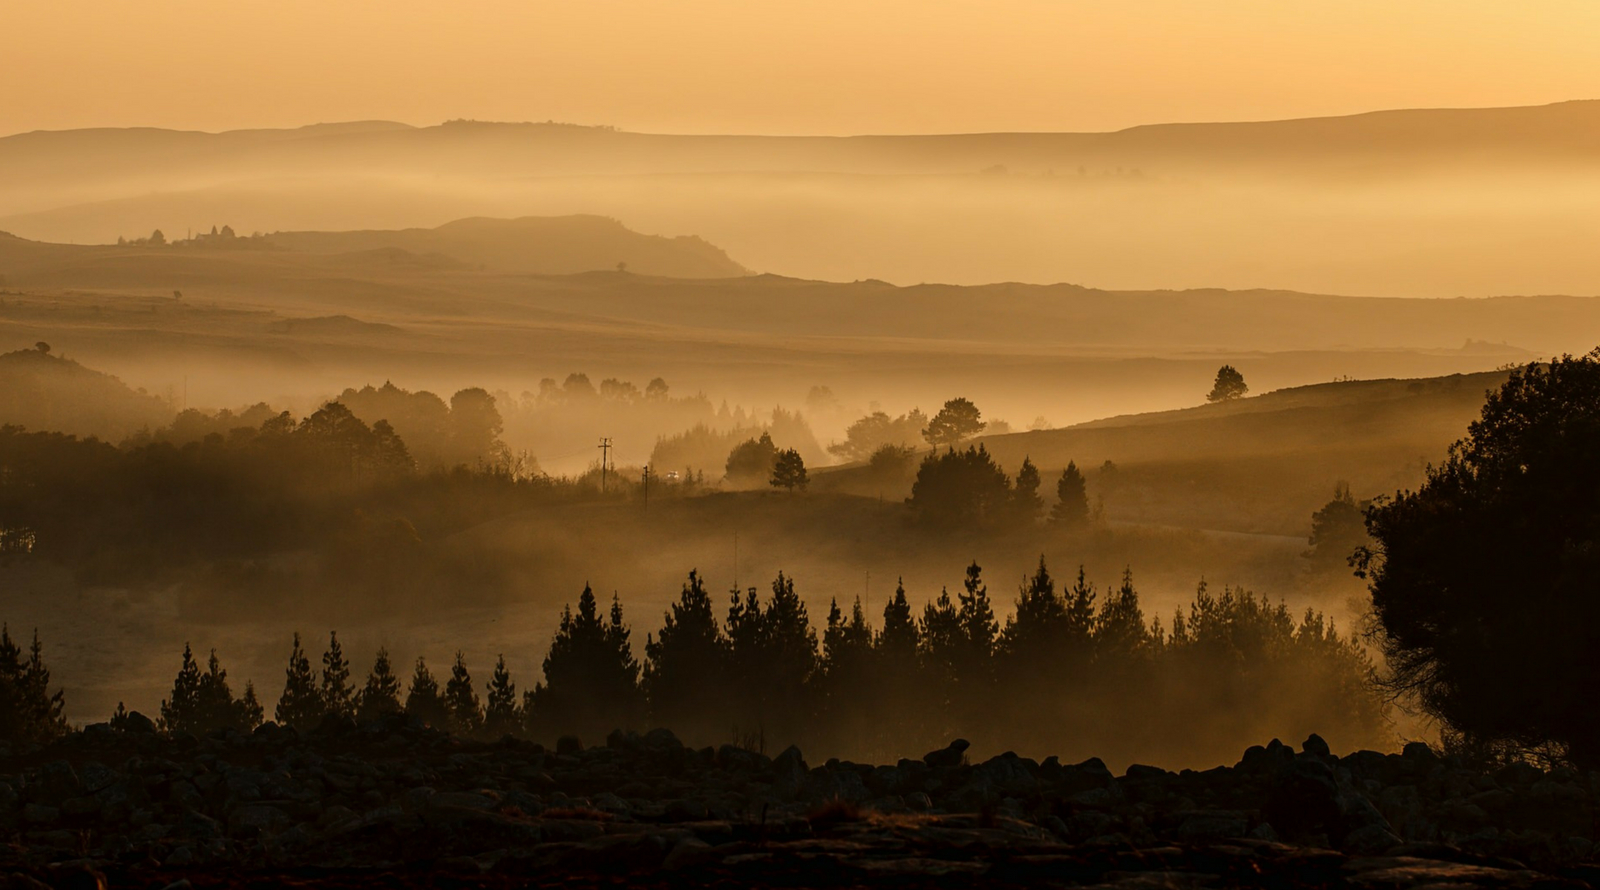
The blue hour
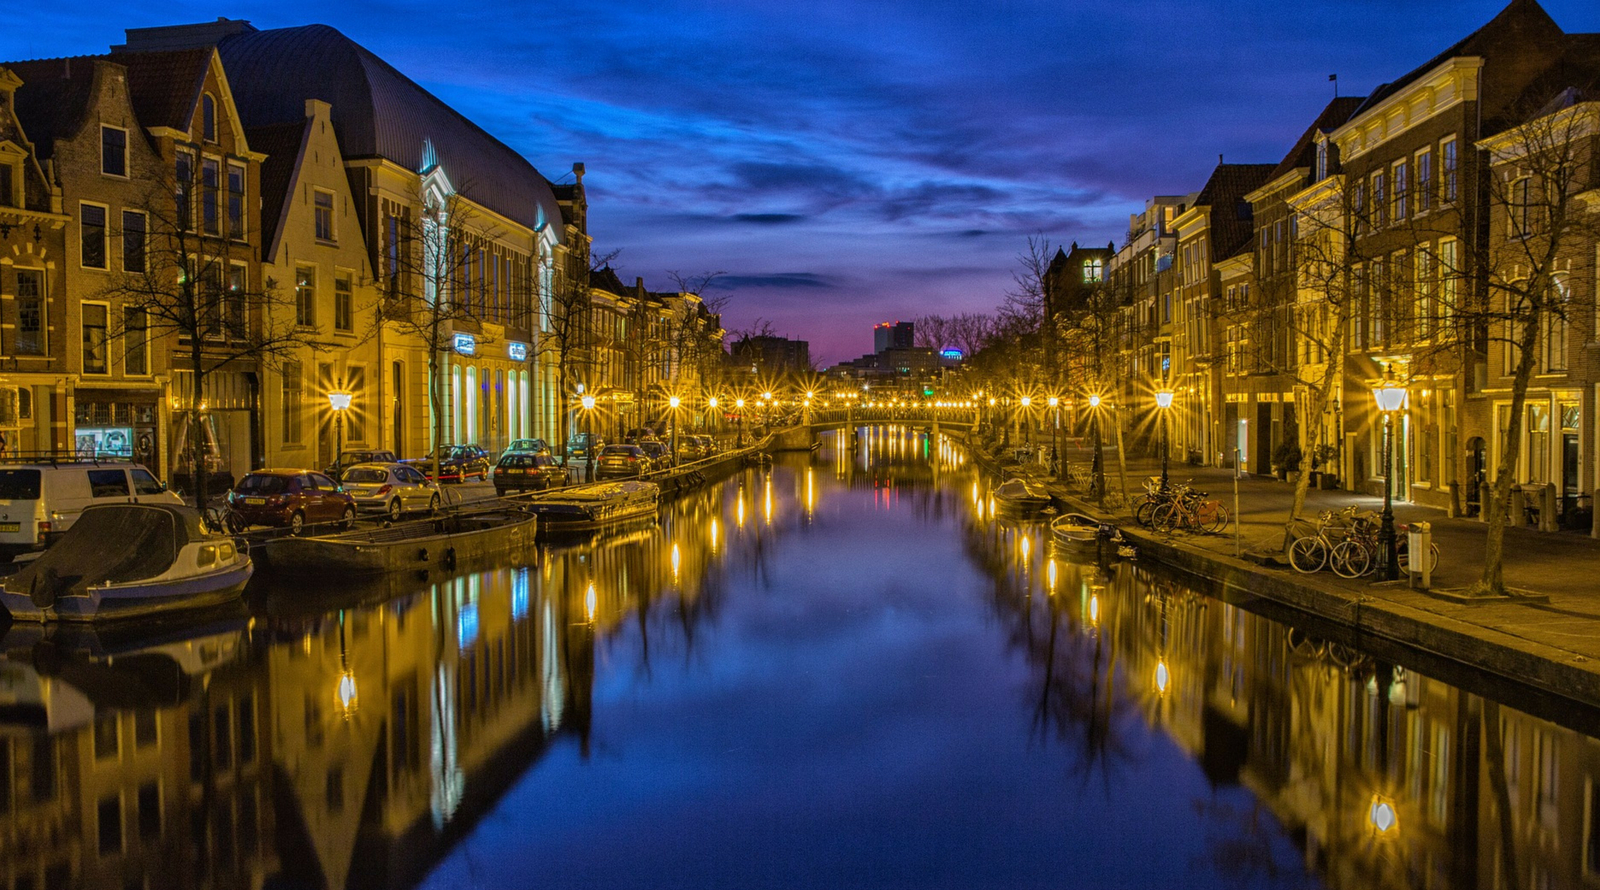
The blue hour, a period before sunrise and after sunset, offers a unique and magical light that photographers often prioritize. During this time, the sky displays a beautiful blue hue, creating a captivating atmosphere for your shots. Plan your shoot to coincide with this enchanting moment.

Familiarize yourself with the shooting location
Before your low-light shoot, take the time to visit the shooting location during daylight. This will allow you to explore potential compositions, identify interesting subjects, and understand how the available light interacts with the surroundings. Familiarize yourself with the area, note any potential obstacles or safety concerns, and plan your shots accordingly.
Tools for planning
Several tools can help you plan your low-light shoot effectively:
- The Photographer’s Ephemeris (TPE): This tool provides detailed information on how the light will fall for any location and time, enabling you to plan your shoot with precision.
- Sky Live app: This app helps you determine sunrise, sunset, moonrise, and moonset times, as well as stargazing conditions.
By utilizing these tools, you can optimize your shooting locations and timeframes for the best possible results.
Planning a night shoot
Shooting in the dark opens up a whole new world of possibilities, especially when capturing celestial wonders like the Milky Way or star trails. Here are some essential considerations for planning a night shoot:
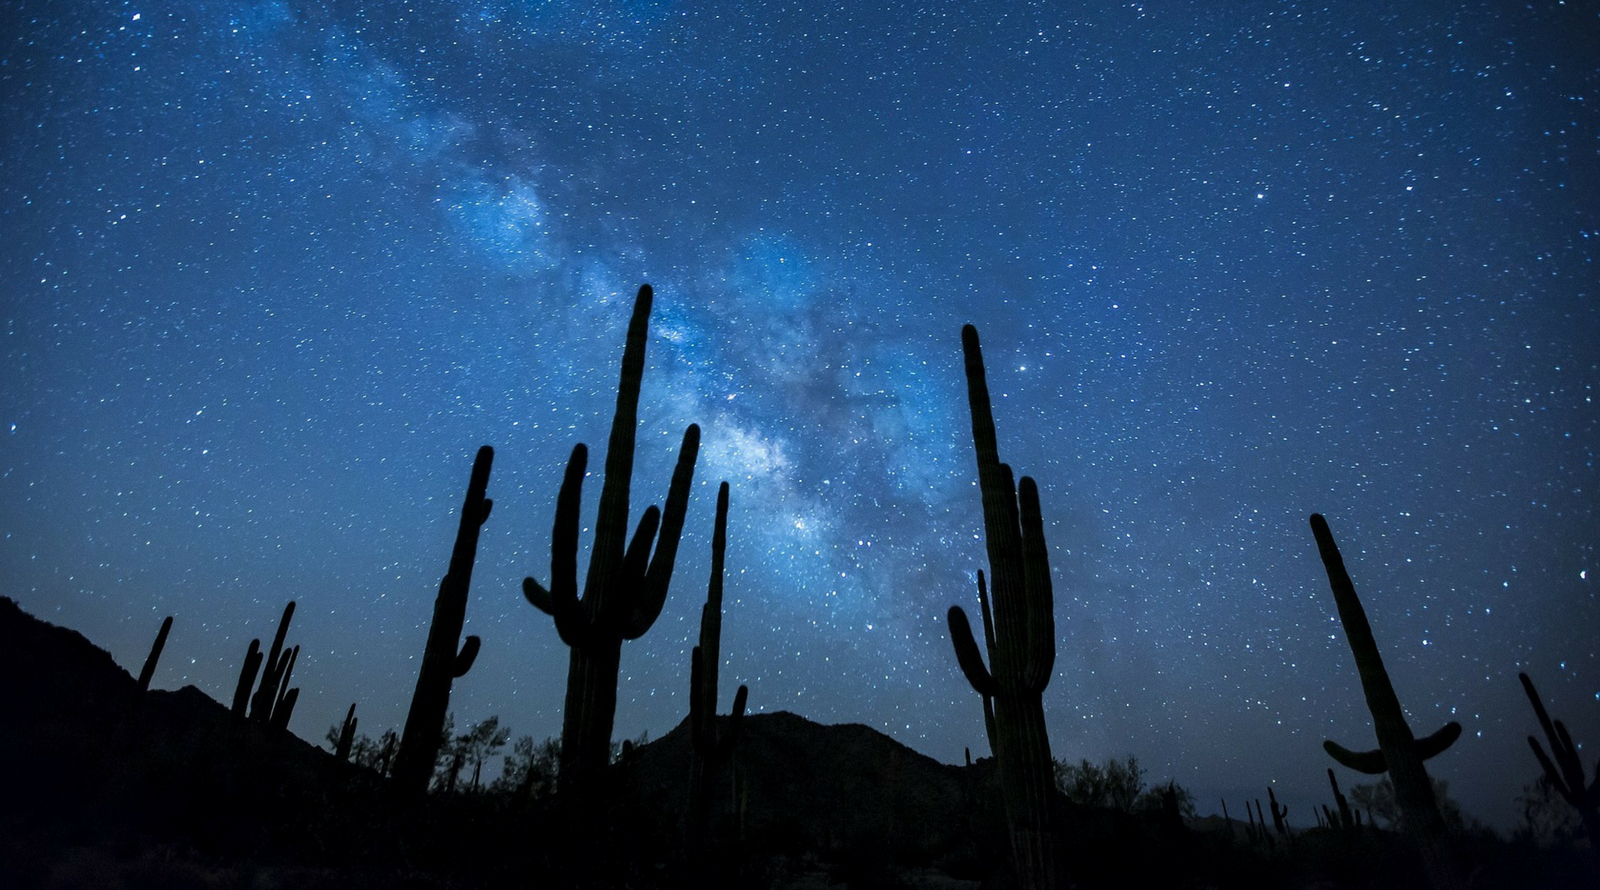
Capturing the Milky Way
To capture the majestic beauty of the Milky Way, understanding its visibility and timing is crucial. In the northern hemisphere, it is best photographed in spring and summer, with its bright core visible in the south-eastern sky. Plan your shoot accordingly for the best chance of capturing this awe-inspiring sight.
Moonlight and its impact

The presence of the moon can significantly influence light levels and the overall mood of your shots. Consider the moon phase well in advance to determine how its illumination will affect your desired subjects. A full moon can create a well-lit night sky, while a new moon guarantees a dark sky perfect for capturing starry landscapes.
Creating star trails
If you intend to capture star trails, your camera’s orientation plays a vital role. In the northern hemisphere, pointing your camera to the north allows you to capture circular star trails around the North Star, Polaris. Alternatively, pointing south will result in curved star trails. Determine your desired effect and adjust your camera positioning accordingly.
Useful planning resources
Several planning resources can help you determine the optimal timing and conditions for your night shoot:
- Blue Hour Site: This website provides information on the blue hour, sunrise, and sunset times.
- The Photographer’s Ephemeris (TPE): This tool assists in planning with detailed information regarding light direction and times.
- Sky Live app: Use this app to access sunrise, sunset, and moonrise/set times, as well as stargazing conditions.
- Light Pollution Map: Locate areas with minimal light pollution for clearer views of the night sky.
- Dark Site Finder: This resource helps identify dark sky locations away from light pollution.
- Stellarium website: Stellarium is a free and reliable planetarium application that aids in identifying constellations and celestial objects.
- Stellarium app: This mobile app version of Stellarium offers convenient on-the-go access to celestial information.
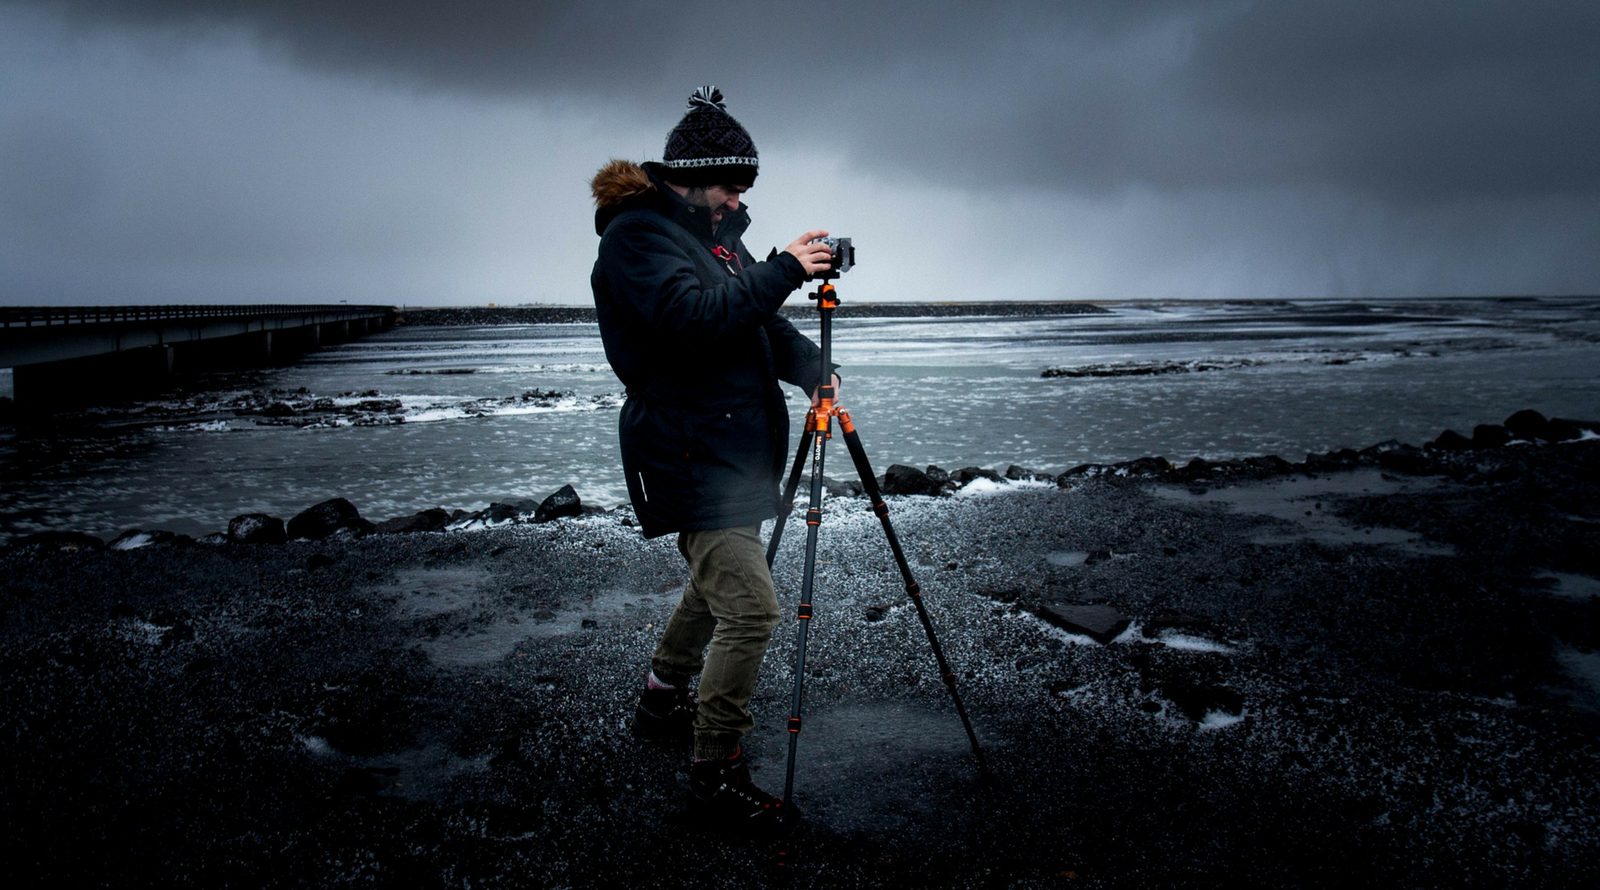
Preparing for a night shoot
Heading out for a low-light or night shoot requires careful preparation to ensure your comfort, safety, and the optimal performance of your gear. Here are some important considerations:
Dress warmly
Low-light photography often takes place during dawn, dusk, or nighttime, when temperatures tend to drop. Layer up and dress warmly to stay comfortable throughout the shoot. Bring extra clothing to ensure you can adjust to changing weather conditions.
Protecting your gear
Extreme temperature changes can cause lenses to fog up, potentially ruining your shots. Once you are outside, avoid bringing your equipment back into warm environments abruptly. Instead, let your gear gradually adjust to the temperature by keeping it outside or in your camera bag.
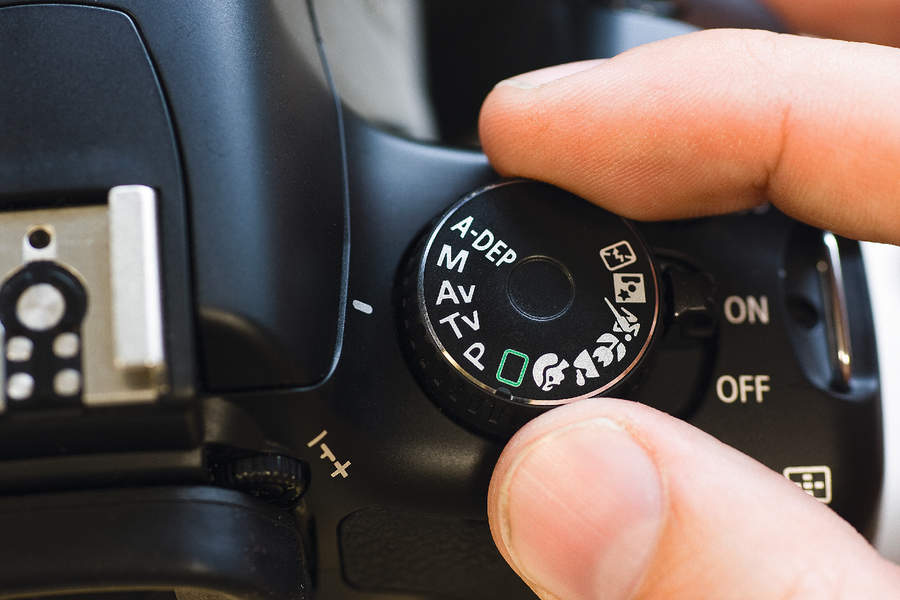
Master operating your camera in the dark
Operating your camera without relying on visible cues is essential when shooting in the dark. Practice adjusting your camera settings by touch alone to ensure you can make quick changes while capturing fleeting moments. Familiarize yourself with your camera’s dials, buttons, and menus in advance to navigate them effortlessly during the shoot.
Dim the brightness of your camera’s LCD screen
When shooting in low-light conditions, keeping your eyes adjusted to the darkness is crucial. Dimming the brightness of your camera’s LCD screen prevents both eyestrain and glare, allowing you to focus more easily and use the viewfinder effectively.
Conclusion
Shooting in low-light conditions presents exciting opportunities for photographers to capture extraordinary moments. By understanding the importance of aperture, ISO, and choosing the right equipment, you can overcome the challenges and achieve remarkable results. Effective planning, familiarizing yourself with shooting locations, and mastering camera operation in the dark are essential for successful low-light photography. So, pack your gear, venture into the night, and let your creativity shine!
The article is compiled and compiled by tipcamera.com