
Introduction
Concert photography is an incredibly challenging field to master, primarily because of the difficult lighting conditions and the restriction on using flash. These factors make it essential for photographers to optimize their skills and equipment to capture stunning images in low lighting environments. Whether you are shooting a major arena performance with a DSLR and a photo pass or capturing local bands in smaller venues, here are some valuable tips to enhance your concert photography experience.
Tip 1: Choose a Low Lighting Lens

One of the most crucial aspects of concert photography is the gear you select. While camera equipment usually plays a secondary role in photography, when it comes to low light situations, it becomes paramount. Having a fast lens with the lowest possible f-stop is imperative. For concert photographers, the preferred lenses are the 24-70mm f/2.8 and the 70-200mm f/2.8. These lenses are highly popular in the concert and event photography community due to their low f-stops and extensive focal length coverage.
However, it is important to note that these fast lenses can be quite expensive. If you are on a budget, opting for an affordable prime lens like the 50mm f/1.8 or the 85mm f/1.8 can be a smart choice. While you sacrifice the ability to zoom, these lenses offer an extra stop or two of light, allowing you to capture better images while saving money.
Tip 2: Adjust Your Aperture to Shoot Wide Open
Once you have a lens with a large aperture, it’s essential to switch your camera to either Aperture Priority or Manual mode. Shooting wide open at the lowest f-stop number your lens allows will enable your camera’s sensor to receive the maximum amount of available light. However, keep in mind that shooting at a lower f-stop number affects the depth of field, potentially causing your images to be less sharp compared to higher f-stop settings. In situations with extreme brightness, consider increasing your f-stop to capture more of the scene in focus.
Tip 2a: An Example
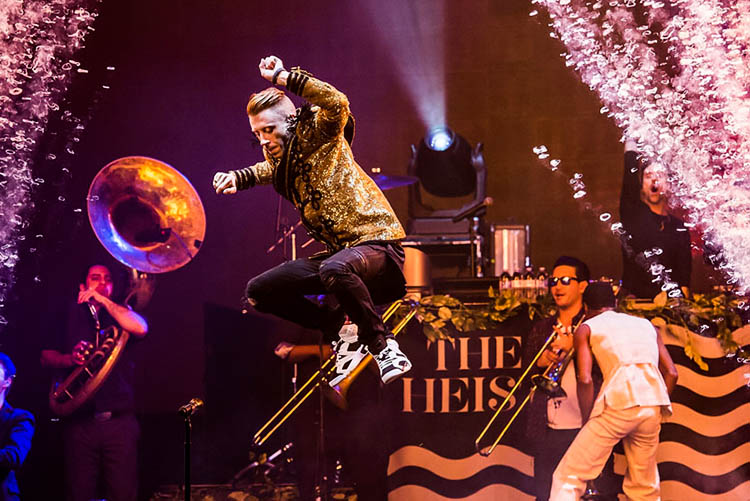
To illustrate, imagine you are fortunate enough to work with ample venue lighting. In such cases, you might choose to shoot at f/4, using a relatively faster shutter speed like 1/125 and ISO 640. This would result in a wider depth of field, even though it may sacrifice some light. Balancing these factors requires careful consideration and experimentation.
Tip 3: Watch Your Shutter Speed
Although shooting in Aperture Priority mode alleviates the need to manually set your shutter speed, understanding its impact on your images is crucial. For concert photography, a baseline shutter speed of at least 1/250th is necessary to freeze motion effectively. However, this luxury is typically reserved for well-lit shows or outdoor concerts. In low lighting conditions, your shutter speed will likely be considerably lower than 1/250th. Some photographers can push their equipment to work at around 1/60th, still producing satisfactory results. However, it is generally advised not to go any slower than 1/100th to avoid excessive blurriness.
Tip 4: Increase the ISO
To accommodate the desired aperture and shutter speed, increasing the ISO becomes crucial. In most cases, concert photography calls for cranking up the ISO to 3200 or higher, sometimes even reaching levels like 6400. However, the exact ISO limitations depend on your specific camera model. It is important to experiment and find the highest ISO setting that you are comfortable with, considering factors such as noise level.
Tip 4a: Noise Reduction Software
It’s worth noting that higher ISO settings introduce more noise or grain in your images. However, many modern digital cameras excel at producing quality images even at high ISOs. Additionally, there are noise reduction software options available that can help mitigate noise during post-processing. In concert photography, combating noise is preferable to having blurry images due to a slow shutter speed. Therefore, do not hesitate to increase the ISO if needed.
Tip 5: Shoot in RAW
If your camera permits, shooting in RAW format instead of JPG is highly recommended for concert photography. This is particularly crucial due to the unpredictable and inconsistent lighting conditions at concerts. Red or blue lights can flicker or change throughout a performance, making it challenging to adjust the in-camera white balance effectively. By capturing images in RAW, you gain more flexibility in post-production to fix and edit your photos.
Tip 5a: Adjusting White Balance
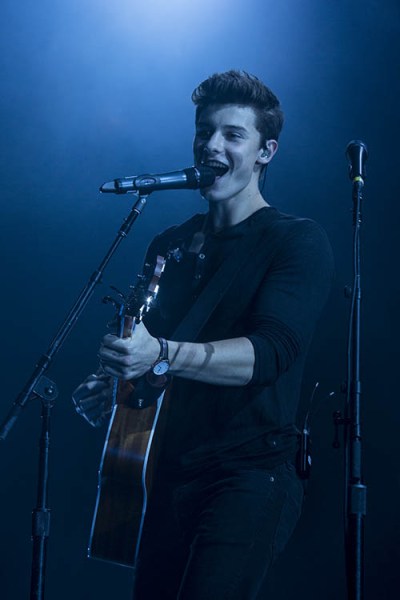
To illustrate, let’s consider a scenario where you have taken a concert photo with excessive blue lighting. By shooting in RAW, you have the opportunity to correct the coloring in post-processing. With a quick white balance adjustment, you can restore the image to its intended balance, resulting in a much more visually appealing photograph.

Conclusion
Concert photography presents numerous challenges, primarily due to the low lighting conditions and the prohibition of flash usage. However, by following these essential tips, you can enhance your concert photography experience and capture remarkable images. Remember to carefully choose a lens suitable for low lighting conditions, adjust your aperture to shoot wide open, monitor your shutter speed to freeze motion, increase your ISO as needed, and shoot in RAW format for greater flexibility in post-production. By optimizing your techniques and equipment, you can overcome the challenges and unleash your creativity in concert photography.
The article is compiled and compiled by tipcamera.com