
The Art of Food Photography: Creating Stunning Images at Home
Introduction
Food photography is an exciting and creative endeavor that allows you to transform any space into a professional studio. Whether you live in an apartment, home, or even a garage, you can capture beautiful and appetizing images of your favorite dishes. In this article, we will dive into the intricacies of food photography and explore how to create stunning images using simple household items and minimal equipment.
The Unique Root Beer Float Shot
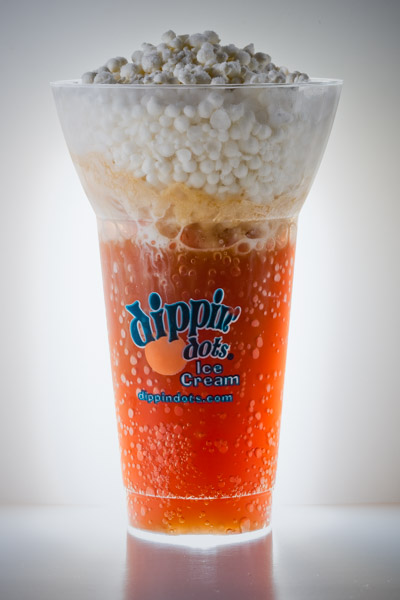
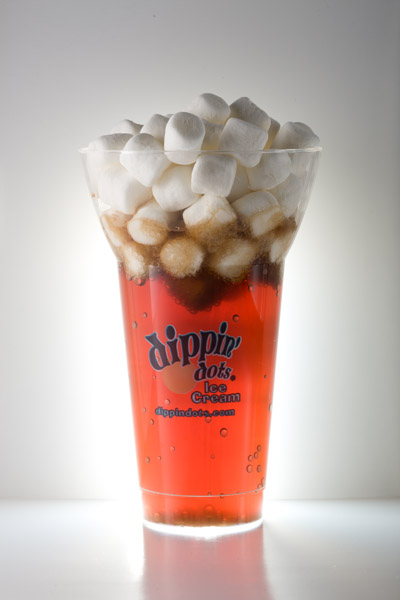
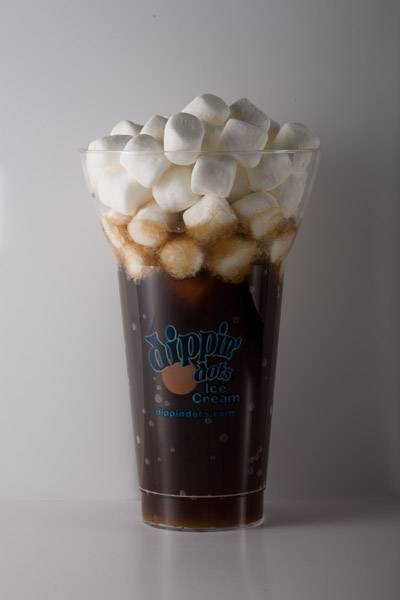
Imagine a root beer float like you’ve never seen before – one that incorporates ice cream pellets achieved through flash freezing with liquid nitrogen. This innovative twist on the classic treat presented a few challenges in capturing the perfect shot. Since the ice cream pellets melted quickly, time was of the essence, requiring a clever solution. A stand-in cup filled with soda and mini marshmallows was used to allow adjustments to the lighting while keeping the fragile ice cream safe in an ice chest with dry ice.
Constructing the Set
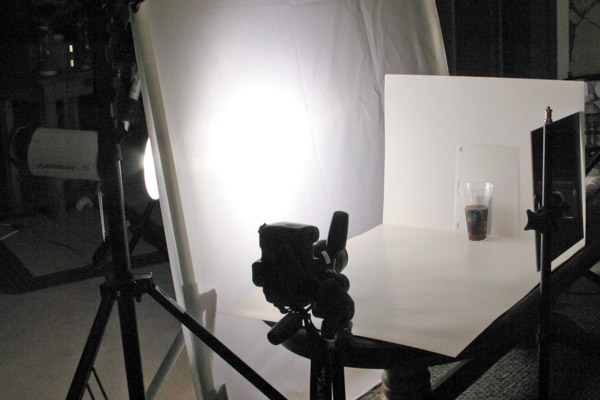
To create an appealing and professional backdrop, two pieces of white poster board were employed. One served as the floor, while the other functioned as the background. These boards were attached to sections of repurposed PVC tubing from DIY light panel frames. To ensure stability, small one-pound dumbbells were strategically placed on top of the PVC frame. This setup prevented any movement or instability during the photoshoot.
The Importance of Backlighting
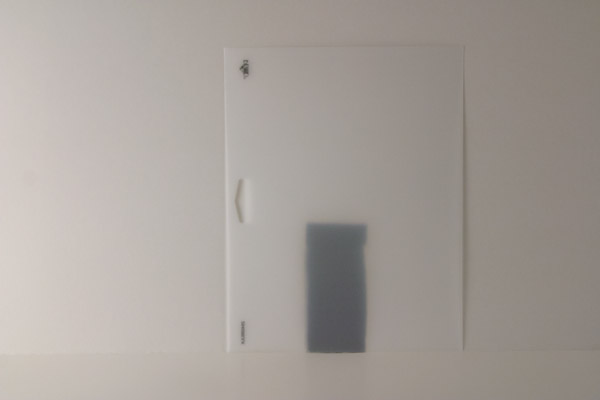
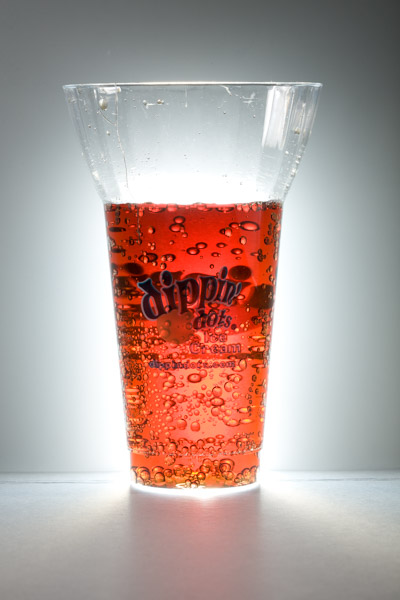
When photographing beverages, backlighting is crucial to capturing the transparency and allure of the liquid and its container. This technique is what makes soda, iced tea, and beer advertisements appear so enticing. In the case of our root beer float image, a brilliant approach was taken to achieve the desired effect. A rectangular hole was carefully cut into the back of the poster board, obscuring it from the camera’s view. This opening allowed for the creation of a tiny pseudo-softbox behind the glass of root beer. A small off-camera flash with a radio trigger was placed behind the background, positioned on its side to match the tall and narrow hole.

Diffusing the Light for a Softer Background
To evenly distribute the light and create a soft background, a translucent frosted stencil paper purchased from a local hobby store was placed in front of the hole. This paper not only diffused the light shining through the opening but also gave a gentle falloff effect to the background. Careful adjustment of the paper ensured that no edges, logos, or holes were visible from the camera’s angle of view.
Illuminating the Ice Cream
To showcase the ice cream pellets in all their glory, an additional light source was needed. A large piece of diffusion fabric attached to a PVC frame was positioned just out of frame, towards the left side of the camera. Behind this panel, a strobe light was strategically placed, creating a soft transition from highlights to shadows and ensuring that no details were lost in the shot.
Adding Reflection and Depth with an Acrylic Mirror
To enhance the overall composition of the image, an acrylic mirror was attached to a light stand and positioned just out of frame, towards the right side of the shot. By reflecting and bouncing light from the large panel back into the shadows, the mirror filled the image with added depth and dimension.
The Final Shot: Camera Settings and Equipment
To capture all the intricate details of the root beer float image, a Canon EF 100mm f/2.8 Macro lens was employed. This lens allowed for exceptional close-up shots and a shallow depth of field, emphasizing the textures and colors of the subject. The camera was set to f/14 at ISO 100, ensuring optimal sharpness and clarity.

Creating Professional-Looking Images on a Budget
One of the fascinating aspects of food photography is that it allows for stunning results even with minimal equipment and a tight budget. Here are a few additional tips and alternatives to consider:
-
- CFL or LED Light Bulbs: If you don’t have access to strobes, regular household bulbs can provide sufficient lighting for your still photography. Adjusting the shutter speed to compensate for the lower light emitted by these bulbs is essential. Experiment with different bulb wattages or varying the number of bulbs to achieve different lighting ratios. Ensure that the bulbs are placed behind a source of diffusion to create a single, large light source.
- White Twin Bed Sheet: An inexpensive yet effective form of diffusion is a white bed sheet. Attach it to a PVC frame or stretch it between two light stands using spring clamps. Apart from food photography, white bed sheets are also useful for portrait work, and a king-size sheet can act as a giant softbox for larger subjects.
Conclusion
With a little creativity, resourcefulness, and attention to detail, anyone can create stunning food photography images at home. By utilizing common household items, clever techniques like backlighting and diffusion, and minimal equipment, you have the power to capture mouthwatering images that rival professional studios. So, gather your favorite dishes, set up your own makeshift studio, and let your culinary creations shine through the art of food photography.
The article is compiled and compiled by tipcamera.com