
Introduction
Low light photography, often misunderstood by many photographers, offers a unique set of challenges and opportunities. While some may consider low light conditions to be inferior or unusable, it is important to recognize that with the right approach and techniques, stunning images can be captured even in challenging lighting situations. This article aims to shed light on the power of low light photography and provide detailed answers to commonly asked questions about shooting in low light.

Understanding Low Light Photography
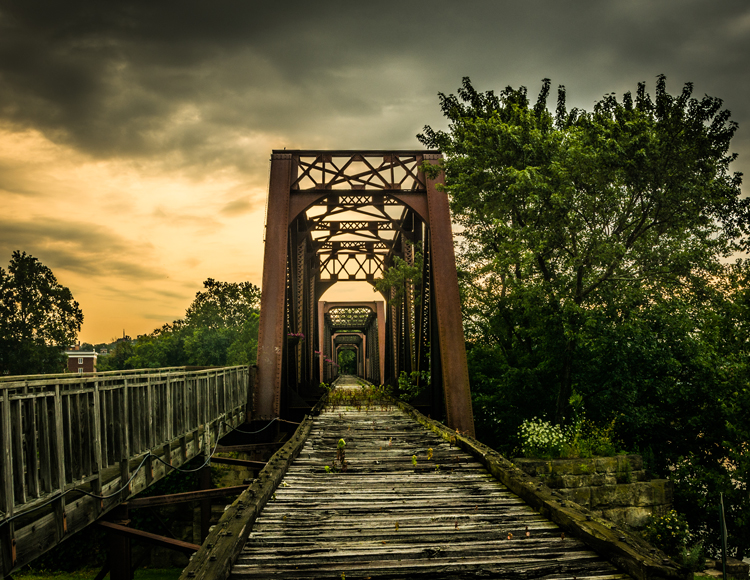
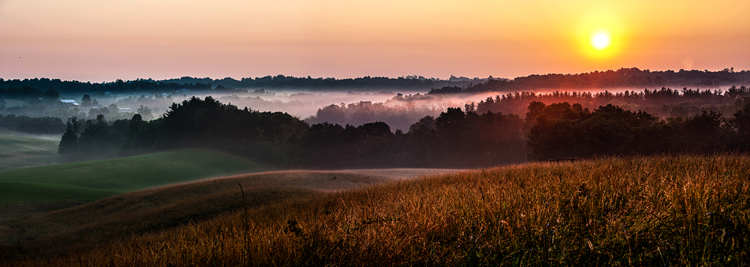
In order to fully grasp the potential of low light photography, it is crucial to recognize that it extends beyond the confines of night photography alone. Contrary to popular belief, low light photography presents itself as an opportunity throughout the day, offering captivating scenes that can enhance your images.
Shooting Waterfalls in Low Light
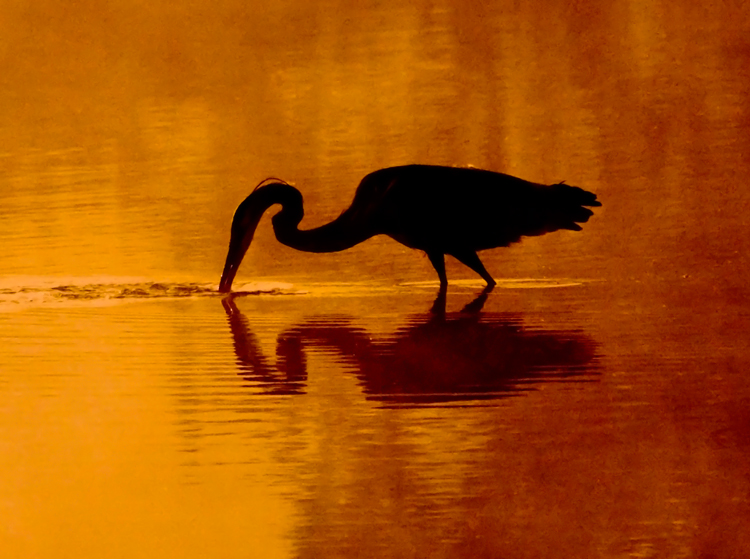
One particular area where low light photography can excel is capturing waterfalls. By shooting waterfalls in low light, you can utilize a slow shutter speed to emphasize the flowing water. This technique prevents overexposure of the whitewater and creates a beautiful silky effect by blurring the movement of the water. The subdued lighting conditions add a touch of mystique and enhance the overall atmosphere of the image, leaving viewers captivated by the ethereal beauty of the scene.
The Power of Natural Low Light
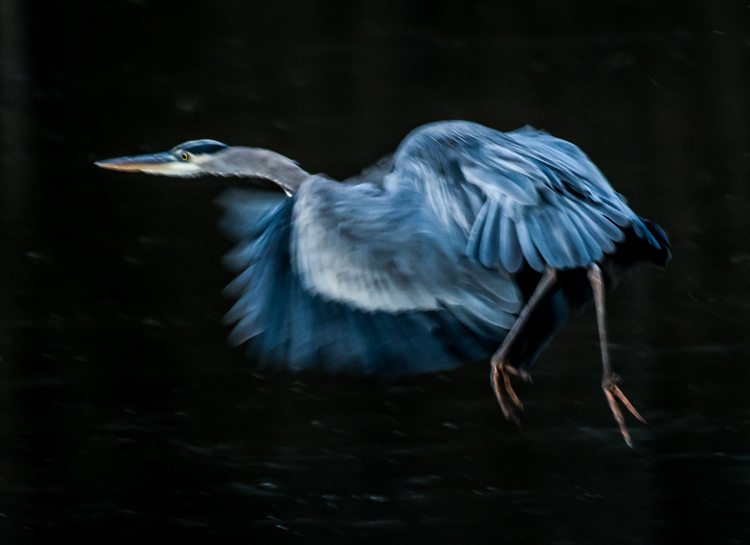
While using a flash is a viable solution to illuminate subjects in low light, it is essential to explore the vast potential of natural low light. By embracing the existing lighting conditions, photographers can create visually striking images that capture the true essence of the moment. Through understanding and utilizing photography techniques tailored for low light, photographers can achieve impressive results without relying solely on artificial lighting.
Frequently Asked Questions about Low Light Photography
1. My low light images are blurry. Would a better lens alleviate the blur?
Yes, investing in a better lens can significantly improve the sharpness of your low light images. Lenses with larger apertures, denoted as “fast lenses,” allow more light to enter the camera and enable faster shutter speeds. However, it is crucial to understand that even with a superior lens, the correct settings are essential to capture sharp images.
2. What are the best camera settings for shooting in low light?
When shooting in low light conditions, it is advisable to switch to manual mode to have complete control over the camera’s settings. The exposure triangle, consisting of shutter speed, aperture, and ISO, plays a crucial role in achieving optimal results in low light situations.
- Shutter speed: When shooting handheld, it is generally recommended to set the shutter speed to match the reciprocal of your focal length. This ensures that your images remain sharp, but if your subject is in motion, adjusting the shutter speed accordingly is necessary. A slower shutter speed allows more light into the camera, but it may result in motion blur if the subject is moving.
- Aperture: In most low light situations, shooting with a wide-open aperture is preferred to allow as much light as possible into the camera. However, it is important to consider the depth of field. Wider apertures lead to a shallow depth of field, which may result in parts of the image being out of focus. Balancing the need for a brighter exposure with the desired depth of field is crucial for optimal results.
- ISO: The ISO setting determines the camera’s sensitivity to light. In low light scenarios, increasing the ISO allows for brighter images. However, higher ISO settings introduce digital noise, which can impact the overall quality of the image. It is recommended to keep the ISO as low as possible while ensuring proper exposure by adjusting shutter speed and aperture.
3. How do I take low light action shots?
Shooting action in low light can be challenging, requiring specific techniques and settings to freeze the subject’s movement while ensuring proper exposure. Setting a wide aperture is essential to allow as much light as possible, while adjusting the shutter speed to freeze the action. If the available light is insufficient, increasing the ISO can compensate for the lack of light, although it may introduce digital noise. It may be necessary to strike a balance between preserving image quality, minimizing noise, and capturing the desired action in low light scenes.
4. How do I reduce digital noise in low light images?

To reduce digital noise in low light images, it is recommended to shoot at the lowest ISO possible while maintaining proper exposure. Different camera models have varying noise thresholds, so it is essential to understand the ISO range at which your camera produces noise considered acceptable. Additionally, ensuring correct exposure during capture helps minimize noise in shadow areas.
5. How do I focus in low light?
Focusing in low light can be challenging, as some cameras struggle to autofocus accurately under such conditions. To overcome this, shining a light on the subject can provide sufficient illumination for the camera to focus accurately. Utilizing manual focus or fine-tuning the focus using the lens’s focusing ring is another effective technique. Choosing the central autofocus (AF) point can often provide faster and more accurate focusing compared to surrounding AF points.
6. How can I take pro-like images in low light?
Professional photographers often employ specific strategies to capture exceptional images in low light. These include using a tripod to stabilize the camera, shooting in RAW format to retain more shadow detail during post-processing, operating in manual mode to have full control over settings, and utilizing the histogram to ensure proper exposure. Adopting these practices can help elevate your low light photography to a professional level.

7. How do I choose the best white balance for low light?
The choice of white balance settings is crucial for accurately representing colors in low light conditions. Setting the white balance according to the lighting environment significantly impacts the overall look and feel of your images.
- Tungsten: Suitable for shooting indoors with regular light bulbs.
- Fluorescent: Ideal for light emitted by fluorescent bulbs.
- Cloudy: Suitable for low light scenarios on overcast days.
- Shade: Appropriate for shooting in shaded or shadowy areas.
If shooting in RAW format, white balance can be adjusted during post-processing. However, when shooting in JPEG, it is crucial to set the correct white balance in-camera, as it can be challenging to rectify white balance issues in post-processing.
8. Should I raise my ISO or lower my shutter speed in low light?
When shooting in low light with a wide-open aperture, it is generally recommended to adjust the shutter speed rather than raising the ISO. Increasing the ISO results in brighter images, but it also introduces digital noise, which can impact image quality. It is important to strike a balance between maintaining a fast enough shutter speed to avoid motion blur and minimizing the ISO to retain optimal image quality.
9. Why aren’t my low light shots sharp even when I use a tripod?
When shooting in low light, using a wide aperture or nearly wide-open aperture significantly reduces the depth of field. This shallow depth of field can contribute to blurry images if the focus is not precise. Ensuring accurate focus, such as using back-button focus or accurately adjusting the focusing ring, is crucial for achieving sharp results. Additionally, it is essential to turn off image stabilization when shooting with a tripod, as it can inadvertently introduce blur.

10. A bonus tip
When reviewing images on the LCD screen in low light, the screen may appear brighter than it actually is. To ensure an accurate assessment of your image’s exposure, adjust the screen’s brightness to a level that reflects the true lighting conditions. This way, you can avoid potential disappointment when viewing the image later.
Conclusion
Low light photography is a captivating genre that demands a thorough understanding of camera settings, techniques, and creative approaches. By embracing the unique challenges and opportunities presented by low light conditions, photographers can produce exceptional and evocative images. With the knowledge gained from the provided FAQ, photographers can confidently navigate low light scenarios and unlock their full creative potential.
Keep exploring the possibilities of low light photography and share your favorite subjects to capture in low light. Your insights and tips can inspire other photographers to embark on their own low light adventures!
The article is compiled and compiled by tipcamera.com