

The Andromeda Galaxy: How to Capture Its Beauty in Photographs
Introduction
The Andromeda Galaxy, also known as M31, is a stunning celestial object that can be observed with the naked eye from a dark-sky location. With the right equipment and techniques, capturing its beauty in photographs is an achievable goal. In this guide, we will take you through the steps to photograph the Andromeda Galaxy with a DSLR camera and lens.
Finding the Andromeda Galaxy
Starting from the Great Square of Pegasus
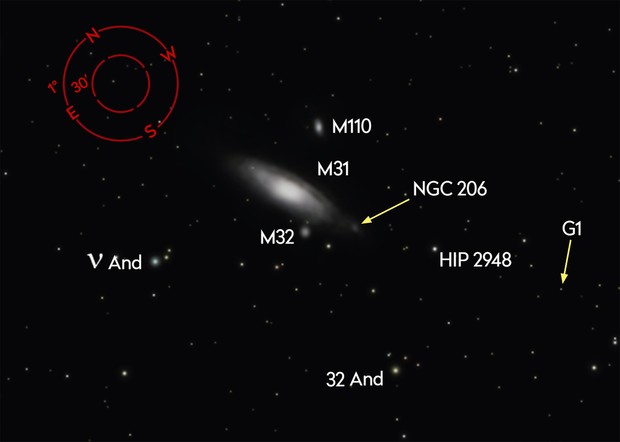
To locate the Andromeda Galaxy, one of the easiest methods is to begin from the Great Square of Pegasus, a prominent asterism in the night sky. Imagine a line extending from the upper-right corner star of the square, Beta (β) Pegasi, to the upper-left corner star, Alpha (α) Andromedae. Extend this line by the same distance and slightly bend it upward to reach Beta (β) Andromedae. From there, turn by 90º and head upward to locate Mu (μ) Andromedae, followed by Nu (ν) Andromedae. Under clear dark skies, the Andromeda Galaxy can be spotted near Nu (ν) Andromedae.
Challenges with Urban Environments
In urban environments with significant light pollution, observing the Andromeda Galaxy becomes more challenging. However, with proper planning and by referring to our guide on capturing astrophotos from a light-polluted city, it is still possible to photograph this celestial wonder.
The Appearance of the Andromeda Galaxy
An Elongated and Smudgy Sight
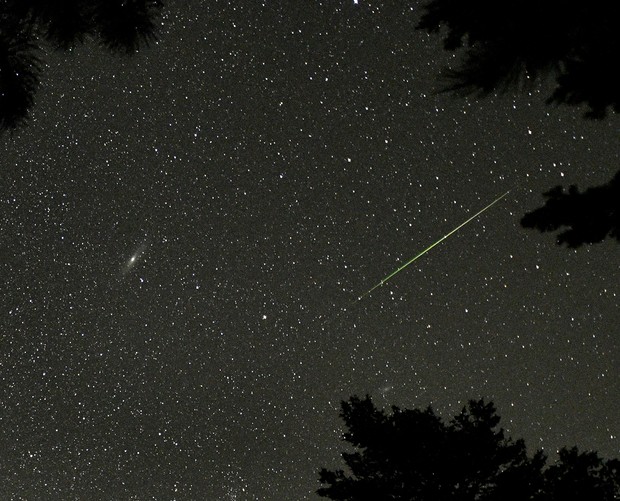
The Andromeda Galaxy, M31, presents itself as an elongated and smudgy object when viewed with the naked eye. Its visual appearance may not match the grandeur one might expect from the beautiful images captured by large telescopes. However, with the aid of binoculars or a telescope with a wide field of view, one can notice its two satellite galaxies, M32 and M110.
The Tilted Spiral Galaxy
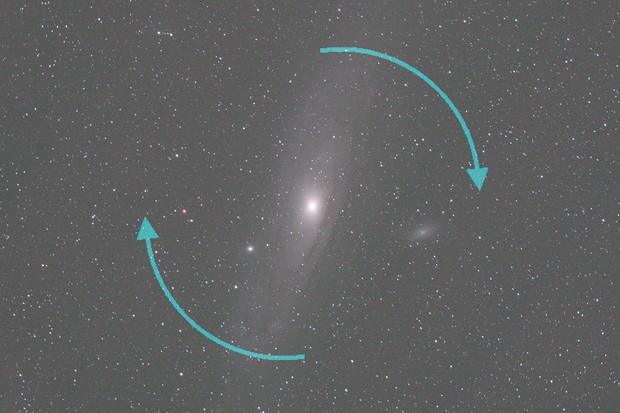
The orientation of the Andromeda Galaxy plays a significant role in its appearance. M31 is tilted towards Earth at an angle of 13º. This means that when observed, it appears as an elliptical shape rather than a face-on spiral. If the galaxy were tilted 90º, a bright circular core surrounded by spiral arms would be visible.
Exploring the Outer Structure
The Challenge of Visual Observation
Observing the outer spiral arms of the Andromeda Galaxy is a challenging task, even with a telescope. The outer structure is fainter and requires higher magnification and contrast to become visible. Telescopes with an aperture of 12 inches or more are typically needed to start capturing the intricate details of the galaxy’s arms and the dark dust lanes between them.
Impressive Size in the Sky
Even though the Andromeda Galaxy may appear as a smudge to the naked eye, its true size is impressive. The bright core ellipse measures 30 arcminutes by 10 arcminutes, equivalent to one full Moon by a third of a full Moon in apparent size. With a camera, the galaxy’s size can be increased to approximately 2º by 0.5º, or four full Moons by one full Moon. In the deepest exposures, the Andromeda Galaxy can be captured spanning over 3º by 1º, equivalent to six full Moons by two full Moons in apparent size.
Equipment and Techniques for Capturing the Andromeda Galaxy
Recommended Equipment
- DSLR camera: A digital single-lens reflex (DSLR) camera is essential for capturing high-quality images of the Andromeda Galaxy.
- 300mm (or less) lens: A lens with a focal length of 300mm or less is recommended to capture the galaxy’s full size within the frame.
- Driven mount: A driven equatorial mount is necessary to ensure precise tracking of the Andromeda Galaxy during long exposures.
- Shutter release cable/laptop with control software: A remote shutter release cable allows for stable and vibration-free photography. Alternatively, connecting the camera to a laptop with control software provides additional features and control over the exposure settings.
The Steps to Capture the Andromeda Galaxy
-
- Decide on the lens: Choose a lens with a focal length of 300mm or less, such as a standard photographic lens or a short focal length telescope. A focal reducer may be useful for longer focal length telescopes.
- Mount the camera: Attach the camera to a driven equatorial mount to ensure accurate tracking of the Andromeda Galaxy.
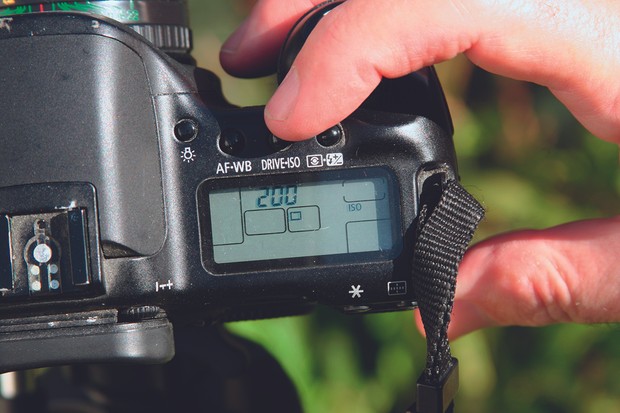
- Setting the ISO: Set the ISO to a high value initially to capture a bright image of the galaxy. It can be lowered later to reduce digital noise.
- Focusing and framing: Roughly focus on the Andromeda Galaxy, take a test shot, and check the orientation. Adjust the camera’s position and rotation until the galaxy comfortably fits within the frame.
- Precise focus: Secure everything in place and ensure precise focus on the Andromeda Galaxy. Use autofocus or manual focus techniques to achieve the sharpest image possible.
- Choosing the ISO: Adjust the ISO based on whether you have an autoguided or non-autoguided mount. Higher ISO values are suitable for non-autoguided mounts (around 800), while a range of 200-400 is appropriate for autoguided systems.
- Experiment with exposures: The exposure duration will depend on various factors such as tracking accuracy and light pollution levels. Start with a 30-second exposure and gradually increase the duration in 30-second increments. Choose the longest exposure that does not result in trailing.
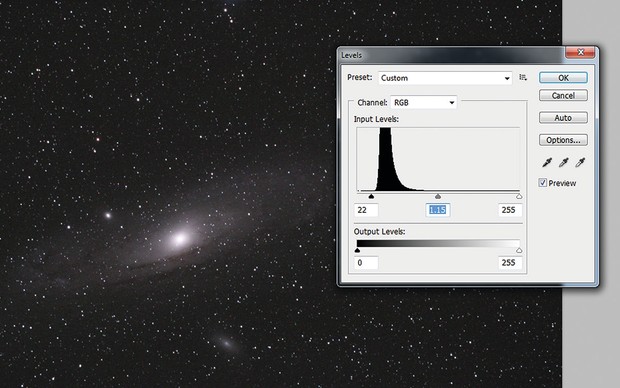
- Removing unwanted pixels: Take a dark frame by covering the lens and capturing an exposure of the same length. Using image processing software, remove any “stuck” or “hot” pixels that appear as false stars in the image.
- Processing the final image: Open the best image in a layer-based editor and load the dark frame as a top layer. Adjust levels to reduce orange light pollution and fine-tune brightness and contrast using curves.


Capturing the Andromeda Galaxy: A Stellar Achievement
Capturing the Andromeda Galaxy in a photograph is a challenging yet immensely rewarding endeavor. With the right equipment, precise techniques, and patience, you can immortalize this exquisite cosmic beauty. Follow the steps outlined above, and with each click of the shutter, embark on a journey to capture the billions of stars that adorn the Andromeda Galaxy.
The article is compiled and compiled by tipcamera.com