
Long Exposure Night Photography: Tips for Capturing Stunning Photos
Introduction:
Long exposure night photography can be challenging for photographers, but with a few simple tricks and careful planning, you can achieve stunning results. This comprehensive guide provides 12 detailed tips to help you master the art of long exposure night photography. The tips cover various aspects, including essential gear, scouting locations, optimal timing, composition techniques, and important camera settings required for successful long exposure shots.
1. Scout Your Location:
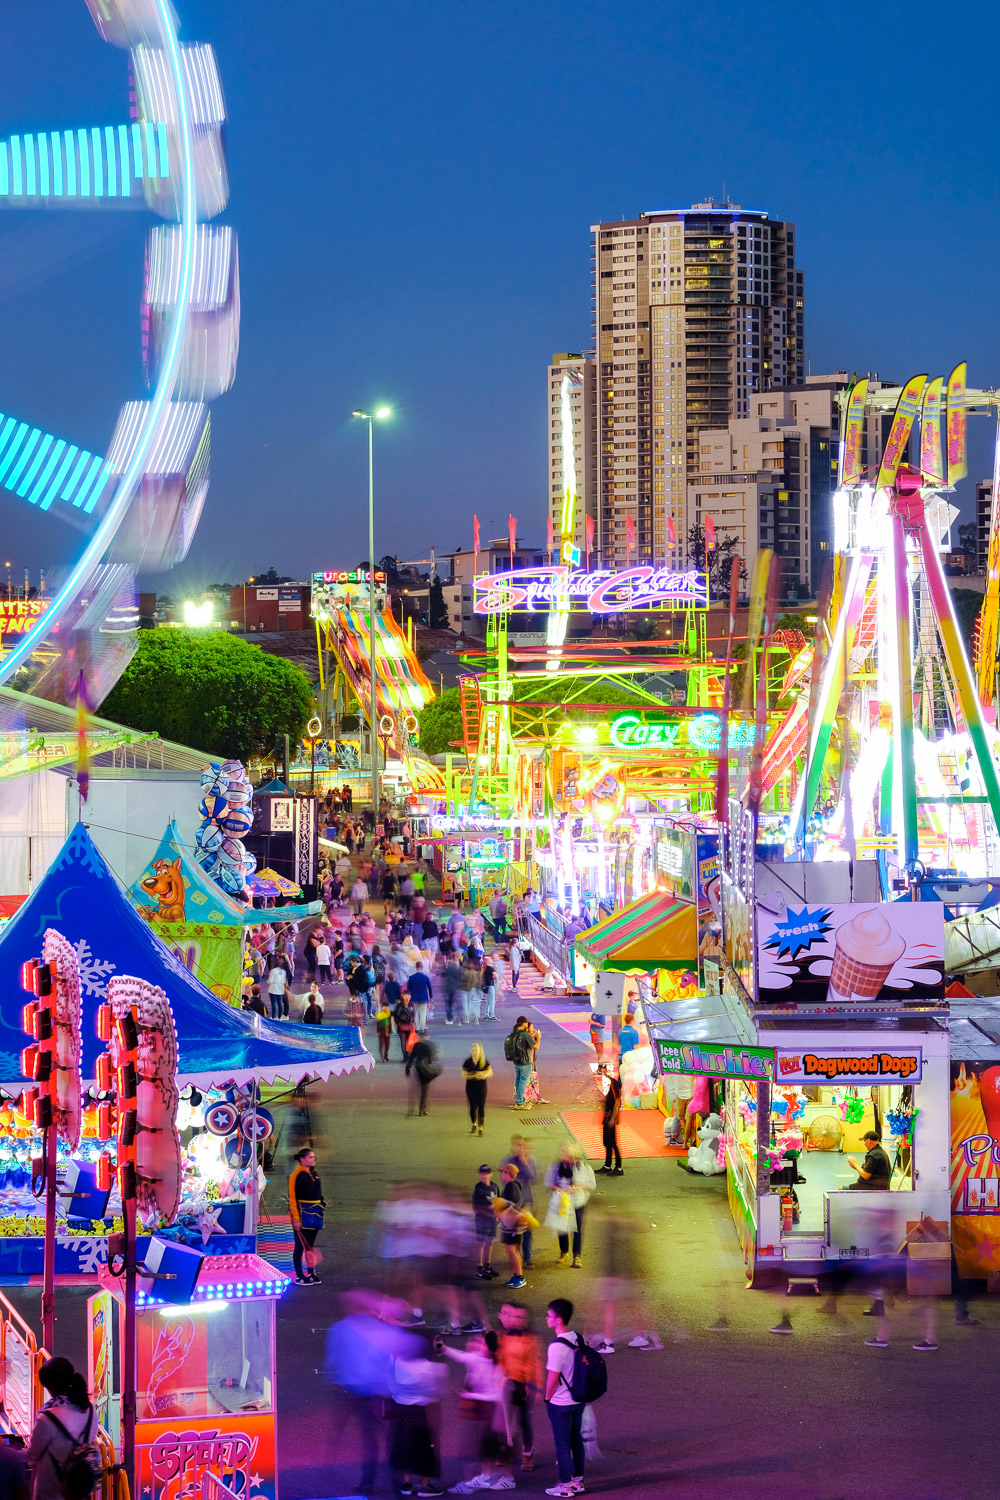
To ensure that you capture the best possible long exposure night photos, it’s crucial to scout your location beforehand. Visiting the location at the same time of day you plan to shoot allows you to assess the lighting conditions and anticipate any challenges you might encounter. Take note of potential obstacles such as trees or buildings that could obstruct your view or create unwanted shadows. Additionally, identify any sources of movement, such as crowds, passing cars, or boats, as these can add an element of interest to your photos.
2. Determine Your Shooting Plan:
Before heading out for a long exposure night photography session, it’s essential to decide on your shooting plan. Consider whether you prefer to change locations and compositions throughout the shoot or capture a series of images in the same place. If you opt for the latter, bringing a second camera and tripod can maximize your opportunities and make the most of your trip.
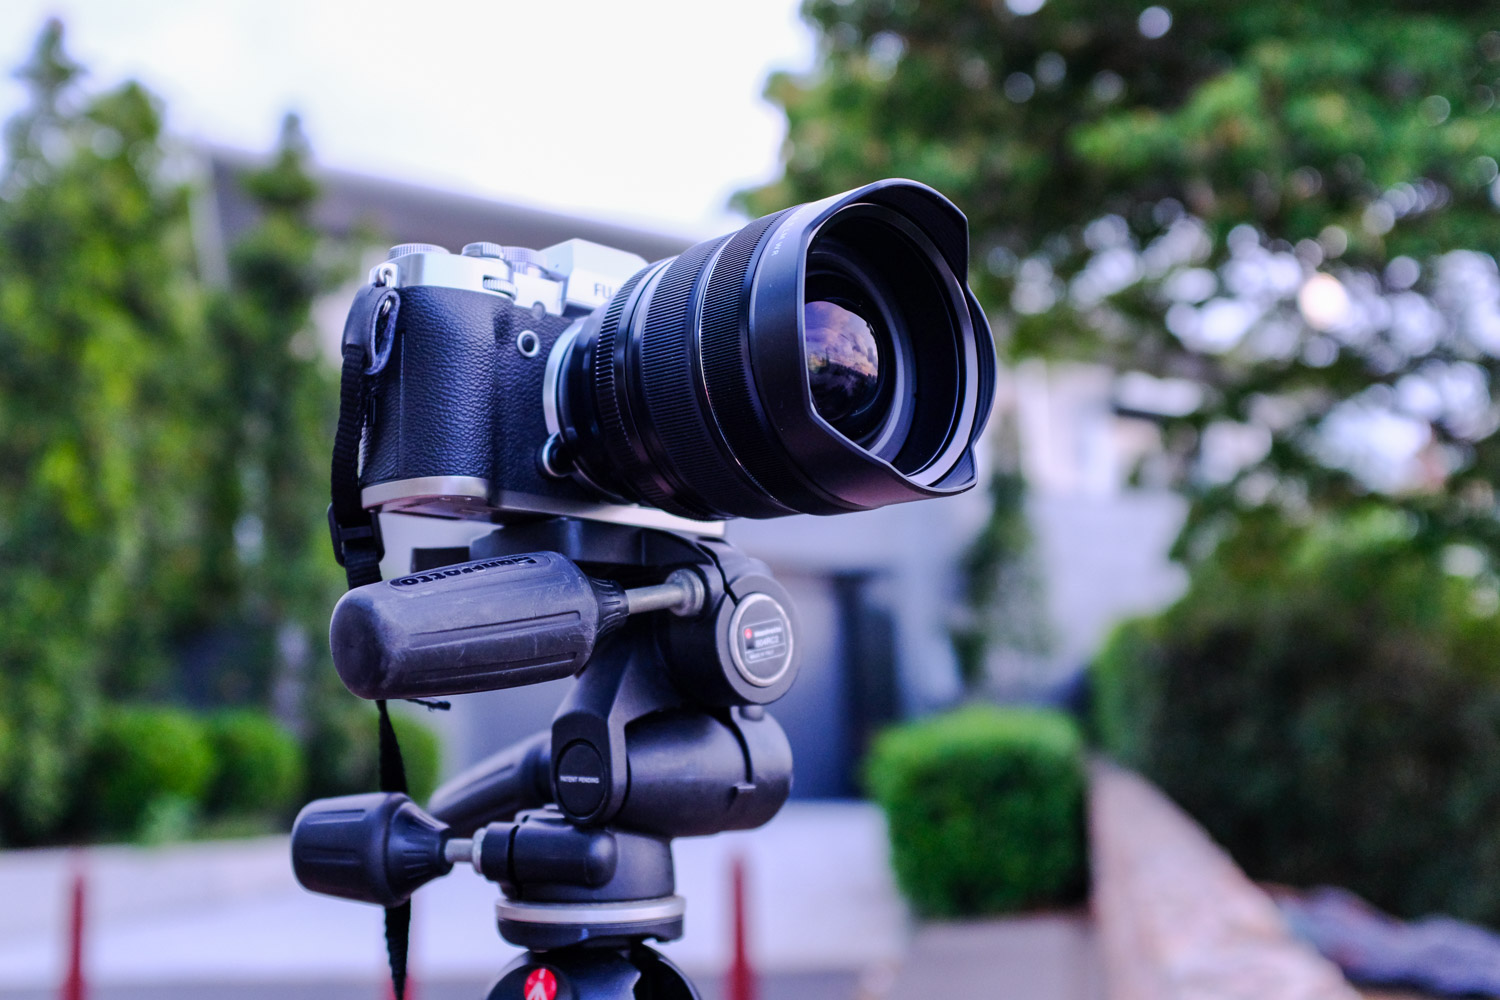
3. Use a Checklist to Pack Your Gear:
- Cameras and Lenses: Ensure that you have the necessary cameras and lenses suitable for night photography. Select lenses with wide apertures to let in more light.
- Fully-Charged Camera Battery: To avoid interruptions during your long exposure shots, make sure your camera battery is fully charged. If you plan on capturing multiple images in a single session, a fully charged battery becomes even more crucial to maintain consistency.
- Spare Batteries: It’s wise to carry spare batteries to avoid any unexpected power issues that may arise during the shoot.
- One or Two Tripods: A sturdy tripod is essential for long exposure night photography to ensure sharp and blur-free images. Consider carrying an extra tripod for added versatility or backup.
- Tripod Base Plates: These small accessories are crucial for securely attaching your camera to the tripod and avoiding any mishaps during your shoot.
- SD Cards: Bring a formatted SD card in your camera and carry extra cards to accommodate the large file sizes of long exposure photos.
- Water and Snacks: Stay hydrated and energized during your shoot by packing water and light snacks.
- Wireless Headphones: If you anticipate spending several hours at a location, having wireless headphones can keep you entertained while you wait for the perfect shot.
4. Set Up Early and Be Mindful of Others:
Arriving early at your desired shooting location gives you ample time to set up your equipment and be fully prepared. It also ensures that you don’t miss any valuable shooting opportunities. When setting up your camera and tripod, be considerate of others in the area, whether they are pedestrians, cyclists, or motorists. Choose a spot that doesn’t obstruct pathways or pose a safety hazard to those passing by.
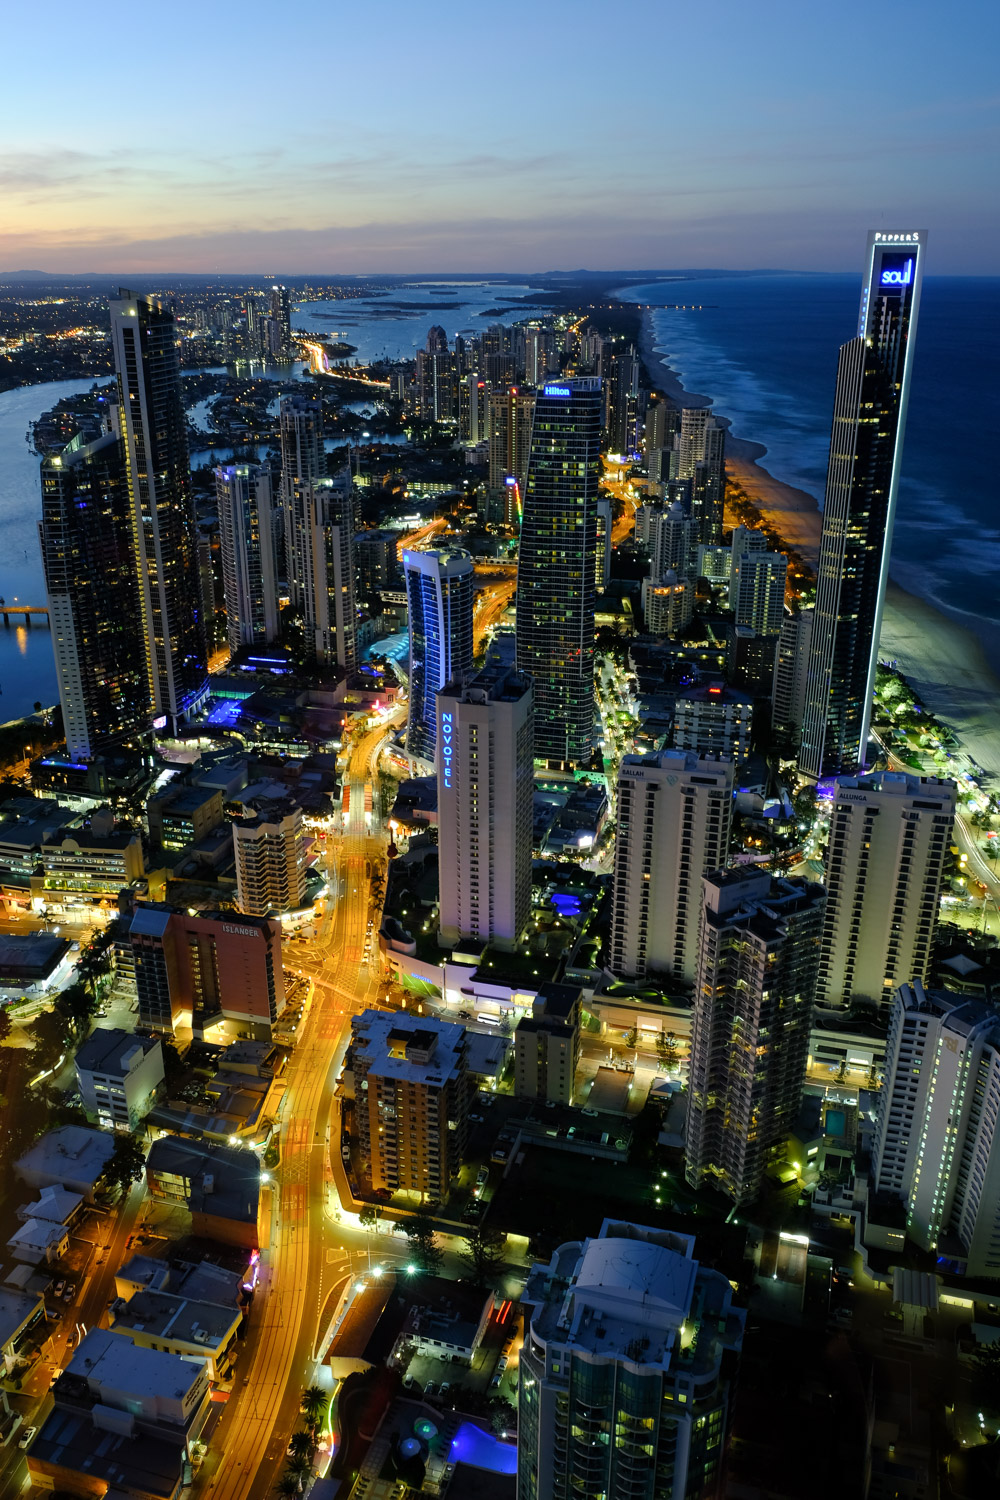
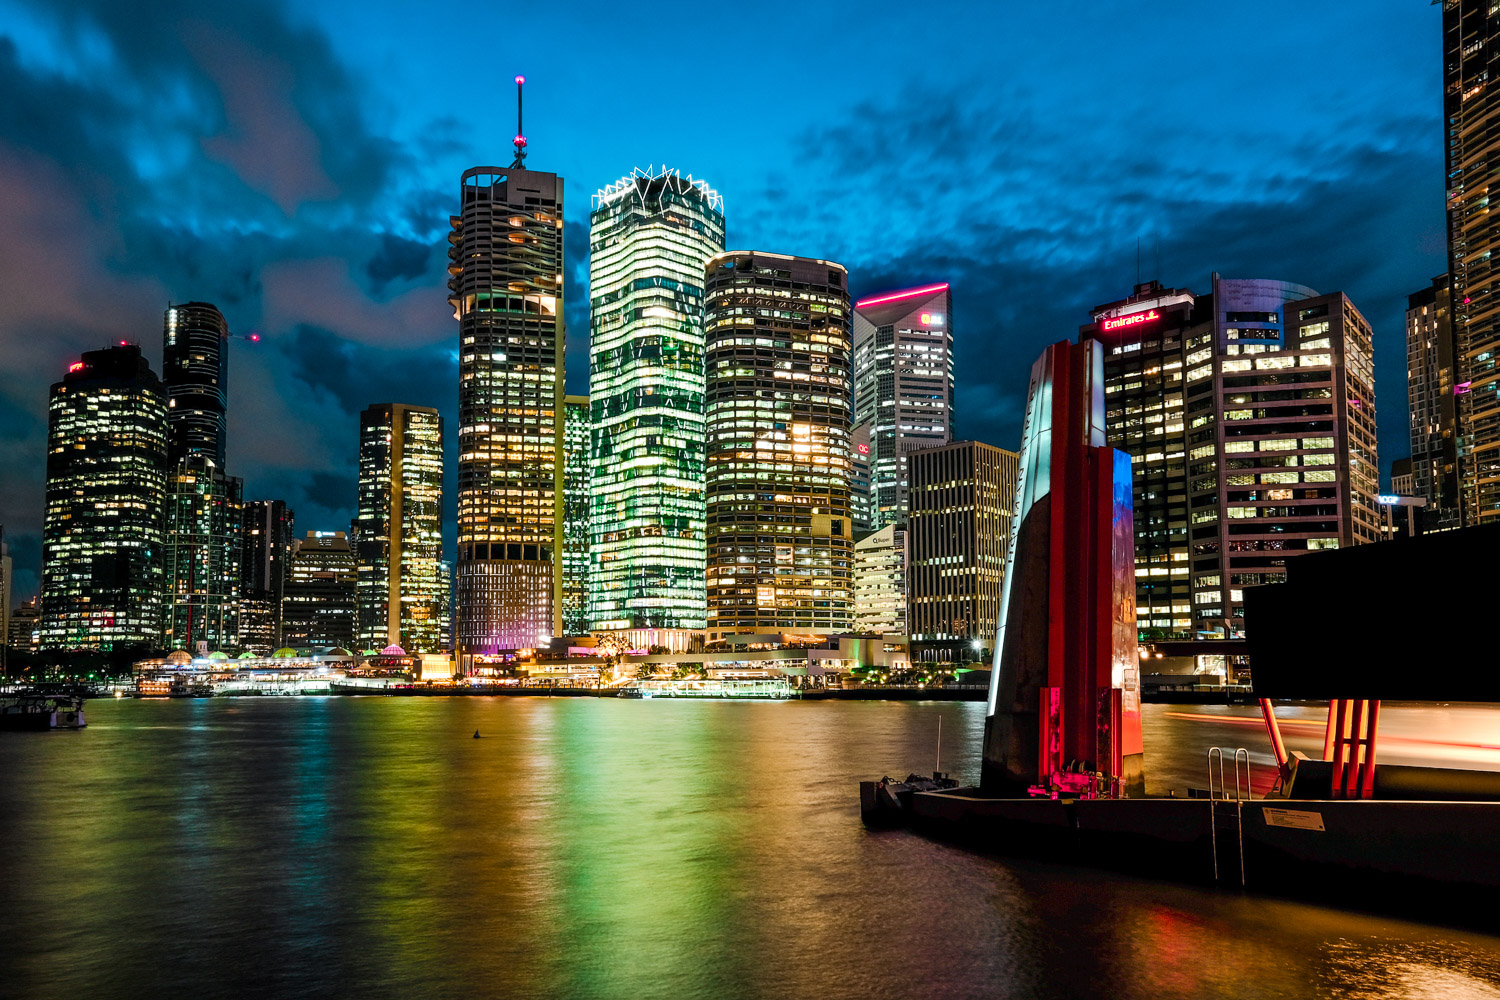
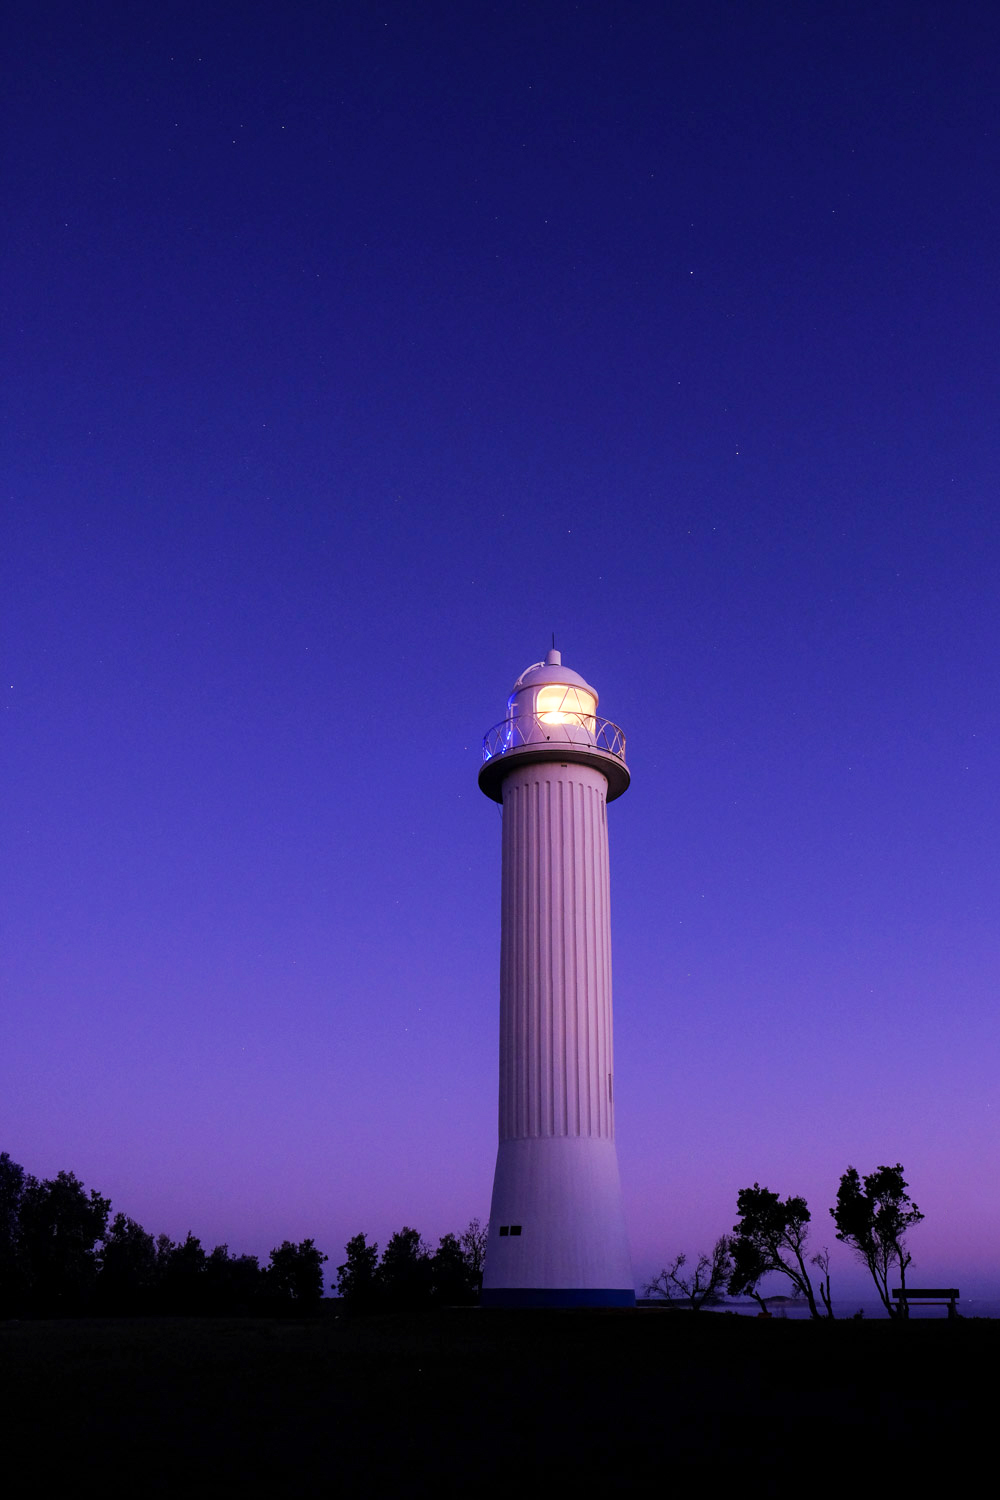
5. Shoot During Blue Hour for the Best Skies:
The beauty of long exposure night photography often lies in capturing dramatic skies with contrasting colors. Shooting during the elusive blue hour, which occurs before sunrise or after sunset, allows you to achieve the most striking results. Start capturing images as the sun begins to set and continue until the sky loses all color. This time frame offers a unique opportunity to showcase the interplay of natural and artificial light.
6. Use a Tripod:
Using a tripod is essential to ensure sharp and high-quality long exposure night photos. Without a stable base, your images are likely to suffer from blurriness caused by camera shake. Invest in a reliable and sturdy tripod that can support your camera’s weight and withstand varying weather conditions. Consider owning multiple tripods of different sizes and weights to suit different shooting scenarios. Tripod quick release plates are beneficial for quickly attaching and detaching your camera as needed.
7. Turn On Your Camera’s Electronic Level:
Many modern cameras come equipped with electronic leveling features that help you keep your horizons straight and compositions aligned. Activating this function ensures that your photos are not taken at an angle. Electronic levels are particularly useful when photographing landscapes or architectural structures where maintaining straight horizons is crucial. Set your camera’s level guide to activate the horizontal line on your camera’s screen, which turns green when the camera is level, providing visual confirmation of a correctly aligned shot.
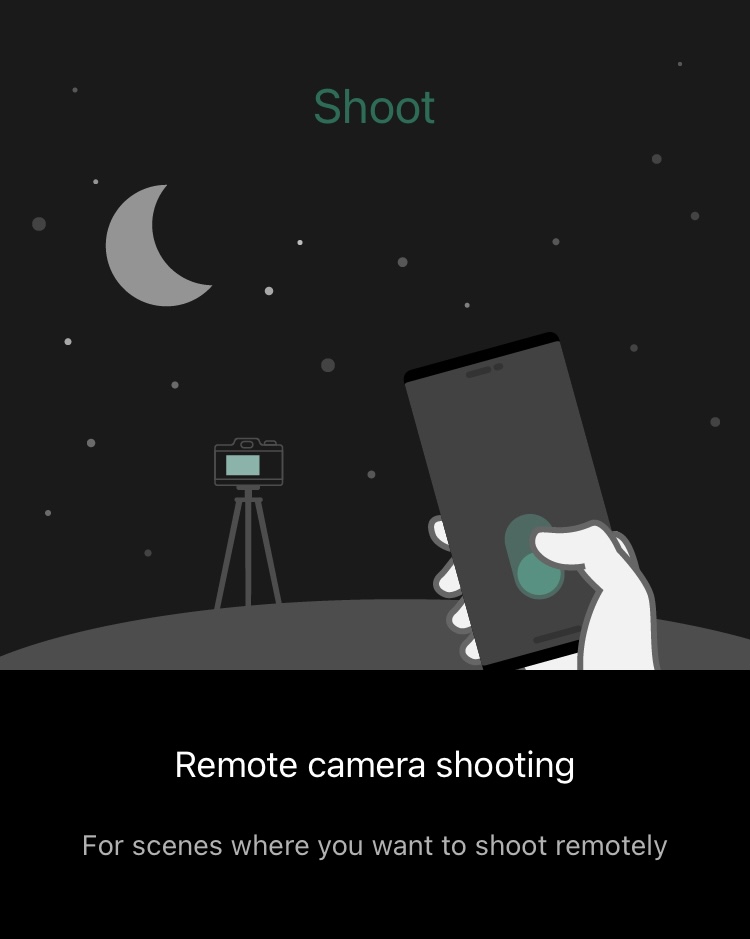
8. Use a Remote Release or Smartphone App:
Minimizing any camera movement during long exposures is vital to achieve sharp images. To avoid inadvertently introducing camera shake, it’s recommended to use a remote release or a smartphone app to trigger the shutter instead of pressing the shutter button directly. Remote releases come in various forms, including wired and wireless options, allowing you to trigger the shutter from a distance. Many camera manufacturers also offer accompanying smartphone apps that enable remote triggering and control of camera functions through a wireless connection.
9. Use the Self-Timer Feature:
Another method to minimize camera movement and shake during long exposures is by utilizing your camera’s self-timer feature. By setting a two-second self-timer delay, you can press the shutter button, step back, and allow any vibrations to settle before the photo is taken, resulting in sharper images. This method is particularly useful if you’re using multiple cameras or different remote release accessories, as it eliminates the need to sync and switch between devices.
10. Try Interval Shooting for Great Results:
If you want to capture the gradual changes and movements occurring over an extended period, interval shooting is a fantastic technique to employ. With interval shooting, you can configure your camera to automatically capture a series of images at specific intervals. For example, you can set your camera to take a photo every two minutes at the beginning of your shoot and increase the frequency to every 20 or 30 seconds as the light conditions change. This feature is particularly effective for capturing time-lapse sequences or a subject’s progression under changing lighting conditions.
11. Turn Off Image Stabilization:
While image stabilization is an essential feature for handheld photography, it can often interfere with long exposure night photos when used in conjunction with a tripod. Image stabilization systems attempt to counteract camera movement, which can inadvertently introduce slight vibrations when the camera is already fixed on a stable base. To avoid any potential blurriness caused by this interference, it’s recommended to turn off image stabilization when using a tripod. Certain lenses are designed to detect tripod use automatically and disable image stabilization, but it’s vital to confirm this functionality in the lens’s specifications or the camera’s user manual.

12. Always Stay Safe:
Photographing at night brings unique challenges and potential risks that must be acknowledged and prepared for. Always prioritize your personal safety and be mindful of your surroundings. When shooting in unfamiliar locations or late at night, exercise caution and stay aware of anyone nearby. Secure your camera gear by keeping your bag zipped up and close to you, and consider taking precautions such as attaching a bag strap around your leg to prevent theft. Only use wireless headphones in public areas where you feel safe and maintain situational awareness throughout the shoot.
Conclusion:
Long exposure night photography offers a fantastic opportunity for capturing breathtaking images. By implementing the tips provided in this guide, you can elevate your night photography skills and achieve stunning results. Remember to plan ahead, pack essential gear, scout your location, and consider timing and composition techniques. With practice, experience, and a keen eye, you’ll be able to create captivating long exposure night photos that leave a lasting impression on viewers.
Now it’s time to put these tips into action and explore the creative possibilities waiting to be captured through long exposure night photography. Share your favorite tips or the techniques you plan to use in the comments below and embark on your night photography journey with confidence!
The article is compiled and compiled by tipcamera.com