
Introduction
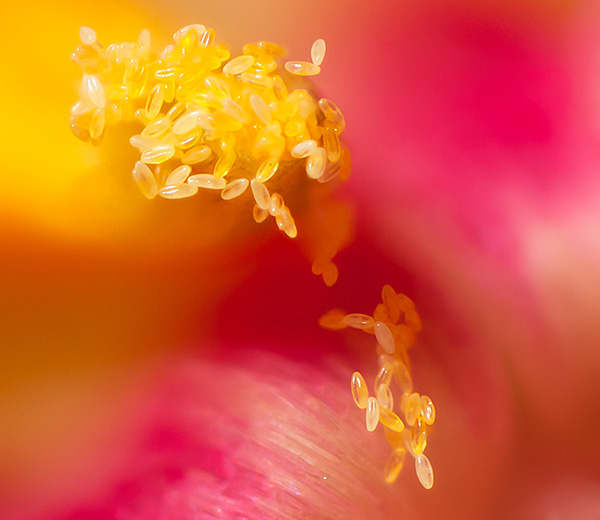
Macro photography can be a challenging endeavor, especially when it comes to achieving sharp focus on the subject. Unlike landscape photography where setting a small aperture can ensure a wider area of focus, macro photography requires a different approach. In this article, we will explore the technique of focus stacking, which combines multiple frames to increase the overall area of focus in a macro image.
Solution: Focus Stacking
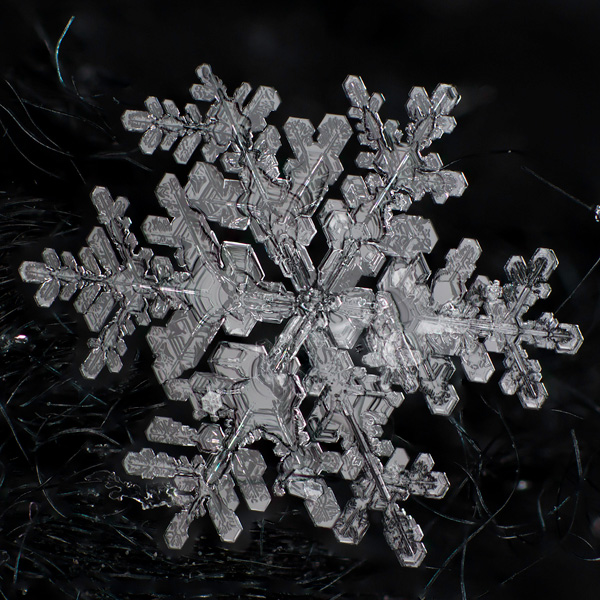
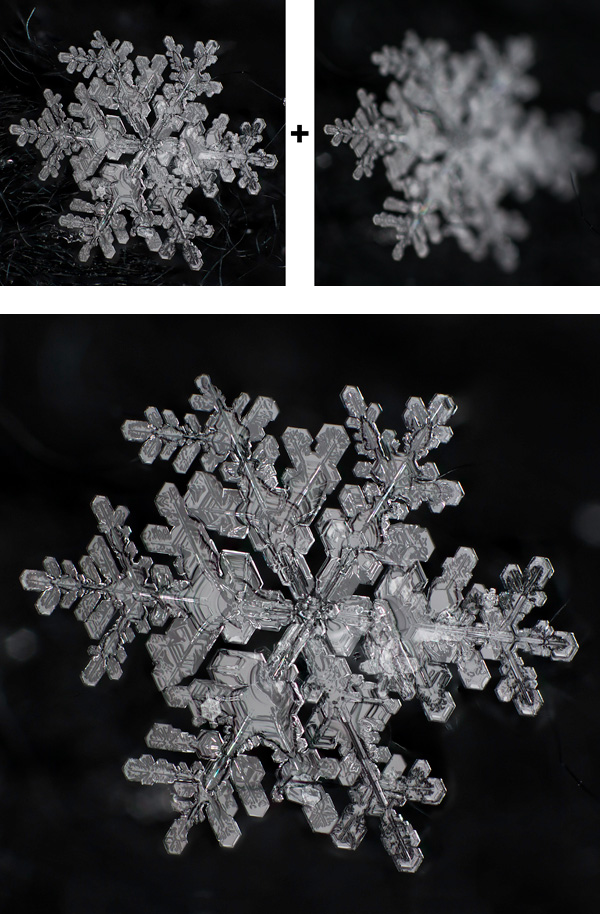
Focus stacking is a technique that involves capturing multiple images at different focus points and then merging them together to create one final image with extensive detail. By combining the sharpest areas of each frame, the final result is a photograph where the subject appears in focus from edge to edge.
Shooting
To begin, it is essential to set up your camera for hand-held shots intended for focus stacking. Start by setting your lens to manual focus and adjust it to the closest focusing point, usually represented by a 1:1 lifesize magnification on a dedicated macro lens. This ensures that you won’t be changing the focus through the lens but rather adjusting the position of the camera itself.

Continuous shooting mode is recommended for focus stacking. This allows you to capture a rapid sequence of shots, increasing the chances of obtaining a perfectly focused image. Additionally, using a flash can help to eliminate any potential motion blur caused by the camera or subject. With a faster shutter speed enabled by the flash, you can ensure the sharpness of all the images you capture.
When finding your subject, it is crucial to minimize any major shifts in perspective. Moving the camera too much from side to side or up and down can make the focus-stacking process more challenging. It is recommended to securely hold the lens and find a stable object to brace yourself against, thereby minimizing unwanted movements during shooting.
Starting in Lightroom
Once you have imported your images into Lightroom, the process of focus stacking can begin. Start by selecting an image from each focus point you want to include in the final image. It is helpful to clear your surroundings of distractions to aid in focusing solely on the task at hand. Make a mental note of which areas of focus have already been selected and which ones still need to be captured as you browse through your images. One technique is to flag the images you need with a “pick” flag using the P key.
After choosing a central frame to work with, you can apply any desired global adjustments to the RAW data. This includes editing exposure, reducing noise, correcting white balance, and more. Once you are satisfied with the overall look of the selected frame, right-click on the image and select “Develop Settings > Copy Settings.” Make sure to check the changes you made and proceed to copy the settings.
Next, filter your images to display only the flagged ones. To do this, choose “flagged” from the filter dropdown box in the lower right corner, above the filmstrip. Now you can select all the flagged images, right-click on one of the thumbnails, and choose “Develop Settings > Paste Settings.” This step applies the adjustments you made to every frame, ensuring consistency throughout the entire focus stack.
Moving into Photoshop
With all the necessary adjustments applied in Lightroom, it is time to move the focus stack into Photoshop. Start by selecting all the layers in the Layers palette. From the top menu, choose “Edit > Auto-Align Layers…” This action will automatically adjust the alignment of the images, compensating for any slight horizontal, vertical, or rotational shifts that occurred during shooting. Photoshop usually does an excellent job aligning the images, as long as the perspective hasn’t changed drastically.
After aligning the layers, it is time to blend them together. Still with all the layers selected, go to the same menu and choose “Edit > Auto-Blend Layers…” In the dialog box that appears, make sure to select “Stack Images” and “seamless tones and colors.” Click okay to let Photoshop work its magic and combine the images. Be prepared for an awe-inspiring moment when you see the final result. However, don’t forget to zoom in and inspect closely for any imperfections that might have occurred during the blending process.

Refining the Results
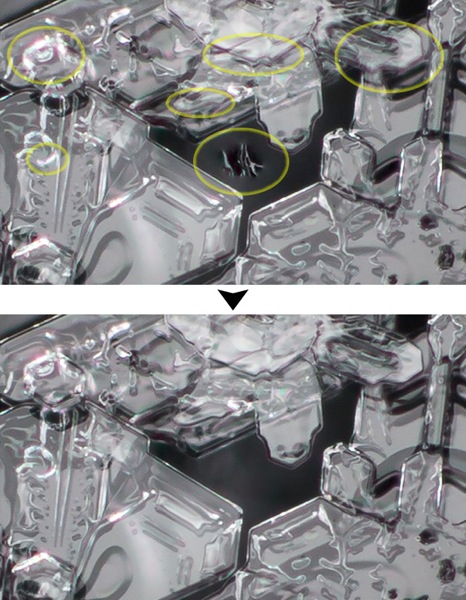
Upon close inspection of the blended image, it is not uncommon to discover certain defects. Backgrounds may appear strange, sharp edges can become blurry, and alignment issues may arise. These need to be addressed meticulously to ensure a flawless final image. The process involves masking in the appropriate pixels from the original set.
The first step is to merge the current blended stack together using the keyboard shortcut CTRL + E. This action creates one stacked layer that needs to be positioned at the bottom of the layer order, beneath all the un-stacked images. Disable the visibility of all the un-stacked layers by clicking on the eye icon next to each layer thumbnail.
Now comes the fun part. Create a layer mask on the layer directly above the merged layer and use the CTRL + I shortcut to invert the mask. With the inverted layer mask, carefully examine the area where that particular layer should have the focus. Continuously toggle the invert command on the layer mask while observing and comparing it to the corresponding area in the merged layer. Using the brush tool, mask in the appropriate pixels to fix any discrepancies.
Repeat this process for all the layers, dedicating as much time as necessary to ensure a seamless and cohesive final image. It is common for this refining stage to take hours, depending on the number of layers, the number of mistakes, and the level of perfectionism involved.
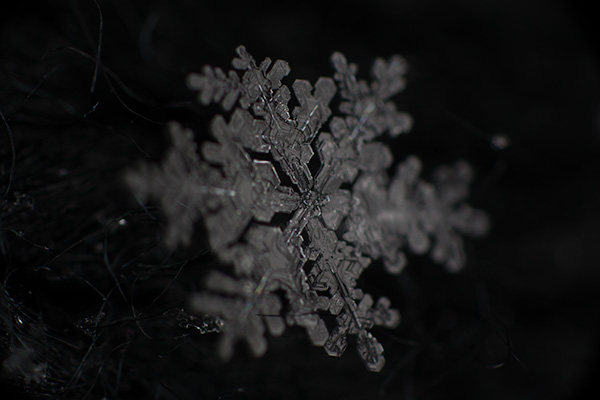
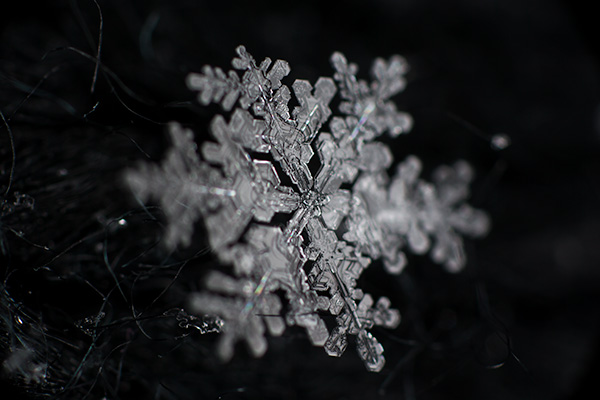
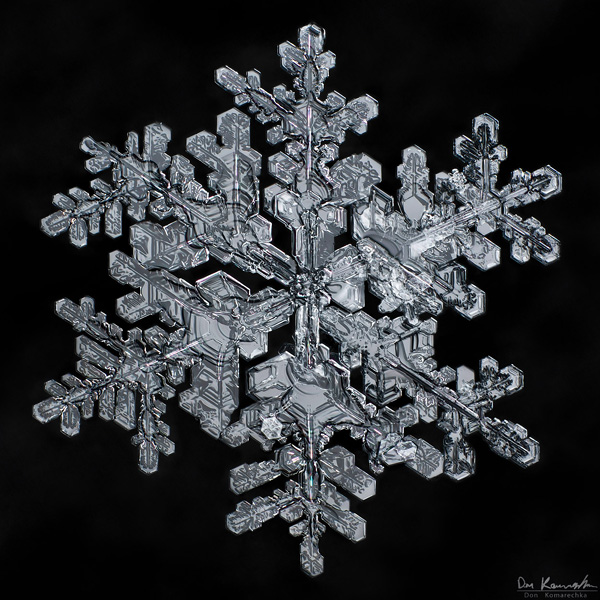
For specific scenarios like a snowflake photographed on a black mitten, additional steps may be required. Removing unwanted fibers from the final result can be achieved by selecting the layer with the most-forward focus and masking its background into the completed image.
At this point, you can proceed with standard Photoshop adjustments and refinements. Utilize cloning tools to clean up any remaining imperfections, and make further adjustments to the image according to your preferences. Additionally, consider experimenting with rotating or flipping the image for optimal composition. Macro subjects, such as insects, can appear natural and captivating when portrayed upside down or in unconventional orientations.
On average, the entire process of focus stacking a snowflake image takes approximately 3 to 4 hours, utilizing anywhere between 30 and 50 frames. However, depending on the subject and magnification level, it is possible to achieve satisfactory results with as few as 6 frames. The essential steps and techniques remain consistent regardless of the specifics.
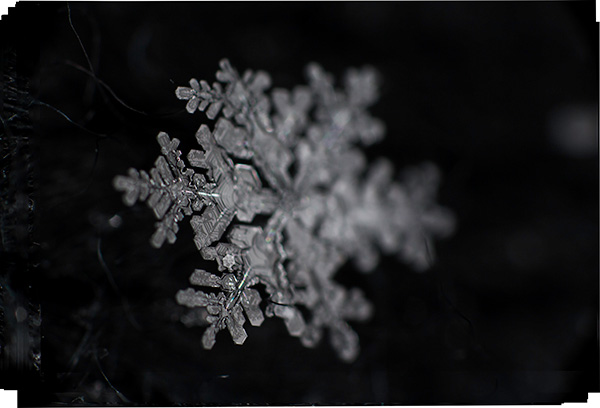
The Snowflake Book
If you found this focus stacking tutorial intriguing, you will be delighted to know that the process is expounded upon in greater detail in an upcoming book titled “Sky Crystals: Unraveling the Mysteries of Snowflakes.” This comprehensive book, to be released in October 2013, delves into the photographic techniques, scientific insights, and even the psychology behind our fascination with snowflakes.
The book features 300 pages of invaluable information, presented in a hardcover format. It covers various aspects ranging from the technical aspects of snowflake photography to the deeper philosophical contemplations of their beauty. For those interested, the book is currently available for pre-order, so don’t miss the opportunity to support the author and secure your copy.
Conclusion
In conclusion, focus stacking is an indispensable technique for macro photographers seeking to achieve extraordinary levels of focus and detail in their images. By combining multiple frames captured at different focus points, it is possible to create stunning photographs where the subject appears in sharp focus from edge to edge. While the process can be time-consuming and meticulous, the results are often breathtaking. So, grab your camera, experiment with focus stacking, and unlock a whole new world of macro photography possibilities.
The article is compiled and compiled by tipcamera.com